Understanding the Basics of Music Mixing and Mastering

August 14, 2025

By RocketPages

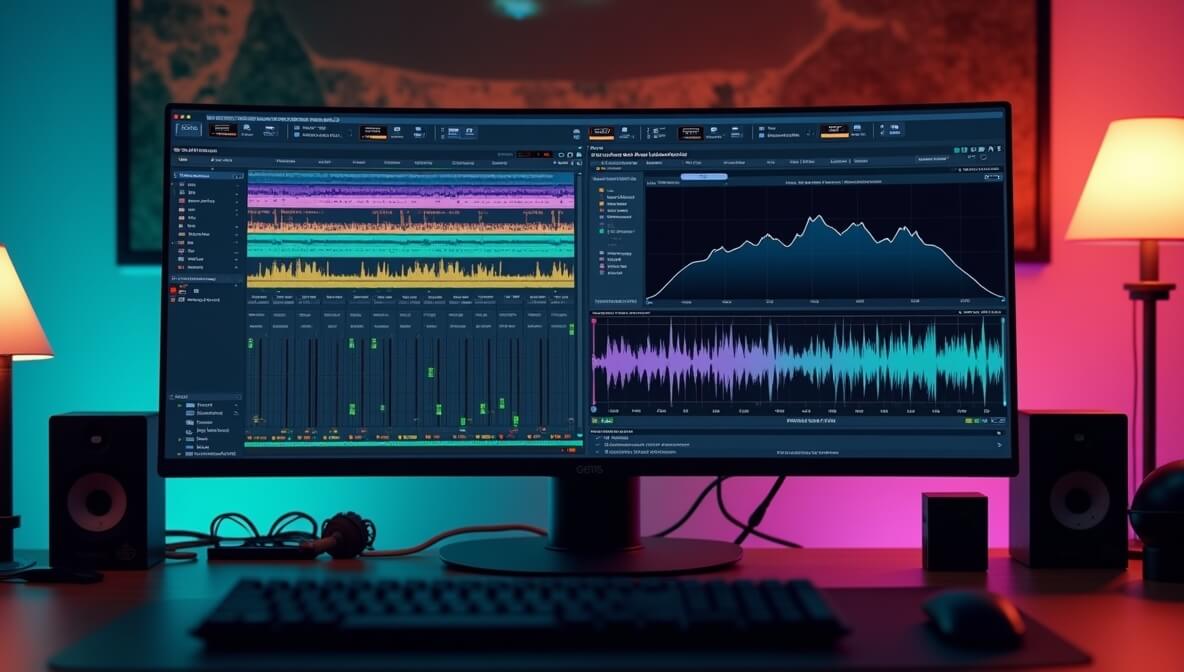
DAW session showing multitrack mixing alongside a mastering chain with meters and limiter.

A great song doesn’t just come from good lyrics or catchy melodies — it comes alive in the mix. Music mixing and mastering are the invisible hands that turn raw recordings into polished, release-ready tracks.


Think of mixing as the art of organizing and enhancing a track so that every element has its place, and mastering as the final polish that ensures your song sounds great on every speaker — from car stereos to club systems.


Whether you're just starting out in your bedroom studio or brushing up on the fundamentals, this in-depth guide will help you demystify the process, avoid common pitfalls, and improve your results.


What Mixing Really Is — and Why It’s an Art Form


At its core, mixing is about balance and clarity.


You take all the individual tracks — vocals, drums, guitars, synths, bass, FX — and blend them together to form a cohesive, emotionally impactful whole. But it’s not just about adjusting volumes. You’ll need to shape the sound using:


  • EQ (Equalization): Sculpt the tone by cutting or boosting certain frequencies.
  • Compression: Control dynamics and add punch or smoothness.
  • Panning: Position sounds from left to right in the stereo field.
  • Reverb and Delay: Add space and depth without making things muddy.


Mixing Is Creative, Not Just Technical


  • Mixing is where a track gets its vibe. Want a lo-fi, gritty feel? Leave in some saturation and hiss. Want a modern pop shine? Go for wide stereo synths and a tight vocal presence.
  • Need help understanding tone-shaping? This EQ guide breaks down how to identify frequency problems and fix them fast.


Essential Mixing Tools & Techniques Explained


Let’s break down the fundamental tools you'll use in every mix:


1. EQ (Equalization)


EQ allows you to carve out sonic space. For example:


  • Cut low-end rumble from vocals using a high-pass filter.
  • Reduce boxiness in acoustic guitars around 300–400 Hz.
  • Add presence to vocals with a small boost around 3–5 kHz.


Dive deeper: Shaping Your Sound with EQ


2. Compression


Compression tames dynamic range — making quiet sounds louder and loud sounds quieter. This adds punch and consistency. Important parameters:


  • Threshold: The level where compression begins.
  • Ratio: How much compression is applied.
  • Attack/Release: How fast the compressor reacts.


Start here: Compression Basics


3. Reverb & Delay


Used properly, these add depth and ambiance. But use them poorly, and your mix turns to mud.


  • Use short plate reverbs on vocals for presence.
  • Use longer hall reverbs on pads or strings for space.
  • Use delays to add rhythm or thickness without crowding the mix.


Learn how to keep depth without clutter: Reverb and Delay Guide


Your Monitoring Chain is More Important Than Plugins


You can’t mix what you can’t hear. Before you blame your plugins or skills, ask: are you monitoring accurately?


1. Monitors vs. Headphones


  • Studio Monitors reveal a truer stereo image and low-end — but need room treatment.
  • Headphones are more affordable and isolate room noise but may exaggerate stereo width.


See the full breakdown: Studio Monitors vs. Headphones


2. Audio Interfaces Matter


Clean recordings and proper gain staging start with a good interface. Even a basic 2-in/2-out interface gives:


  • Lower latency
  • Better preamps
  • Higher-resolution monitoring


Learn more: Understanding Audio Interfaces


A Repeatable Step-by-Step Mixing Workflow


Don’t just turn knobs at random — follow this proven process to build your mix logically.


1. Gain Stage First : Adjust all levels to avoid clipping. Keep your stereo output peaking around -6 dBFS for headroom.


2. Balance Faders : Before you touch EQ or reverb, mix with just volume and pan. If it doesn’t sound right dry, effects won’t save it.


3. Use EQ to Carve Space : High-pass unneeded low-end. Cut competing frequencies (like guitars clashing with vocals). Boost only if necessary.


4. Add Compression : Use light compression on vocals, bass, and drums. Don’t overdo it — aim for dynamics, not loudness.


5. Add Reverb & Delay : Think in layers: short reverb for intimacy, longer delays for width. Don’t drown your mix.


6. Reference Tracks : A/B your track with a commercial song in the same genre. Match tonal balance and loudness, not just vibe.


7. Final Touches : Automate volume, effects, or panning for transitions and dynamics. Less is more — make every move intentional.


Train Your Ears, Not Just Your Hands


No plugin beats a trained ear. Improve by:


  • Doing daily 10-minute ear training drills
  • Identifying frequency ranges by ear
  • Guessing compression settings by sound


Try this: Ear Training Exercises


Mastering: What It Is and Why It Matters


Once your mix is done, mastering gets it ready for release.


1. Mastering Includes:


  • EQ for tonal balance across systems
  • Compression for glue and cohesion
  • Limiting to maximize loudness without clipping
  • Metadata & Exporting for digital platforms


2. Translation is Everything


The mastered track should sound consistent whether on:


  • Earbuds
  • Car stereos
  • Laptop speakers
  • Club systems


Tools like iZotope Ozone or LANDR can help beginners master quickly.


Common Mistakes in Mixing & Mastering


Avoid these rookie errors:


  • Too much compression on the mix bus — causes lifeless, small mixes.
  • Muddy low-mids (200–400 Hz) — clean up overlapping instruments with EQ.
  • Overusing reverb — leads to “washed out” mixes.
  • Mixing at high volumes too long — causes ear fatigue.
  • Ignoring monitoring setup — inaccurate playback = bad decisions.


Use this guide to fix them: Mixing with Clarity


Setting Up a Beginner Home Studio


You don’t need expensive gear to get pro-sounding results.


1. Minimum Essentials:


  • 2-in/2-out audio interface
  • One dynamic mic (e.g., SM58)
  • Closed-back headphones for isolation
  • A reliable DAW (see below)


2. Choose a DAW That Matches Your Style


  • Ableton Live – great for electronic & loops
  • Reaper – affordable and powerful
  • Logic Pro – Mac-only, built-in sounds
  • Pro Tools Intro – starter version of the industry standard


Full setup guide: Home Studio Essentials


Bonus: Learn MIDI and Sampling


If you’re producing beats or working digitally:


Distribution: Preparing for Release


When you’re ready to share your track, don’t forget the final step: distribution.


Learn how to:

  • Set correct loudness targets
  • Format WAVs and MP3s
  • Add metadata and cover art
  • Choose a distributor: DistroKid, TuneCore, or CD Baby


Start here: Music Distribution Guide


Create a Sustainable Learning Loop


The real secret to improving your mixing/mastering skills?


  • Practice in short, focused sessions
  • Analyze pro mixes in detail
  • Experiment, fail, adjust, repeat
  • Track your progress using a mix journal


Feeling stuck? These Plateau-Busting Strategies will keep you leveling up.


Final Thoughts


  • Mixing and mastering can feel overwhelming — but you don’t need every plugin or piece of gear to start. What you do need is a plan, a bit of patience, and a commitment to training your ears.
  • Start with the basics. Focus on clean recordings, clear EQ, tasteful compression, and careful listening. Your mixes will get better — one track at a time.

Recent Articles

Stay up to date with the latest tips, expert insights, product reviews, and step-by-step guides to help you grow, create, and succeed—no matter your industry or passion.