Whether you're a musician, voiceover artist, podcaster, or content creator, having your own home recording studio opens the door to limitless creative possibilities. With even a modest investment and the right approach, you can achieve professional-grade results without leaving your home.
This detailed guide will walk you through:
- How to choose the best space for your studio
- The essential gear every home studio needs
- Tips for acoustic treatment and sound control
- Optional but powerful add-ons
- Free tools and resources to kickstart your creative process
Let’s build a studio that sounds as good as it looks.
1. Choose the Right Room
Before buying any gear, choosing the right space is critical—it lays the groundwork for how your recordings will sound.
Key Considerations:
- Avoid square-shaped rooms: Equal-length walls reflect sound waves in predictable patterns, leading to resonant frequencies and muddy low-end. Aim for rectangular spaces with varied surfaces.
- Minimize hard surfaces: Bare walls, wooden floors, and glass create echo and reverb. Instead, opt for spaces that already contain soft furnishings, rugs, or curtains.
- Control external noise: Choose a room away from busy streets or noisy appliances. The quieter the space, the cleaner your recordings will be.
Pro Tip: Even a closet or walk-in pantry can become a great vocal booth with the right treatment.
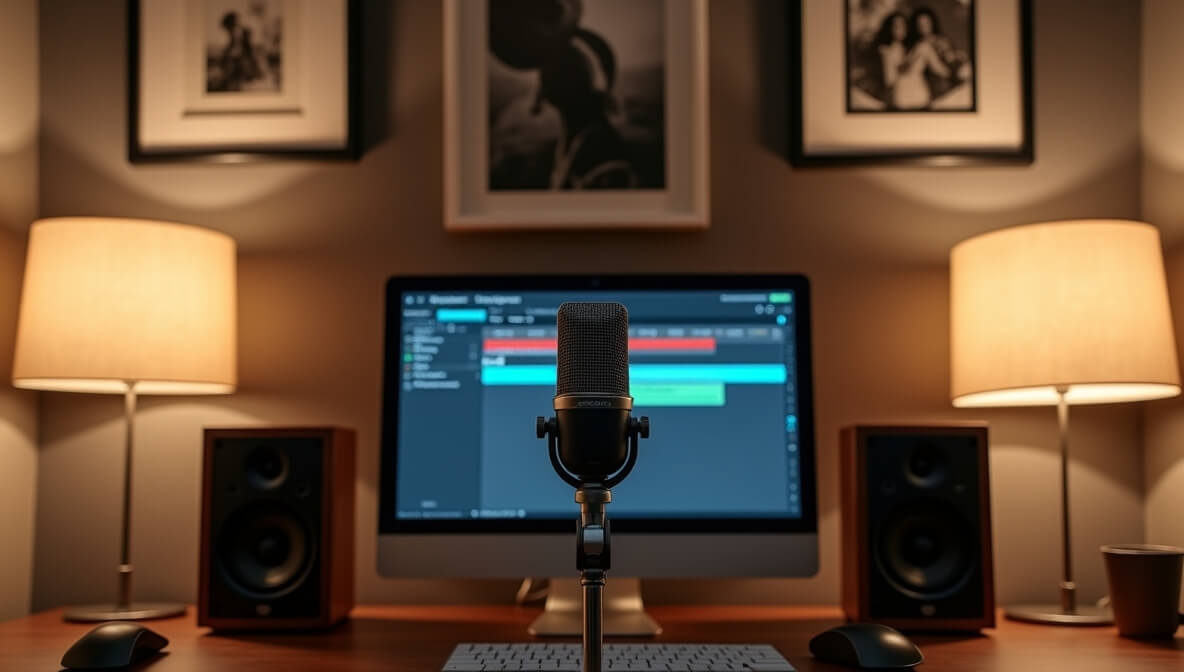
2. Must-Have Equipment for a Home Studio
Your gear doesn't need to be expensive, but it does need to be purpose-driven and well-integrated. Here’s what you’ll need to record, monitor, and produce high-quality sound.
i. Microphone (Condenser or Dynamic)
- Your microphone is your voice’s translator. Choosing the right one depends on your recording goals:
- Condenser Microphones are sensitive, clear, and accurate, making them ideal for vocals, acoustic instruments, and studio environments.
- Dynamic Microphones are rugged, less sensitive to background noise, and excellent for loud sources or untreated rooms.
ii. Audio Interface
- This device connects your microphone, instruments, and monitors to your computer. A good interface offers:
- Low-latency performance
- Clean preamps for detailed recordings
- Phantom power for condenser mics
- Multiple inputs if recording multiple sources
iii. Digital Audio Workstation (DAW)
- Your DAW is the software brain of your studio, where you'll record, edit, mix, and master your tracks.
- Reaper: Affordable and extremely customizable.
- Ableton Live: Great for electronic producers and beat makers.
- Logic Pro X: Mac-exclusive and powerful for all genres.
- Pro Tools: The industry standard for large-scale sessions.
iv. Headphones & Studio Monitors
- You’ll need two types of monitoring systems:
- Closed-back headphones for recording and isolation (no bleed).
- Studio monitors with a flat frequency response for accurate mixing.
- Avoid using regular consumer speakers—they color the sound and misrepresent your mix.
v. Cables, Mic Stands & Pop Filters
- These accessories are often overlooked but make a major difference:
- XLR cables: For microphones—choose quality, shielded cables to reduce noise.
- Adjustable mic stand: Helps with mic positioning and comfort.
- Pop filter: Prevents plosive sounds ("P", "B", "T") from distorting vocal takes.
3. Acoustic Treatment Tips
Great microphones and gear can only do so much if your room acoustics are poor. Sound bounces off walls, floors, and ceilings, creating unwanted reverb, flutter echoes, and frequency buildup.
Key Acoustic Strategies:
- Bass traps: Go in corners to absorb low-end frequencies.
- Acoustic panels: Install at first reflection points (usually side walls and ceiling).
- Diffusers: Break up sound waves and prevent harsh echoes.
- Curtains & rugs: Simple fixes that help dampen high-frequency reflections.
How to Build a Home Photography Studio (Many acoustic treatment tips apply to both music and video studios.)
4. Optional (But Useful) Add-Ons
If you’re ready to go beyond the basics, these tools can enhance your workflow and versatility:
- MIDI Controller: Essential for composing with virtual instruments or triggering samples.
- Portable Vocal Booth: An affordable way to reduce room noise if you can't treat your entire space.
- Control Surface: Gives tactile control over faders, pans, and plug-ins within your DAW.
- Power Conditioner: Protects gear from voltage spikes and electrical hum.
Want help customizing your studio based on your goals and genre? Book a Free 15-Minute Music Production Consultation
Get Started with Resources & Samples
You're now equipped to record—but what about content and sound libraries? Start creating instantly with these free, high-quality tools:
Final Thoughts: Start Small, Sound Big
Building your own home studio isn’t about having the most expensive gear—it’s about making smart choices, understanding your space, and developing your skills. Even with a compact setup, you can create music, podcasts, and voice recordings that rival pro studios.
Start with the essentials. Upgrade only when your workflow demands it.
Need help deciding what to prioritize next or how to level up your current setup? Book a Free 15-Minute Music Production Consultation