The Best Photo Editing Techniques for Vibrant Colors
In an era dominated by visual content, vibrant and engaging images are more than just aesthetically pleasing—they command attention, tell stories more powerfully, and increase viewer engagement. Whether you're editing portraits, landscapes, travel, or product photography, mastering techniques for vibrant color editing is essential to elevating your images from good to professional.
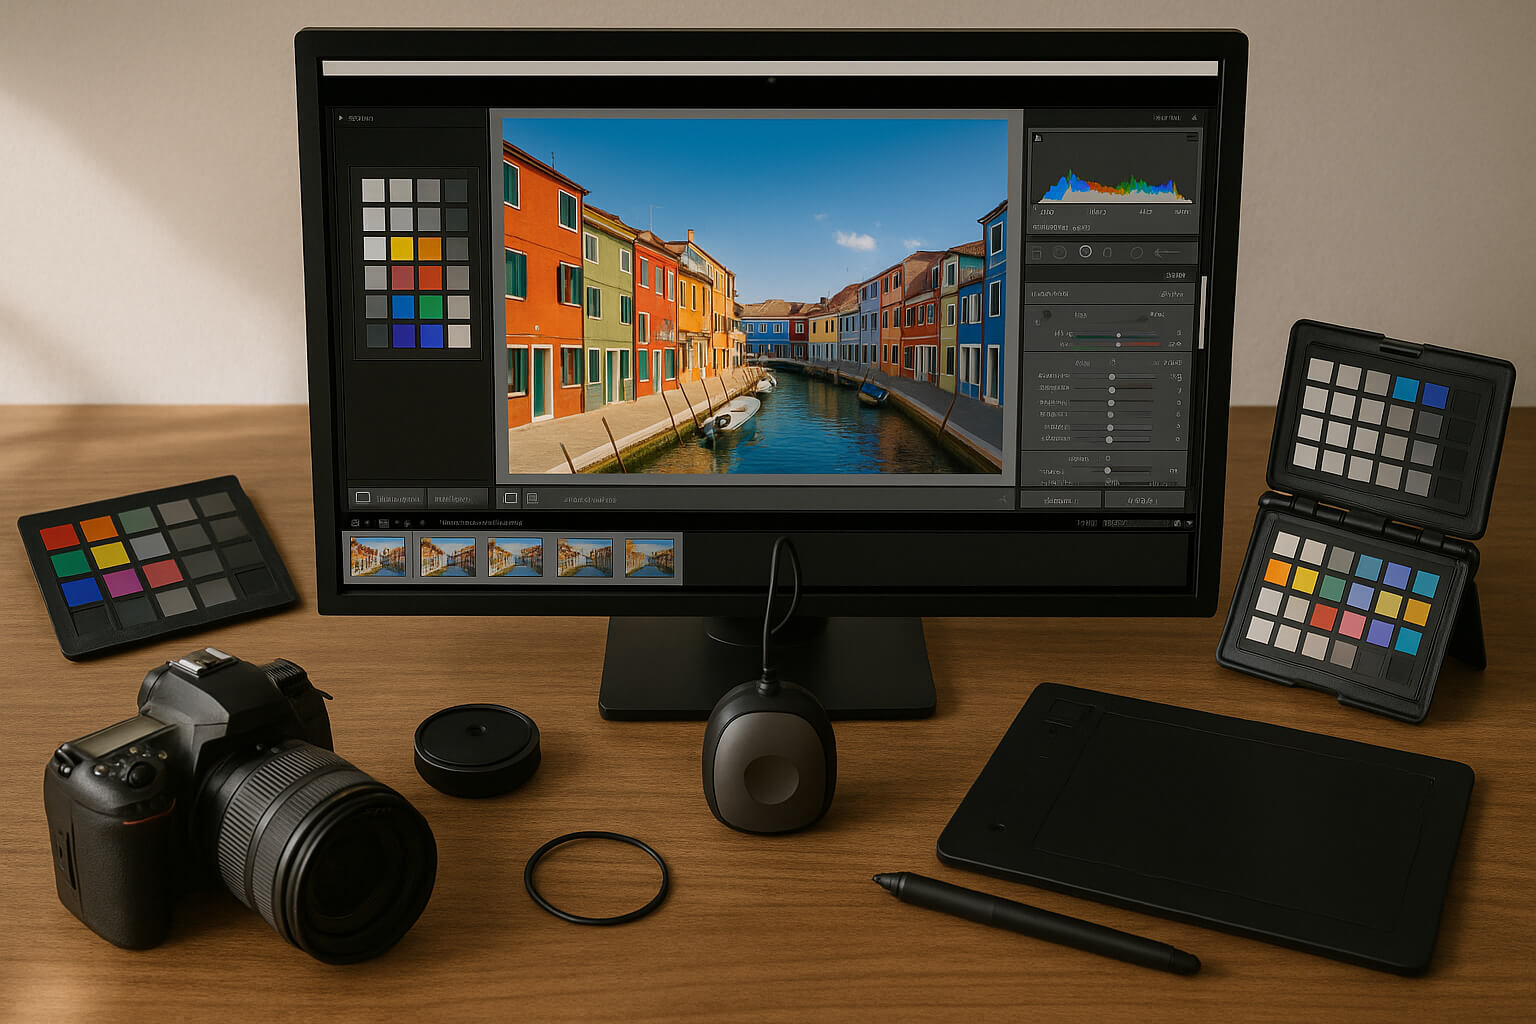
This guide covers detailed, field-tested techniques for enhancing colors naturally, without over-processing. Learn how to use tools like color grading, local adjustments, and presets to bring out the best in your images while preserving realism and mood.
Start with a Properly Exposed Image
Before jumping into editing software, it's crucial to capture your image with the right exposure, lighting, and white balance. Post-processing can enhance what’s already there—but it can't completely fix poor in-camera settings.
Key Tips for a Good Base Image:
Technique 1: Color Correction for Natural Vibrancy
- Color correction is the first and most critical step in the editing process. It ensures the colors in your image are accurate, true to life, and evenly balanced across different lighting conditions.
- How to Correct Colors Effectively:
- Adjust white balance sliders to eliminate color tints.
- Fix exposure and contrast to set a clean base for color manipulation.
- Use the HSL (Hue, Saturation, Luminance) panel to target specific color ranges.
- Color Correction vs. Color Grading
Technique 2: Controlled Color Grading
- Color grading introduces mood, emotion, and atmosphere into your image. It allows for creative expression, setting the tone and visual style of the photo.
- Practical Color Grading Techniques:
- Use split toning or color wheels to apply different tones to shadows and highlights.
- Apply warm tones to skin and highlights, and cool tones to shadows for contrast.
- Always preserve natural-looking skin tones.
- What Is Color Grading in Photography
Technique 3: Adjust Saturation and Vibrance
- Understanding how to properly balance vibrance and saturation helps you make your images pop without looking fake.
- Best Practices:
- Increase vibrance to boost muted colors without affecting skin tones too strongly.
- Use saturation carefully—minor tweaks can go a long way.
- Apply adjustments selectively using masks or brushes.
Technique 4: Use Local Adjustment Tools
- Selective adjustments allow for pinpoint control over color, light, and detail, ensuring your edits are precise and localized.
- Key Tools and Their Uses:
- Brushes: Apply exposure or color tweaks to specific parts of the image.
- Radial Filters: Highlight your subject by enhancing the area inside or outside the radial.
- Graduated Filters: Perfect for sky and horizon balancing in landscapes.
- Edit Black and White Photos for Contrast Mastery
Technique 5: Use Professional Presets
Technique 6: Remove Distractions to Highlight Color
- Distractions pull attention away from the image’s main subject and can dull its overall color impact.
- Fixing Distracting Elements:
- Use spot healing or cloning to remove unwanted items.
- Simplify the background and frame to highlight key colors.
- How to Remove Unwanted Objects from Photos
Technique 7: Use Contrast and Light Play
Technique 8: Calibrate Your Monitor
Bonus Tip: Keep Learning & Refining Your Style
- Vibrant editing is as much about vision as it is about tools. Keep evolving your style and staying up to date with new techniques.
- How to Learn Photography Skills
- Best Photography Courses in the World
- By mastering these techniques—from proper capture to precision editing—you’ll be able to create stunning, vibrant images that impress on social media, in print, or across professional portfolios. Want a free sample preset pack or workflow checklist to apply what you’ve learned? Let me know and I’ll create one tailored for you.
