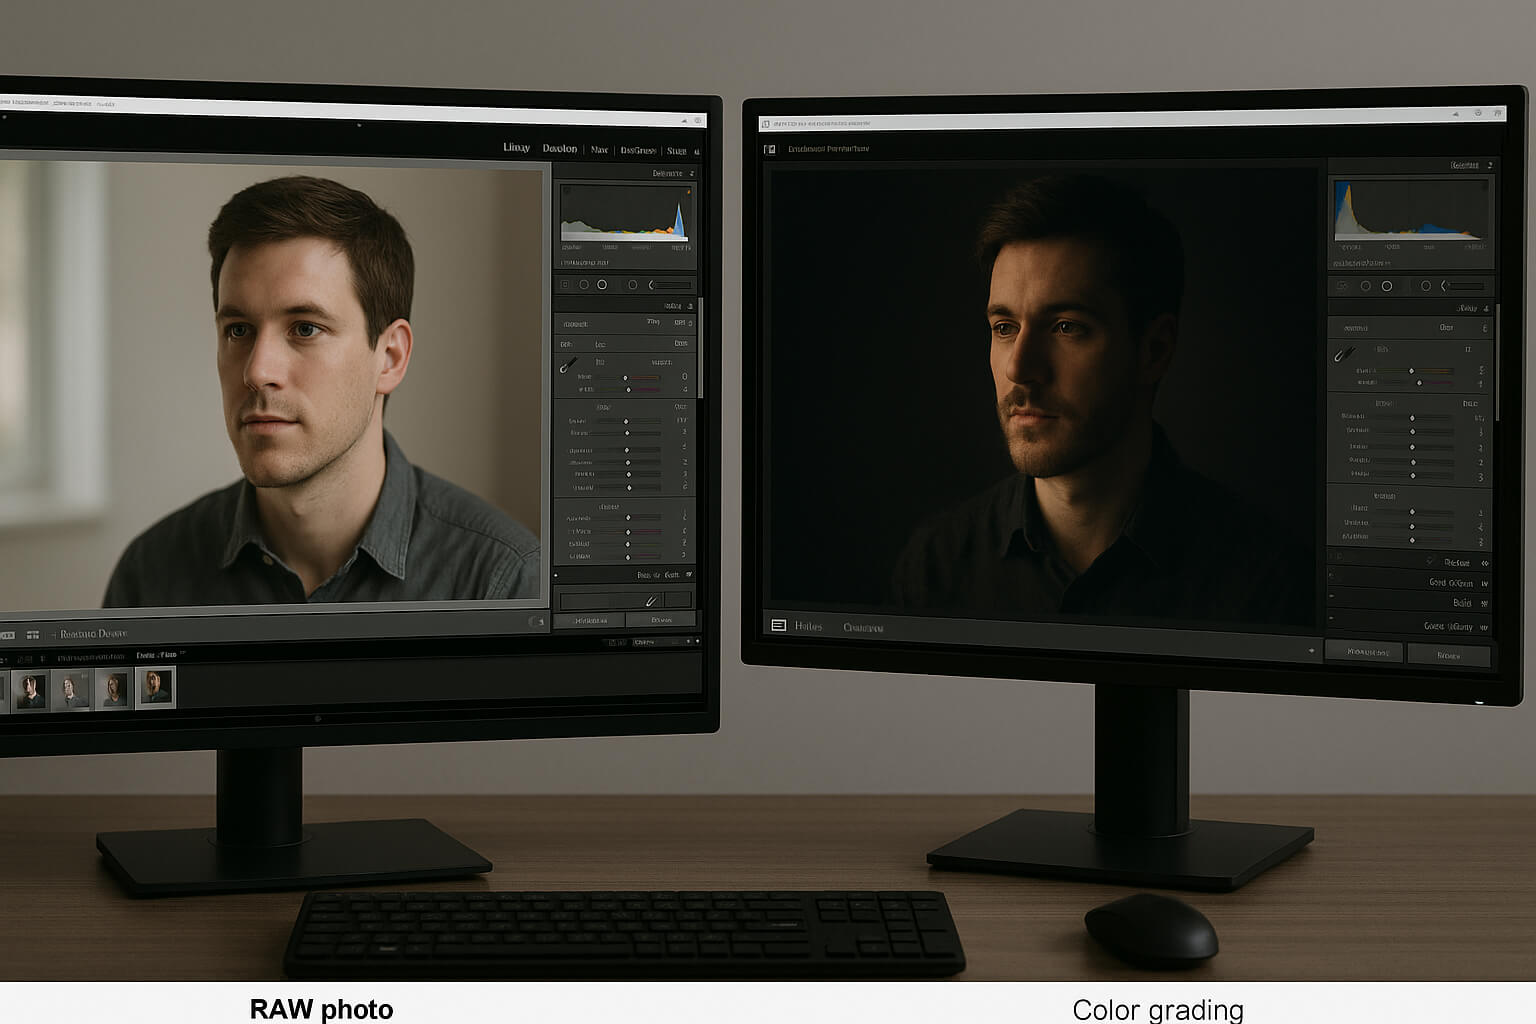
When it comes to photo editing, two of the most crucial steps that separate a good image from a great one are color correction and color grading. While they may sound similar, they serve different purposes and play distinct roles in how your photos turn out. This guide will break down both processes and explore how they help create stunning images with technical accuracy and creative flair.
Color Correction: The Technical Foundation of Photo Editing
Color correction is the first step in photo editing. It’s the process of ensuring your photo accurately reflects the scene as it was captured or as you want it to look in its most neutral and true-to-life form. Whether you’re shooting portraits, landscapes, or product photography, proper color correction ensures your images look natural and faithful to reality. Without it, your images may appear overly bright, dull, or off in terms of their colors.

What Does Color Correction Involve?
1. White Balance Adjustment
- Purpose: White balance is about correcting the color temperature of your photo. Without white balance, colors in your photo might look too warm (yellow/orange) or too cool (blue).
- Why It’s Important: For example, if you're photographing a white dress under indoor tungsten light, the dress could appear yellow. White balance ensures that whites and neutral tones are accurately rendered, giving the rest of the image more natural color.
2. Exposure Correction
- Purpose: Exposure affects the brightness of your image. If the image is too dark (underexposed), you won’t see enough detail in the shadows. If it’s too bright (overexposed), you might lose highlights.
- Why It’s Important: Adjusting exposure reveals more detail, especially in areas like skin tones or fabric textures. Correcting exposure can also enhance shadows and highlights, making your image more balanced.
3. Contrast & Clarity Tuning
- Purpose: Contrast adjusts the difference between dark and light areas, while clarity sharpens the image by enhancing midtones. Together, they create a well-defined and visually striking photo.
- Why It’s Important: Too little contrast can make a photo feel flat, while too much can make it harsh. A balanced contrast, along with a bit of clarity, can give your image depth and texture, especially important in detailed shots like close-ups or landscapes.
4. Color Cast Removal
- Purpose: Color casts occur when certain lighting conditions introduce unwanted tints (such as a greenish or reddish hue) into your photo.
- Why It’s Important: Color cast removal helps in neutralizing these unwanted colors. For example, mixed lighting situations (e.g., daylight and artificial light) often result in one color casting a tint over the entire image. Correcting these color casts restores the natural colors of your subjects.
5. Skin Tone Neutralization
- Purpose: Achieving natural-looking skin tones is critical, especially in portrait photography. Lighting conditions can cause skin to appear too red, yellow, or blue, which makes the photo feel unnatural.
- Why It’s Important: Skin tones are a sensitive area for many photographers. Ensuring skin looks natural across different lighting conditions will make the image feel more authentic, which is especially important for wedding or fashion photography.
Example Use Case for Color Correction
You're editing wedding portraits taken in mixed lighting (natural and artificial). You need to ensure the couple’s skin tone looks realistic and the whites of the dress aren’t tinted orange from indoor bulbs.
Color correction is especially vital when preparing images for professional use or uploading to online marketplaces. As seen in this guide to selling photos online, accurately corrected images are more likely to be approved and purchased by customers.
Color Grading: Shaping the Mood and Storytelling Tone
Once your photo is technically corrected, the next step is color grading. This is where you have the creative freedom to apply your personal or brand style. Color grading is the process of adjusting colors to enhance the mood, atmosphere, or emotion conveyed by the image. It’s more artistic and subjective than color correction, giving you the ability to tell a story or evoke a specific feeling through color.

What Does Color Grading Involve?
1. HSL (Hue/Saturation/Luminance)
- Purpose: This tool allows you to isolate specific color ranges (e.g., blues, greens, reds) and adjust their hue, saturation, and luminance (brightness). For example, you can deepen the green in a forest scene or make the sky appear cooler and more tranquil.
- Why It’s Important: HSL adjustments allow you to tweak certain colors to either intensify them or make them more subtle, helping to convey the right mood for the image. In fashion photography, for instance, you might make the reds pop or reduce the saturation of certain tones for a muted, sophisticated look.
2. Color Wheels & Split Toning
- Purpose: Color wheels let you add specific colors to the highlights, midtones, and shadows. Split toning goes one step further by allowing you to add different colors to the highlights and shadows for a unique visual effect.
- Why It’s Important: You can use split toning to create cinematic effects, such as adding warm tones to the highlights (creating a golden hour feel) and cool tones to the shadows (creating a moody, nighttime effect). This technique is often used in film and editorial photography for its emotional impact.
3. Curves and LUTs (Look-Up Tables)
- Purpose: Curves allow for precise control over the brightness and color channels in your image. LUTs are preset color profiles that apply specific color grading styles or “looks” to your photos.
- Why It’s Important: Curves can be used for fine-tuning color balance and contrast. LUTs offer a quick and consistent way to apply a desired look, such as creating a vintage film effect or a high-contrast, bold color style.
4. Creative Filters and Presets
- Purpose: Filters and presets are often used to apply a specific style or tone to an entire photo. These could be anything from Instagram-style filters to more advanced, filmic presets.
- Why It’s Important: These tools offer a quick way to stylize your photos consistently, which is especially helpful for brands or photographers looking to create a signature visual identity. For instance, creating a dreamy, soft-focus look for maternity photos can make the images feel more emotional and intimate.
Example Use Case for Color Grading
You want to give a dreamy, filmic feel to a maternity photoshoot. After color correction, you apply warm highlights and soft blue shadows for a nostalgic, serene mood.
🎥 Photographers using cinematic wedding photo techniques rely heavily on grading to give each image a storytelling depth. Even techniques like double exposure photography benefit from unified tones through grading.
Why Color Grading Is Essential for Storytelling
- Cinematic Wedding Photography: Many photographers who specialize in weddings use color grading to create a storytelling mood. For example, they might give an image a soft, romantic feel with muted tones and warm highlights. This can make the photos feel timeless and cinematic, especially in albums or video slideshows.
- Branding and Consistency: For photographers building a personal brand, consistent color grading helps create a recognizable style. If your images regularly have a warm, golden glow, or a cool, muted tone, people will begin to associate that style with your brand.
- Creative Control: Grading offers complete creative control over how the audience perceives your images. Want to make your photos feel edgy, nostalgic, or moody? Color grading gives you the tools to do so with precision.

Recommended Software & Tools
For both color correction and grading, here are top tools used by professionals:
- Lightroom & Lightroom Mobile – Ideal for batch corrections and tone grading
- Photoshop – Advanced selective correction and artistic grading
- Capture One – Industry-favorite for precise color control
- Darkroom or VSCO – Great mobile solutions for grading
- Software for Restoration: If you’re fixing old photos before grading, tools in photo restoration software can help you recover details for better color work.
Real-World Workflow Example
Let’s say you're creating a portfolio to showcase your work. After selecting your best shots:
- Color Correct every photo to ensure consistency and professional polish.
- Apply subtle grading to create a unique visual identity across the portfolio.
- Consider photo selling websites to monetize your best work. Buyers look for clean yet emotive visuals.
🔁 Consistency is key. Grading styles can be reused or saved as presets to speed up future edits.
Final Thoughts
Color correction and color grading are not interchangeable—they serve different goals but are equally important. One ensures technical accuracy, the other emotional appeal.
When you understand the difference, you can make smarter creative choices, present more professional work, and develop a visual signature that resonates with your audience.
Master both techniques and watch your photography go from good to unforgettable.