Natural light is one of the most accessible and powerful tools in a photographer’s toolkit. Whether you're a beginner with a smartphone or a seasoned pro with a DSLR, learning to harness the changing qualities of natural light will dramatically improve your photos—without spending a dime on expensive lighting gear.
This in-depth guide will teach you how to master natural light and incorporate it into your photography workflow with precision and creativity. Throughout the article, you’ll find expert-backed resources from RocketPages that help turn your beautiful lighting into profitable photography work.
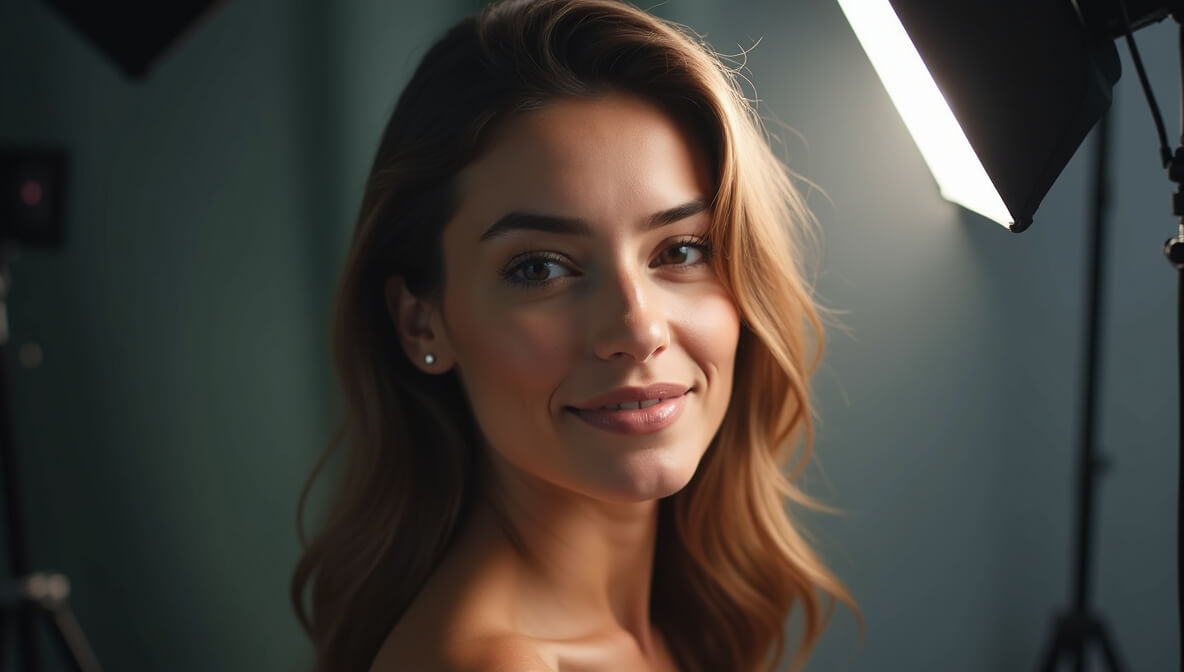
1. Understand the Types and Qualities of Natural Light
Natural light varies throughout the day and can dramatically affect the mood, sharpness, and appeal of your image. Here's a breakdown of the main lighting phases and how to use them:
- Golden Hour (Sunrise & Sunset)
- This is the period shortly after sunrise and before sunset when the sun is low in the sky. The light is soft, warm, and directional—perfect for creating flattering skin tones and dreamy backgrounds in portraits.
- Use cases: Outdoor portraits, lifestyle shoots, romantic scenes.
- Want to build a business around stunning portraits? Learn How to Start a Photography Business from Scratch.
- Direct overhead sunlight is intense, with harsh shadows and high contrast. It’s often challenging for portraits but can work well for architectural or editorial work if you manage the light smartly.
- Tips:
- Use shaded areas or a diffuser to soften the light.
- Backlight your subject and expose for the face.
- Look for natural reflectors like white walls or sand.
- Cloudy skies act as a giant natural softbox. This creates soft, even lighting with little contrast—ideal for product photography, street photography, or candid portraits.
- Tip: Always bring a collapsible reflector to add dimension to your subject.
- For soft lighting examples, see the Best Lighting Setup for Clothing Photography.
2. Use Window Light Indoors Like a Pro
If you're shooting indoors, window light can mimic studio lighting when used correctly. Depending on its direction, you can create a range of effects:
- North-Facing Windows : These offer indirect, consistent lighting throughout the day. Perfect for long indoor sessions.
- East/West-Facing Windows : These provide dramatic light in the morning or evening. You'll need to work quickly and control highlights.
- Tips for effective window lighting:
- Use white curtains or bedsheets as makeshift diffusers.
- Place a reflector opposite the window to fill in shadows.
- Angle your subject at 45° for a soft, three-dimensional effect.
Planning to work from home? Check out How to Build a Home Photography Studio.
3. Control and Shape Natural Light with Modifiers
Natural light can be unpredictable—but with the right tools, you can control it effectively:
- Reflectors : Bounce light back onto your subject to reduce shadows or illuminate details. White and silver are great for portraits; gold adds warmth.
- Diffusers : Soften harsh light, especially during midday or direct window light sessions.
- Negative Fill (Black Foam Boards) : Enhance shadows and contrast when you want moodier results.
- Pro Tip: For food and flat lay photography, position a diffuser between the window and your setup, and use reflectors to fill shadows on the opposite side.
Learn how these tricks help you get better clients in How to Get High-Paying Clients for Your Photography Business.
4. Master Subject Positioning for Natural Light
The angle at which light hits your subject can completely change your final image:
- Front Lighting: The subject faces the light. Great for even, clear exposures.
- Side Lighting: Adds depth, dimension, and texture. Common in portraits and food photography.
- Backlighting: The subject is lit from behind. Creates silhouettes or a glowing rim light.
Use shadows artistically: Shadows create mood, mystery, or contrast—use window blinds, trees, or architecture to cast patterns.
5. Match Lighting Style with Brand and Purpose
Your use of natural light should align with the story you want to tell and the audience you're reaching.
- Shoot near windows with sheer curtains.
- Use white reflectors or walls to keep shadows soft.
- Shoot during early mornings or late afternoons.
- Use side lighting and negative fill to increase shadow contrast.
Want your style to attract the right clients? Read Networking Tips for Photographers to grow your brand.
6. Edit and Optimize Your Photos for Web Use
Great lighting deserves great presentation:
- Use editing tools like Lightroom to adjust highlights, contrast, and white balance.
- Keep your natural light style consistent across your website and social channels.
- Export in web-friendly formats (JPG, 72 DPI) and use compressed versions for fast load times.
Learn web best practices in How to Optimize Your Photos for SEO and Social Media.
7. Sell and Protect Your Natural Light Photography
Once you've built a portfolio of beautifully lit images, turn them into income:
- Sell prints, presets, or digital downloads.
- Submit to stock photo sites or run your own e-commerce site.
- Watermark shared images and register copyrights.
Explore top platforms in Best Photo-Selling Websites 2025
Protect your work using Photographer Editing and Protecting Copyrighted Photos
Conclusion
Mastering natural light is about understanding, adapting, and practicing. It’s one of the most powerful creative elements in photography—free and ever-changing. With thoughtful use of window light, golden hour, modifiers, and editing, you can consistently capture stunning, professional-looking images that enhance your brand and tell stories your clients will love.
Want to turn your natural light photography into a full-time income? Learn from How to Scale a Photography Business and Go Full Time.