Mastering Backlight Photography Settings in 2025

June 06, 2025

By RocketPages

Silhouette portrait with golden backlighting and lens flare during sunset in a natural outdoor setting.

Backlighting is one of the most visually striking techniques in photography—but also one of the most misunderstood. When executed well, it can create breathtaking images filled with warmth, drama, and depth. Whether you're chasing golden hour flares, glowing silhouettes, or soft rim lighting, mastering backlight photography settings is essential for capturing these magical moments without blowing out highlights or losing subject detail.


In this guide, you’ll learn how to shoot confidently into the light, set your camera up for success, and edit for maximum impact—complete with expert gear tips and pro-backed resources to keep leveling up.


1. What Is Backlighting in Photography?


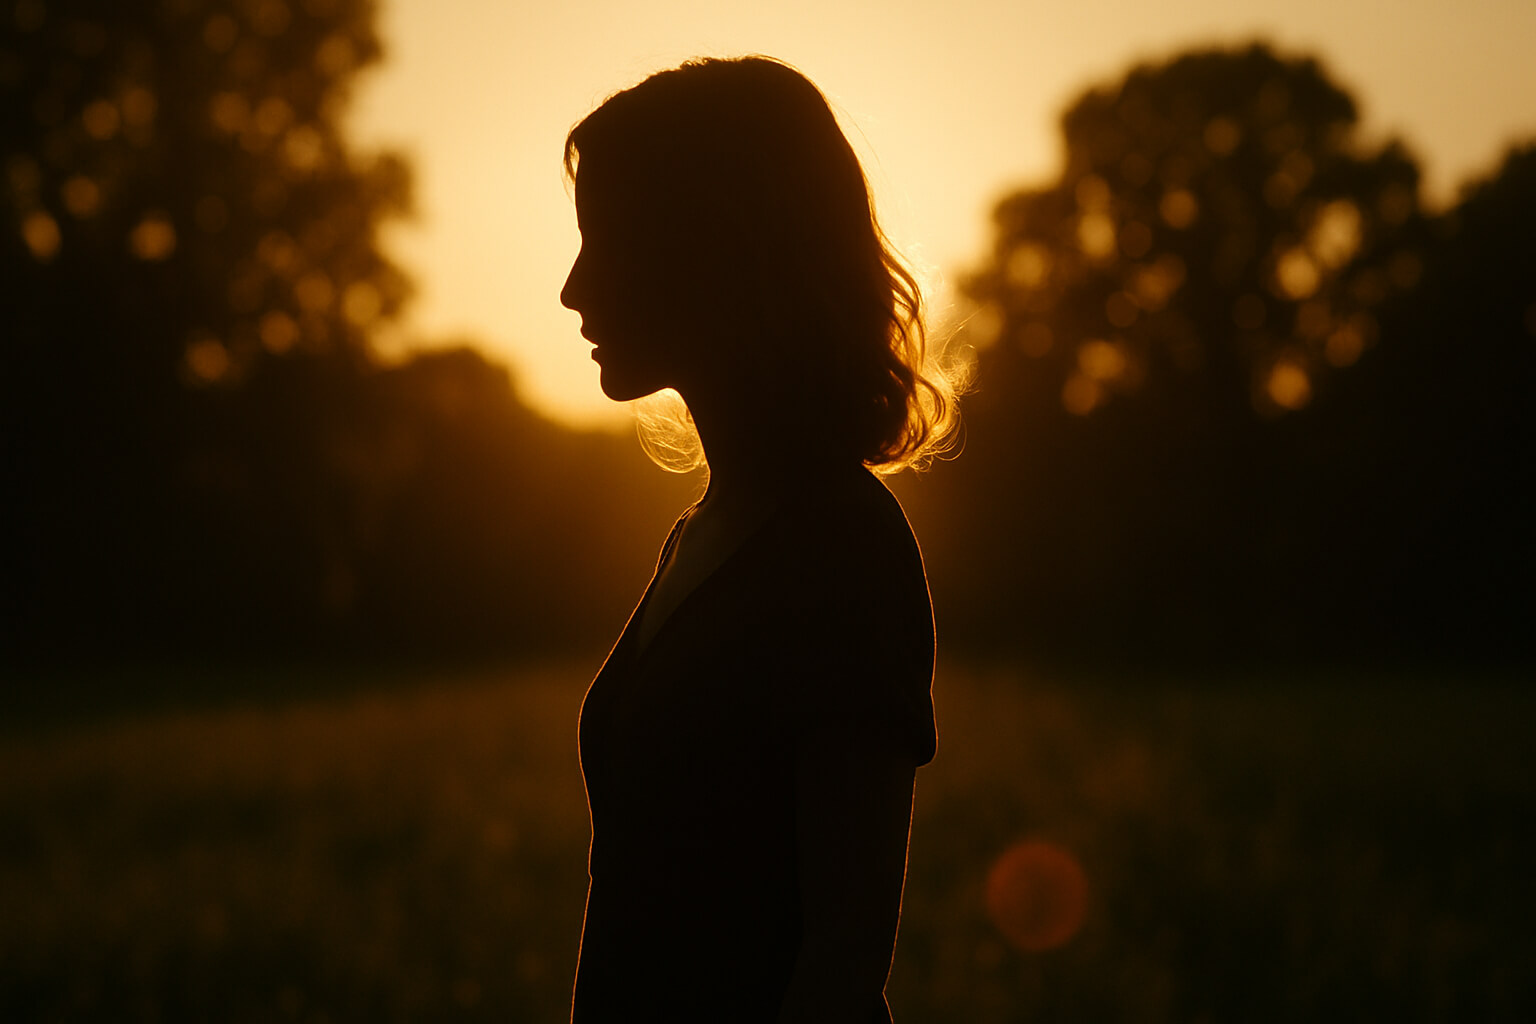
Backlighting occurs when the primary light source (typically the sun or a strong artificial light) is behind your subject, pointing directly toward the lens. It produces a luminous outline around the subject—known as rim light—and adds an ethereal glow that can be both dramatic and emotional.


Common effects of backlighting:


  • A soft or golden rim light around hair or edges
  • Natural lens flares and warm sunbursts
  • Eye-catching silhouettes with sharp outlines
  • Translucency in materials like lace, leaves, or fabrics


Want a deeper breakdown of light placement and how to harness the sun? Read this natural light guide for creative inspiration.


2. Best Camera Settings for Backlight Photography


Using automatic settings with strong backlighting can cause overexposure or unintended silhouettes. Take control with these optimized manual adjustments:


  • Shooting Mode: Use Manual Mode for full control, or Aperture Priority if you want speed and consistency.
  • Aperture (f/stop):
  • Use wide apertures (f/1.8 to f/2.8) for dreamy bokeh and soft focus.
  • Use narrower apertures (f/8 to f/11) for strong silhouettes or sharper landscape elements.
  • ISO: Start at ISO 100 to reduce grain; increase only as needed in low light.
  • Shutter Speed: A good starting point is 1/100s or faster to avoid motion blur when backlighting is strong.
  • White Balance: Use Daylight mode for warmth, or shoot in RAW and fine-tune in post.


Learn how to apply these camera basics in our full guide on how to take professional-looking photos.


3. How to Meter for Backlighting Correctly


Backlight can throw off your camera’s light meter, often leading to underexposed subjects or overexposed skies. To avoid this:


  • Use Spot Metering: Meter off your subject’s face (especially in portraits) to ensure they are properly exposed.
  • Apply Exposure Compensation: Dial in +1 to +2 EV to brighten up your subject without washing out the background.
  • Bracket Your Shots: Take multiple exposures to choose the best balance later in post-processing.


Want to avoid exposure mistakes altogether? Study these common photography mistakes and how to avoid them.


4. Essential Gear for Backlit Photography


While you can shoot great backlit photos with any camera, the right accessories can dramatically improve your control and final image quality.


  • Lens Hood: Helps block stray light from entering the lens, reducing haze and protecting against flaring.
  • Reflectors: Bounces light back onto your subject’s face or body to prevent them from looking too dark or shadowed.
  • ND Filters: Neutral Density filters reduce the amount of light entering the lens—helpful when shooting wide open in bright backlight conditions.


For sharper portraits with glowing backgrounds, explore the best portrait lenses that pair beautifully with this technique.


5. Creative Uses of Backlighting


Once you’ve mastered the technical settings, start exploring the creative side of backlight photography. It’s not just about light—it’s about emotion, storytelling, and texture.


  • Silhouettes: Expose for the sky and let your subject go dark for bold, graphic storytelling.
  • Sun Flares: Slightly peek the sun through leaves or between shoulders for lens flare effects that add magic and motion.
  • Hair Light: Great for portraits—light catches in the hair’s edges, creating a dreamy halo effect.
  • Translucent Details: Use backlight to highlight semi-transparent textures like petals, fabrics, or water splashes.


Learn how to enhance these scenes with our guide on creating beautiful sun flare effects.


6. Post-Processing Tips for Backlit Images


Shooting into the light often creates contrasty images. Use these editing tips to bring your vision to life:


  • Lift the Shadows: Use the shadow slider in Lightroom or Photoshop to recover dark areas without overexposing the background.
  • Pull Down Highlights: Protect bright skies and flare zones by reducing highlights for detail retention.
  • Add Warmth: Backlight often has a golden or warm hue—lean into this in post by adjusting white balance or split toning.
  • Selective Sharpening: Apply sharpening to the subject while keeping the background soft for a balanced look.
  • Remove Distractions: Clean up your frame with object removal tools.


For more post-work insights, see the difference between color correction and color grading.
Also, tidy up your compositions with tips on removing unwanted elements.


7. Practice Scenarios for Mastery


Backlight can be practiced in everyday scenes—you just need the right timing and perspective. Here are a few scenarios to build your skill:


  • Golden Hour Portraits: Position the sun directly behind your subject just before sunset for warm, glowing rim light.
  • Backlit Nature Shots: Capture leaves, petals, or spiderwebs glowing with translucence in early morning light.
  • Silhouette Landscapes: Find a clean horizon, a strong subject shape (trees, people, structures), and shoot into the fading sun.
  • Motion Blur with Backlight: Try long exposures with flowing water or passing people to blend glowing light with movement.


Want to combine backlighting with motion? Master the art of long exposure landscape photography for magical results.


Conclusion: Let the Light Work With You


Backlight photography offers unmatched mood, storytelling power, and visual impact. With the right exposure, composition, and post-editing techniques, you can create images that feel alive, warm, and full of depth.

So don’t fear shooting into the sun. Embrace it.


Ready to explore more? Dive deeper with this essential beginner’s guide to creative studio and artificial lighting and elevate your control of light in any setting.

Recent Articles

Stay up to date with the newest tips, gear reviews, and step-by-step guides to elevate your photography journey from home and beyond.