Long exposure landscape photography is a mesmerizing technique that transforms everyday scenes into surreal works of art. Whether you’re capturing the gentle motion of waterfalls, the streaking clouds in the sky, or glowing light trails from passing cars, long exposure photography allows you to capture time in a way that isn’t possible with regular shutter speeds. This guide will walk you through the key concepts, settings, and techniques you need to start creating stunning long exposure landscapes.
What is Long Exposure Photography?
Long exposure photography involves using slow shutter speeds, ranging from a few seconds to several minutes, to capture motion over time. Unlike traditional photography, which freezes action, long exposure photography reveals the passage of time—perfect for dynamic landscapes featuring moving water, clouds, or even stars in the sky.
By holding the shutter open longer, long exposures allow you to capture a sense of motion, smoothing out water, cloud movements, and light streaks. It’s a technique that combines technical skill with creative vision, allowing photographers to create dreamlike, ethereal images.
Essential Equipment
For long exposure landscape photography, having the right gear is key to achieving clean, crisp results:
- Camera with manual exposure control (DSLR or mirrorless)
- Sturdy tripod to prevent camera shake (critical for long exposures)
- Remote shutter release or self-timer to avoid shaking the camera when pressing the shutter button
- Neutral Density (ND) filters to reduce the amount of light entering the lens, allowing for longer exposures even during daylight
- Wide-angle lens (typically 14mm to 24mm) for sweeping, dramatic compositions
Need gear ideas? Check out the best tripods for travel and studio use to help you stabilize your shots.
Step-by-Step Long Exposure Workflow
Mastering long exposure photography takes practice, but with a structured workflow, you can ensure consistent, high-quality results. Here’s how to approach the process:
- Plan the Shot : The first step is selecting a location and subject that will benefit from a long exposure. Look for:
- Moving elements like waves, clouds, or rivers.
- Locations with dynamic light conditions—golden hour or twilight often offers the perfect soft lighting.
- Places with calm water for reflections (lakes, beaches).
- Tip: Use weather apps or websites to check conditions, and think about the light—morning and evening are best for dramatic skies and softer light.
- Set Up Your Camera : After selecting the perfect spot, it’s time to set up:
- Mount your camera securely on a sturdy tripod.
- Choose a wide-angle lens to capture expansive views.
- Focus manually to avoid any autofocus errors, and then switch your camera to manual mode to take full control of the settings.
- Dial in Settings : The settings for long exposure can vary based on the lighting and desired effect. Start with these guidelines:
- ISO: Set to 100 (or the lowest possible ISO for the cleanest image with the least noise).
- Aperture: Use f/8 to f/11 for maximum sharpness across the frame (depth of field and focus).
- Shutter Speed: Start with 5–30 seconds depending on the amount of movement in your scene and the available light.
- Want more clarity on exposure balance? Explore flash and exposure settings to get a deeper understanding of manual settings.
- Use ND Filters : During daylight, using an ND filter is essential to reduce the amount of light entering your camera, enabling longer exposures without overexposing the image.
- A 6-stop ND filter is ideal for moderate light conditions.
- A 10-stop ND filter is perfect for bright daylight and will allow exposures of several seconds or more.
- Tip: Before attaching the ND filter, meter and compose your shot without it, and then attach the filter and adjust your shutter speed to match the reduced light.
- Take the Shot : Finally, take the shot using a remote shutter release or the 2-second timer on your camera to avoid touching the camera and introducing shake. After taking the photo, review the histogram to check for overexposure, and adjust your settings if needed.
Creative Effects You Can Achieve
Long exposure photography is a versatile technique that can create stunning effects in various environments. Here are some creative possibilities:
- Silky Water: Capture the flowing movement of water in rivers, lakes, and waterfalls to create a smooth, ethereal look.
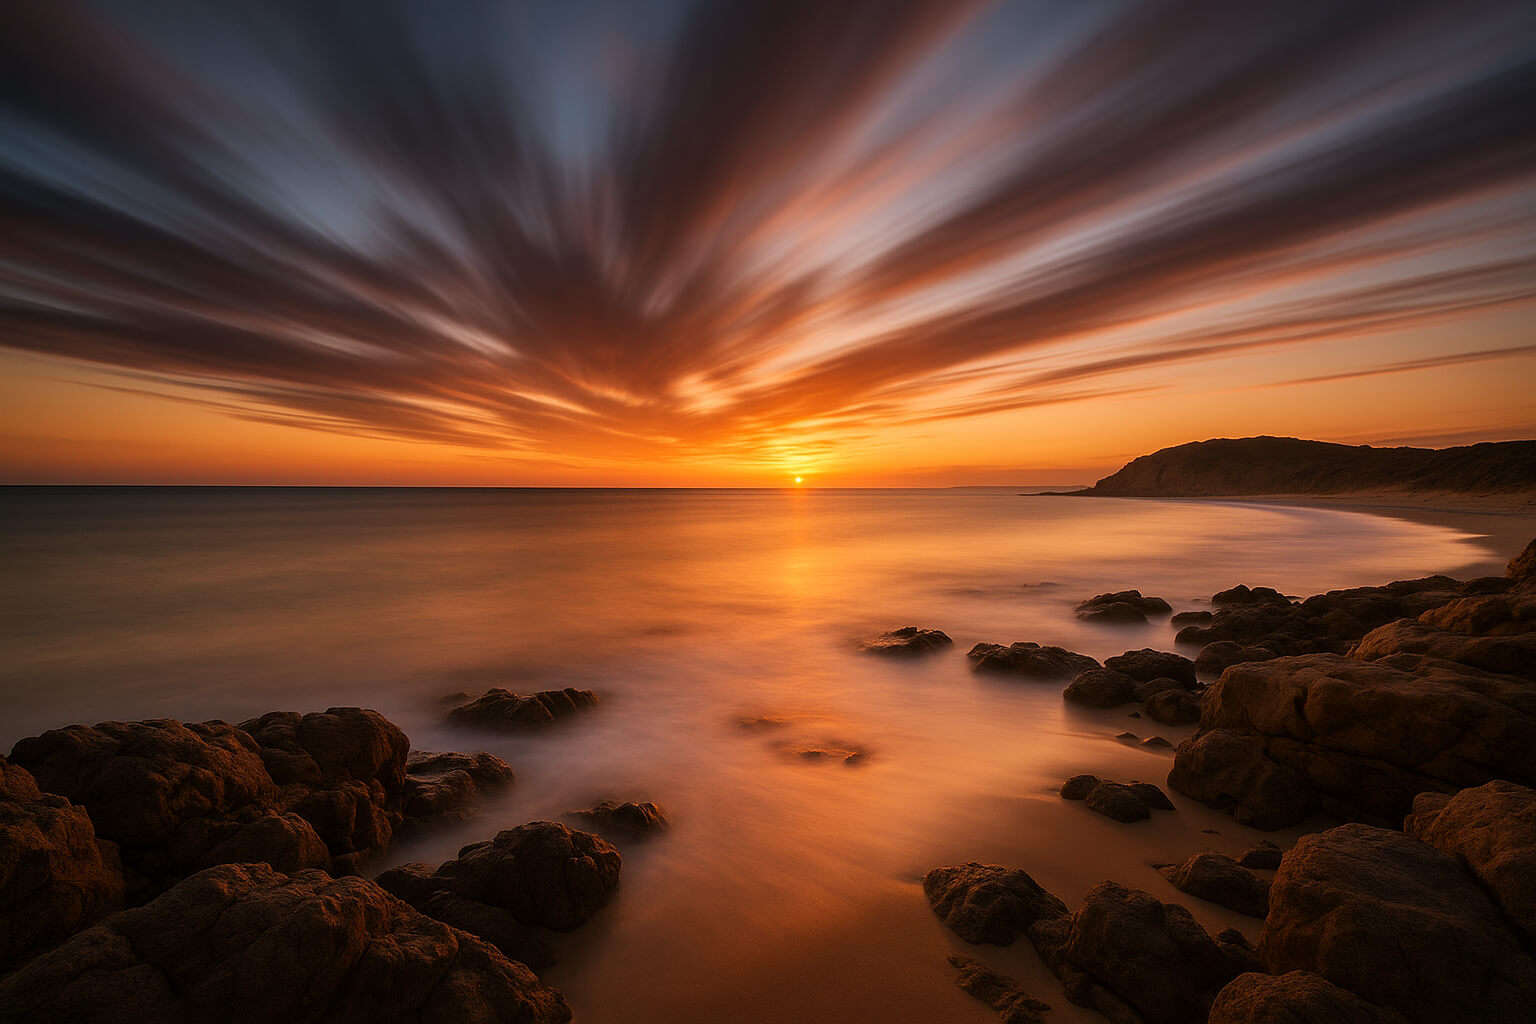
- Cloud Streaks: In scenes with moving clouds, long exposure will capture their motion, creating beautiful, soft streaks across the sky.
- Star Trails: During night shoots, use long exposure to capture the movement of the stars, creating glowing arcs of light.
- City Lights and Traffic Trails: In urban environments, long exposure can transform headlights and streetlights into colorful trails, adding dynamic movement to cityscape shots.
- Mirror-like Reflections: Calm water, such as in lakes or on a peaceful beach, can create perfect mirror-like reflections when captured with long exposure.
Post-Processing Tips
After shooting, post-processing is essential to enhance your long exposure images and bring out the best in your shots. Here are some tips to get the most out of your photos:
- Adjust Contrast and Clarity: Enhancing contrast can make textures pop and give your images more depth.
- Remove Color Cast from ND Filters: ND filters can introduce a slight color shift to your images. Use post-processing software to correct the color balance and restore true-to-life colors.
- Dodge and Burn: Use dodging (brightening) and burning (darkening) to add depth and guide the viewer’s eye to important parts of the frame.
Edit like a pro with top photo editing tools of 2025.
Conclusion
Long exposure landscape photography is about patience, planning, and vision. With the right equipment, a solid understanding of exposure settings, and a willingness to experiment, you can create stunning, time-transcending
images. Whether you're capturing the flowing movement of water or the streaking clouds overhead, long exposure photography lets you show the world in ways that go beyond what the human eye can perceive.
Start practicing and explore the possibilities of transforming natural scenes into beautiful, ethereal art. With each shot, you'll learn more and refine your craft, eventually mastering the art of capturing time in motion.
Ready to turn your photography into a business? Learn how to start from scratch and make your passion profitable.
Want to build your personal brand as a visual storyteller? Here’s a step-by-step branding guide for photographers.