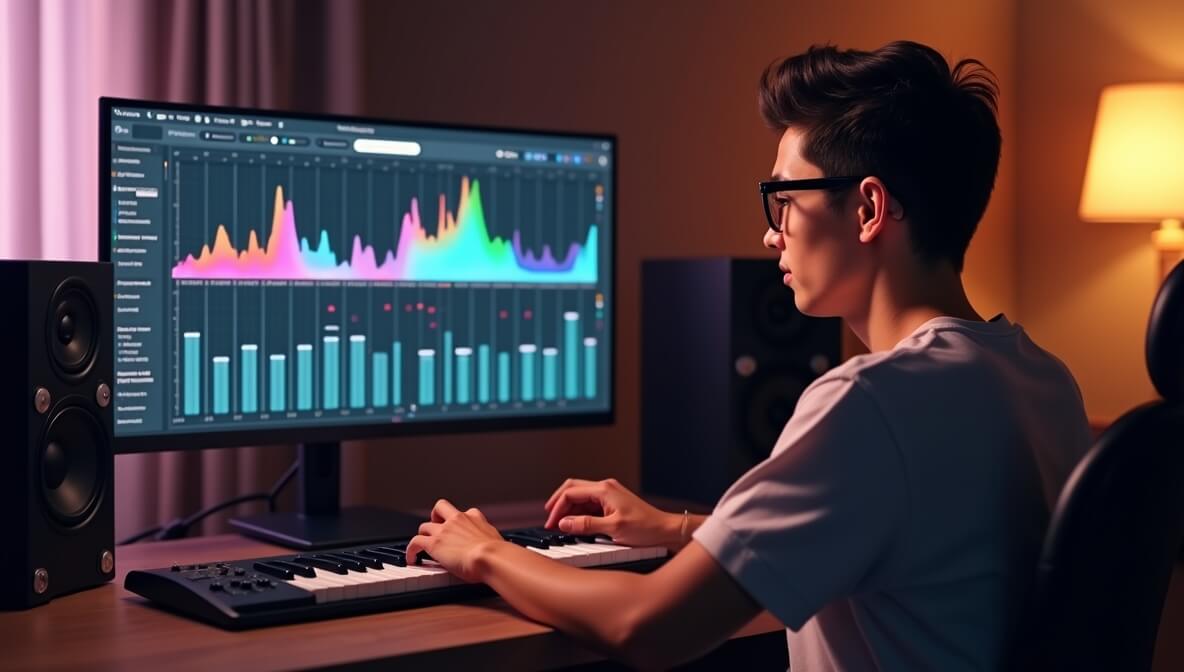
Equalization (EQ) is one of the most essential tools in music production, yet many beginners shy away from it because it seems too “technical.” In reality, EQ is simply about shaping the tonal balance of your sound so each element of your track fits together clearly. If you’ve ever felt your mix sounded muddy, harsh, or lifeless, EQ might be the key to fixing it.
What is EQ?
EQ allows you to adjust the volume of specific frequency ranges in your audio. Think of it like the bass and treble knobs on a stereo — but far more precise. With EQ, you can:
- Boost low-end warmth in a bass guitar or kick drum
- Reduce harshness in vocal recordings
- Clean up unnecessary low-end from pads or guitars
- Add presence and shine to vocals or lead instruments
If you’re just starting out, you can experiment with EQ using free DAWs like Cakewalk by BandLab or entry-level paid ones such as Ableton Live Intro.
For a more technical breakdown of EQ types and techniques, explore this guide on understanding equalization and shaping your sound.
Why EQ Matters in a Mix
Without EQ, your instruments may fight for the same sonic space, resulting in a messy or overwhelming mix. For example:
- A kick drum and bass both live in the low-end — EQ can help separate them by boosting one and cutting the other.
- Vocals often clash with guitars or synths around the 1–3 kHz range. Strategic EQ can give the vocal clarity without sacrificing the music.
Producers often pair EQ with quality studio monitors like the Yamaha HS5 or headphones such as the Audio-Technica ATH-M50x for more accurate sound.
Think of EQ as carving a sonic sculpture — shaping frequencies so each element sits comfortably in the overall mix. It's a core part of your workflow when building your home studio, as discussed in this essential gear and setup guide.
Types of EQ and When to Use Them
Understanding different EQ types helps you make smarter mixing decisions:
Graphic EQ
- Fixed frequency bands with sliders
- Best for live sound or broad tonal shaping
- Example: Cutting high-end feedback frequencies during a live performance
Parametric EQ
- Full control over frequency, gain, and Q (bandwidth)
- Ideal for surgical adjustments in studio mixes
- Example: Notching out a 350 Hz muddiness in a vocal take
Shelving EQ
- Affects everything above or below a selected frequency
- Useful for adding air (high shelf boost) or warmth (low shelf boost)
- Example: Boosting above 10 kHz on hi-hats for brightness
Even free plugins often include these EQ types. If you're exploring new tools, check out production resources on how MIDI and plugin tools fit into your setup.
EQ Tips Every Beginner Should Know
Mastering EQ is about listening intentionally. These practical guidelines will get you started:
- Cut before you boost
- Cutting reduces buildup. For example, removing boxiness (300–500 Hz) from a snare drum often sounds more natural than boosting its highs.
- Use narrow cuts, wide boosts
- A surgical cut removes a specific issue (e.g. 2.5 kHz harshness), while wide boosts lift a frequency area without sounding artificial.
- Always EQ in context
- Soloing instruments is fine for spotting problems, but EQ decisions should be made while hearing everything together — context is everything.
- Avoid over-EQing
- Less is more. Too many EQ changes can quickly destroy a natural tone. Start with subtle moves (±3 dB), and go from there.
To learn how EQ interacts with other production effects, combine it with compression and reverb/delay techniques. These tools together form the foundation of professional mixing.
Training Your Ears to Understand EQ
Your ears are your most powerful tool — not your plugins. To develop them:
- Practice identifying specific frequencies: What does 200 Hz sound like? How does 3 kHz feel?
- Use ear training exercises to sharpen your awareness of tonal shifts and resonances.
- Use spectrum analyzers (many EQ plugins include them) to visually confirm what you hear.
- Listen to professionally mixed tracks and try to reverse-engineer their EQ profiles.
- You can also use training platforms like SoundGym or TrainYourEars to sharpen your EQ recognition skills.
Pro tip: Create a “bad EQ” practice session. Take a mix and purposely make it sound muddy, harsh, or boomy. Then work backward to fix it. This trial-and-error process teaches you faster than theory alone.
EQ in Action: Real-Life Examples
Let’s look at how you might use EQ in a basic mix session:
- Vocals: Cut 200–400 Hz to reduce muddiness; boost 3–5 kHz for presence; optional shelf boost at 10 kHz for air.
- Kick drum: Boost 60–80 Hz for punch; cut 300 Hz to remove boxiness.
- Snare: Cut 250 Hz if it sounds “cardboardy”; boost 2 kHz to help it cut through.
- Hi-hats: High-pass below 200 Hz; boost gently around 8–10 kHz for sparkle.
Don’t copy these numbers blindly — always use your ears. But they provide a solid starting point.
Final Thoughts: Your Mix, Your Voice
- EQ is less about rules and more about learning how to make your music sound the way you imagine it. With time, your ears will tell you where something needs space, presence, or warmth.
- So whether you're mixing your first track or refining your tenth EP, understanding EQ is a skill that will serve you for life. Combine that with home studio basics, compression, and a great DAW — and you’re on your way to producing music that truly connects.
