How to Take Mesmerizing Star Trail Photography

May 22, 2025

By RocketPages

Star trails forming circular patterns above a mountain at night with a lit tent in the foreground.

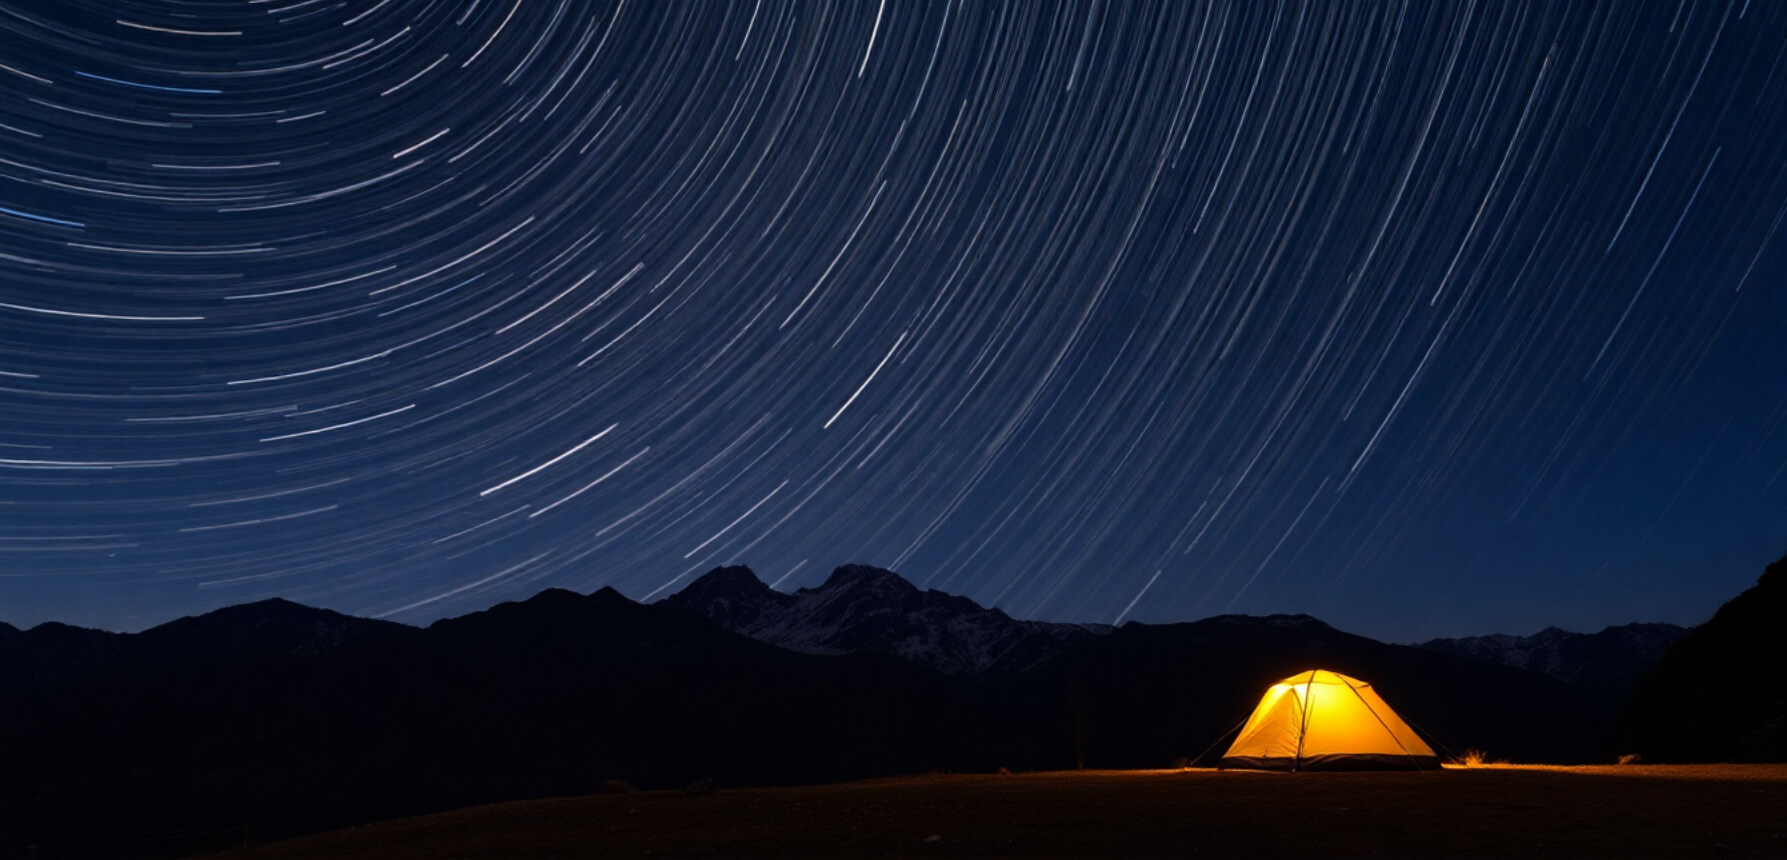
Star trail photography is one of the most captivating forms of night photography. It captures the apparent movement of stars across the sky, forming dreamy arcs or circles. This happens due to Earth’s rotation, and with the right setup, you can create these surreal effects in your own backyard or a remote location. It’s not as complicated as it seems—with just a camera, a sturdy tripod, and a little patience, you can start creating magical long-exposure shots that look like they belong in a sci-fi film.


Whether you're a curious beginner or looking to expand your astrophotography skills, this guide will walk you through every step—from choosing your location and gear, to settings and editing techniques.


1. Choose a Dark, Clear Location


To photograph stunning star trails, location is everything. You'll need to escape the light pollution of urban areas to truly capture the night sky. Light pollution—created by artificial lighting in cities—can obscure stars and reduce the overall visibility of the Milky Way and other celestial bodies.


Best Locations:


  • National parks, deserts, or rural areas are ideal spots for shooting star trails. These places are typically far enough away from city lights and offer clear, unobstructed skies.
  • Use tools like the Light Pollution Map app to pinpoint dark sky areas near you. This can help ensure that you're shooting in an area with minimal light interference.


Timing:


  • A clear, moonless night is crucial. The moonlight can overpower the faint stars you're trying to capture. Check the lunar calendar to find moonless nights and the weather forecast to make sure the sky will be clear.


Tip: Check for dark sky reserves or stargazing locations specifically designed for astrophotography.


2. Set Up Your Gear


For star trail photography, you don't need high-end, professional equipment. However, a few key pieces of gear can make a big difference in the quality of your photos:


Essential Gear:


  • DSLR or Mirrorless Camera: Choose a camera that allows manual settings. A camera with a large sensor (like a full-frame camera) will perform better in low-light conditions.
  • Sturdy Tripod:  Since you'll be taking long exposures, a sturdy tripod is crucial to prevent any camera shake. A solid tripod ensures sharp, clear shots, even with longer shutter speeds. Check out the best tripods of 2025 for options.
  • Wide-Angle Lens: A lens with a wide aperture (f/2.8 or f/4) will allow more light into the camera, which is essential for astrophotography. Wide-angle lenses help capture more of the night sky, giving you that expansive view.
  • Remote Shutter or Intervalometer: This tool is used to trigger the shutter without touching the camera, reducing the risk of vibrations that could affect the image sharpness. It also helps automate the process of taking multiple long exposures.


Beginner Tip: If you're new to astrophotography, start with an entry-level camera that offers manual controls, and work your way up.


3. Use These Camera Settings for Star Trails


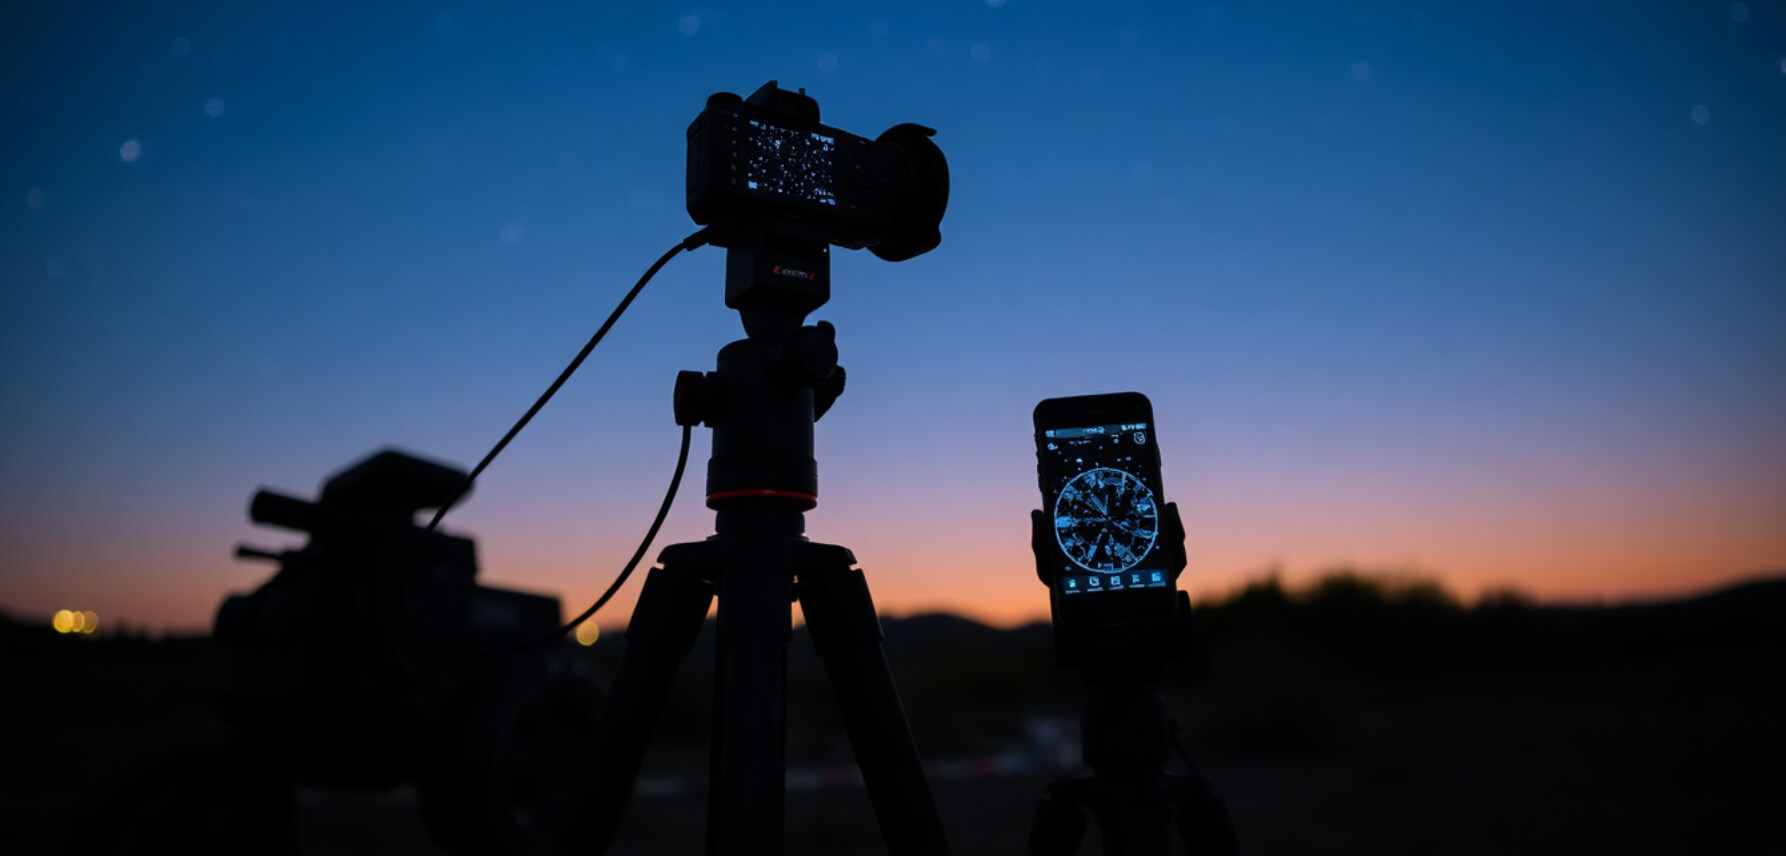
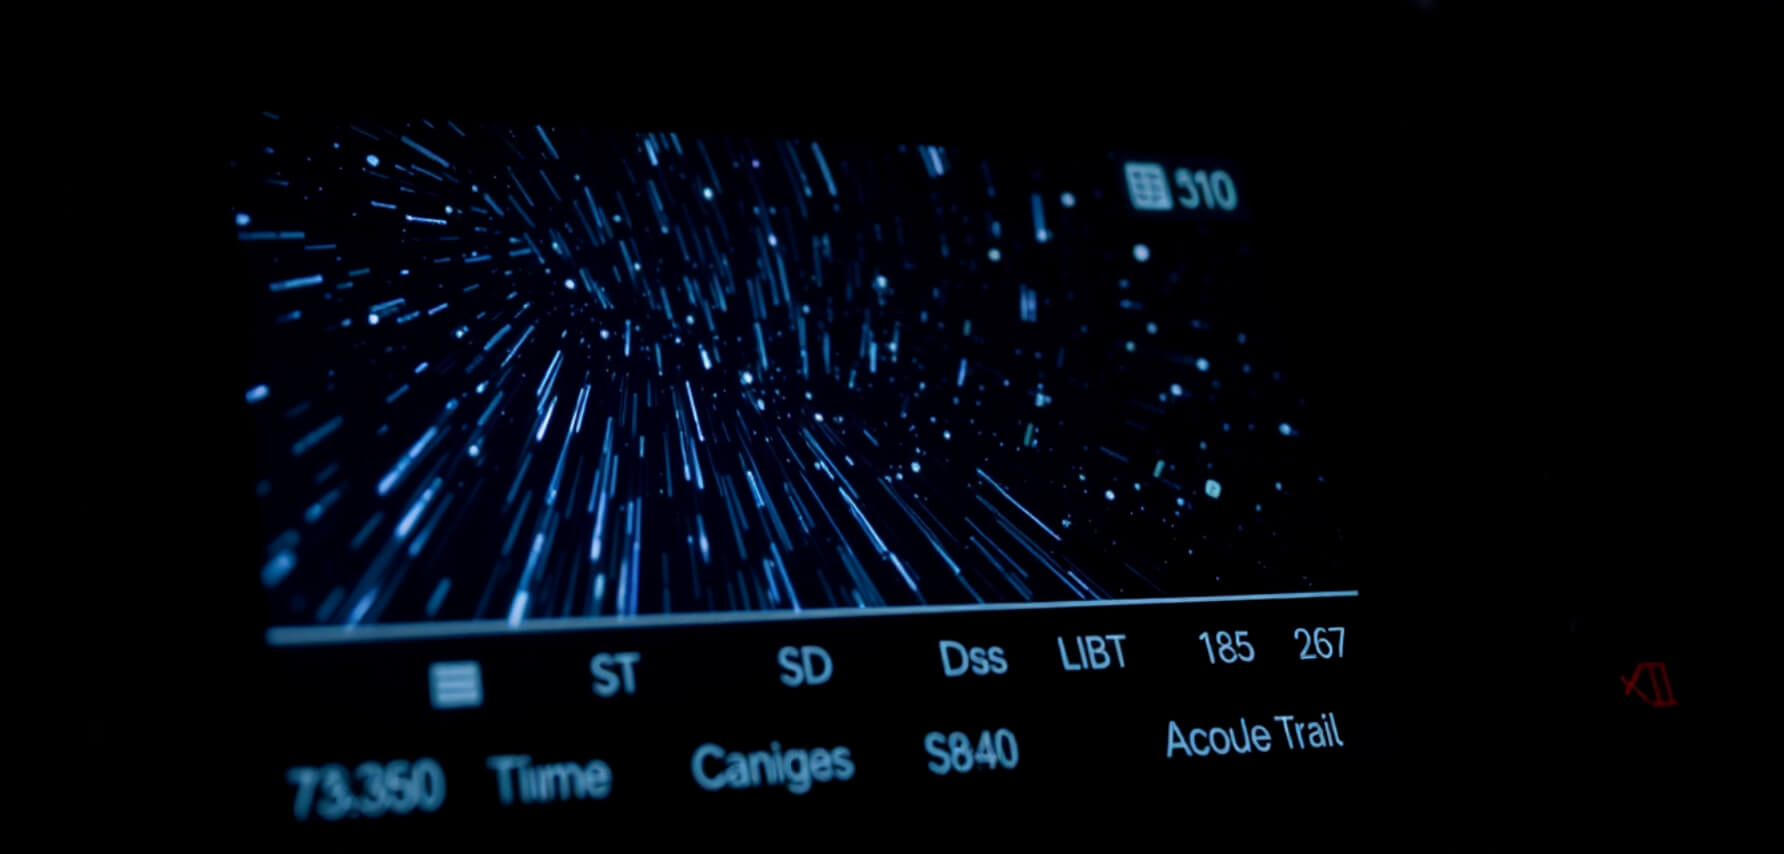
The key to great star trail photography is mastering your camera settings. Shooting in manual mode is essential, as it gives you full control over exposure time, aperture, and ISO. Here are the settings to start with:


  • Mode: Manual. You'll need to adjust each setting yourself to ensure the best results.
  • Shutter Speed: Start with a shutter speed of around 20 to 30 seconds per exposure. This gives the stars enough time to create a visible trail without overexposing the image.
  • Aperture: A wide aperture (f/2.8 to f/4) will let in as much light as possible, which is essential when photographing the night sky.
  • ISO: Use an ISO range between 800 to 1600. Too high, and your image will be noisy; too low, and the stars may not appear bright enough.
  • Focus: Focus your lens manually. Focus on a bright star, or set your lens to infinity to ensure the stars remain sharp.


Note: Instead of taking one long exposure, you should take multiple shorter exposures (hundreds, ideally) to avoid overexposing the image or overheating the sensor. In post-processing, you can stack these images to create the star trail effect.


4. Stack and Edit Star Trails


Once you’ve taken hundreds of individual exposures, the next step is stacking them into a single image to create the beautiful, continuous star trails.


Post-Processing Tools:


  • StarStaX, Photoshop, and Sequator are popular tools that allow you to align and blend the images into one cohesive shot. These programs automatically align the stars and help remove any inconsistencies.
  • Once you’ve stacked the images, adjust the contrast, clarity, and reduce noise to create the cleanest image possible.


Tip: You can also use editing apps to fine-tune the final image and enhance the details. Apps like Lightroom or Photoshop Express can help you polish your photos like a professional.


5. Creative Tips to Make Your Shot Unique


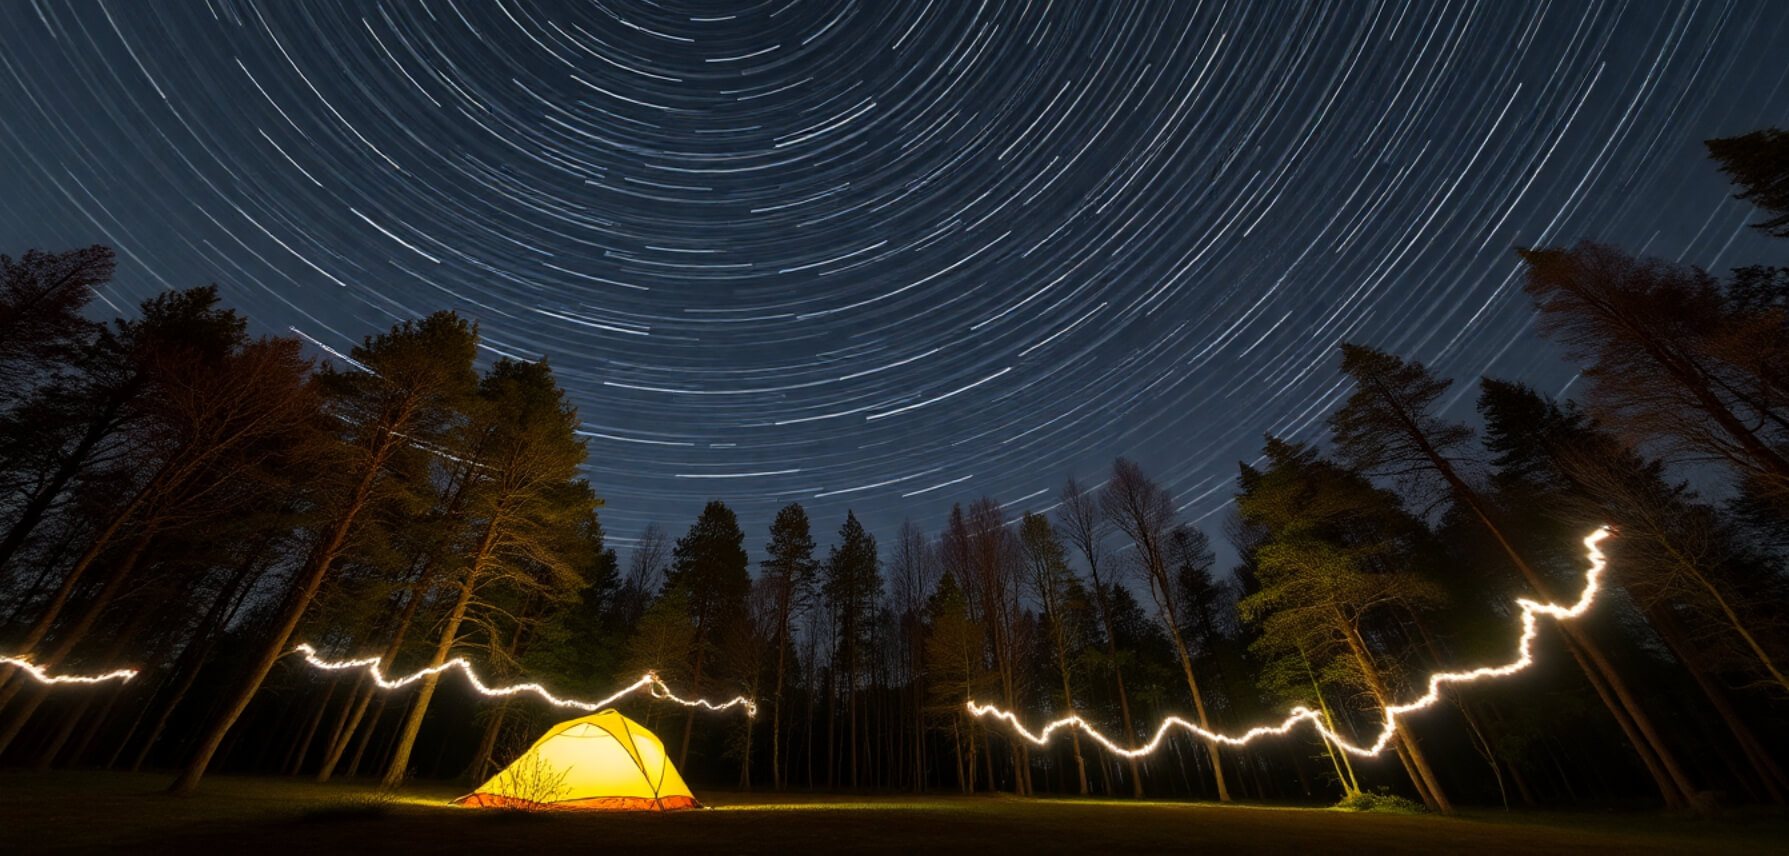
Star trails are stunning on their own, but you can elevate your shots with a bit of creativity. Here are a few ways to make your star trail photos stand out:


  • Foreground Subject: Add a subject like a tent, tree, or person in the foreground to give your image a sense of scale and context. This also helps tell a story in your photo, making it more visually interesting.
  • Shoot Near Celestial Poles: If you position yourself near the North Pole or South Pole, the stars will create circular trails around the celestial poles, producing mesmerizing circular patterns.
  • Light Painting: Use light painting techniques to add a glowing effect to your foreground, like illuminating a tree or a person with a flashlight. You can also use colored lights for a dramatic effect.


Tip: For more inspiration, check out how photographers use creative effects like double exposure photography to combine movement with static elements.


Final Thoughts


Star trail photography is where patience meets magic. It’s not just about taking a photo—it’s about capturing the motion of time itself. With the right gear, location, and editing tools, you can create breathtaking images that feel like they’re from another galaxy.


Don't forget: editing your star trail shots with tools like those in the photo restoration or object removal guides can enhance clarity and remove distractions.


Recent Articles

Stay up to date with the newest tips, gear reviews, and step-by-step guides to elevate your photography journey from home and beyond.