
August 06, 2025
Setting up a home studio doesn’t require deep pockets or expensive gear. With today’s abundance of free software, affordable equipment, and clever DIY hacks, it's entirely possible to create a fully functional music studio for recording, producing, or mixing—without overspending.
This guide walks you through the exact steps and tools to build your budget-friendly home studio, focusing on what truly matters.
Before spending a dime, determine the primary focus of your studio. Are you:
By clearly identifying your goals, you can avoid unnecessary purchases and only invest in gear that supports your workflow.
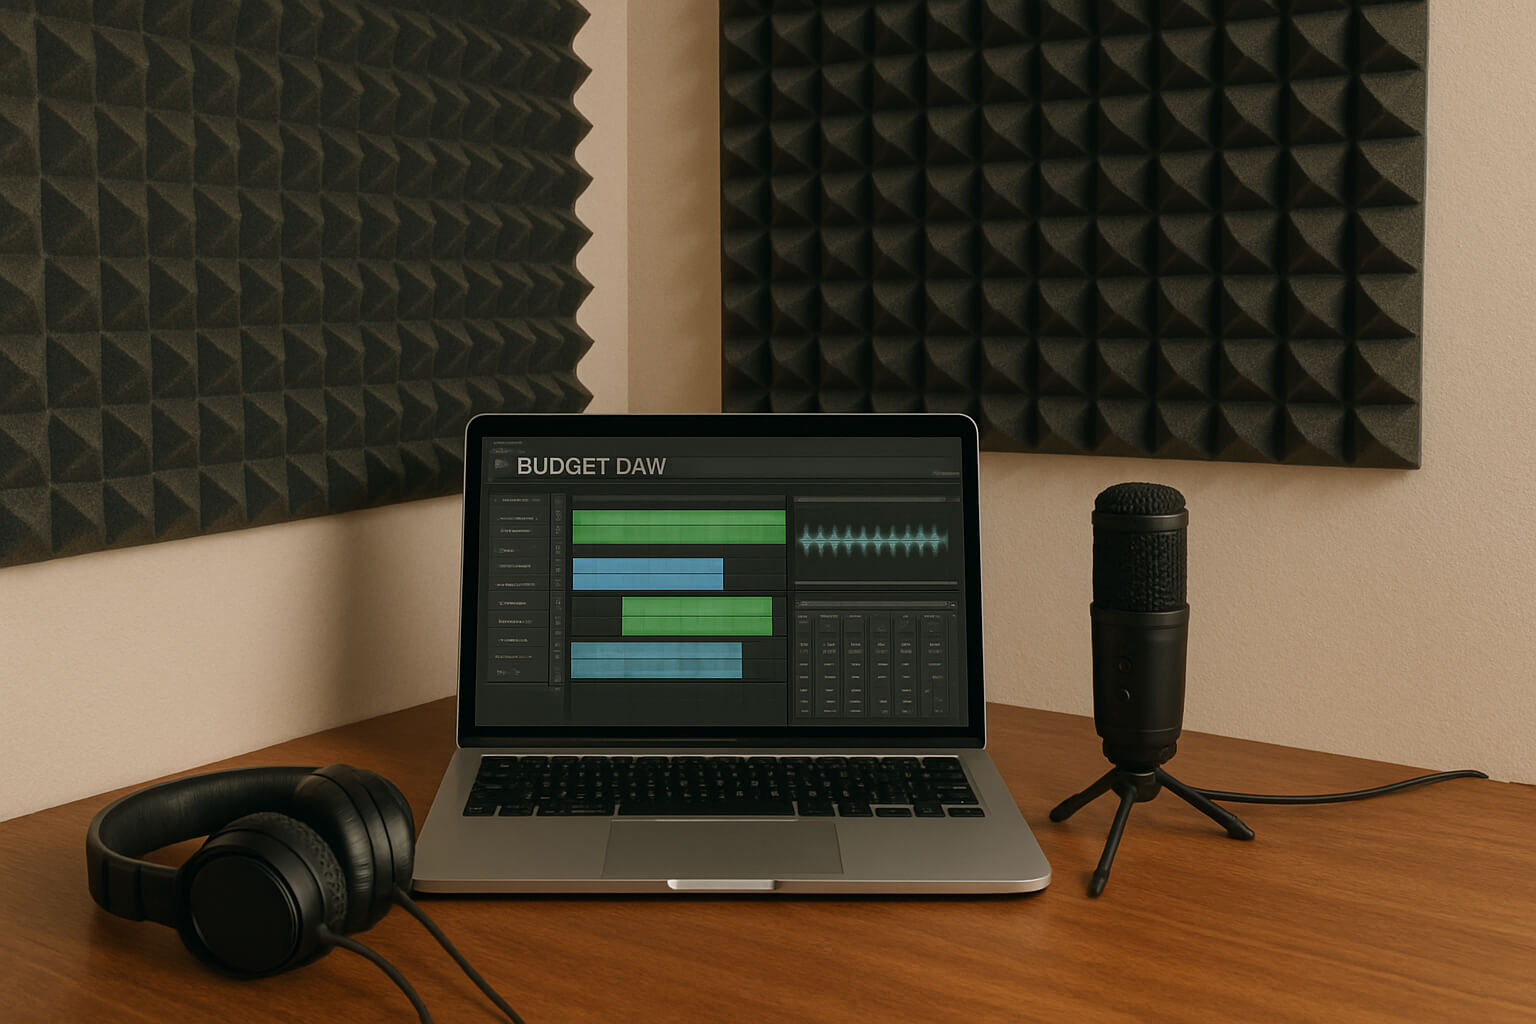
The DAW is your music-making hub. It allows you to record, edit, mix, and arrange audio or MIDI. Fortunately, many powerful DAWs are available at no cost.
Related: Digital Audio Workstations Explained: Choosing the Right Software
If you plan to record external instruments or vocals, an audio interface is essential. It converts analog signals into digital data and improves sound quality over built-in sound cards.
If you’re working entirely with virtual instruments or loops, you can skip this step initially.
Read: Understanding Audio Interfaces
USB microphones plug directly into your computer—no interface required—making them great for beginners.
These are ideal for vocals, voiceovers, podcasting, or demo-quality instrument recordings.
Studio monitors are ideal—but good headphones are cheaper and offer precise monitoring in untreated rooms.
Related: Studio Monitors vs. Headphones for Mixing
Free VST plugins can greatly expand your sonic palette without costing anything. From synths to realistic instruments and effects, there are hundreds of options.
Learn more: The Basics of MIDI: Why It’s Essential
Don’t buy expensive sample libraries right away. You can get high-quality, royalty-free samples for genres like hip-hop, pop, and EDM from trusted sources.
Also explore: Understanding Sample Packs: A Guide for Producers
Good acoustics help you record and mix more accurately. While professional acoustic panels are expensive, there are easy, effective DIY alternatives.
Bonus Tip: Read Building Your Home Studio
A clutter-free studio is easier to work in and less stressful. You can keep your setup clean with inexpensive tools like:
Efficient cable management improves workflow and reduces frustration.
Building a home music studio on a budget is not only possible—it’s highly practical. Focus first on:
Start small, work smart, and upgrade only as your needs grow. The most important element is your commitment to learning, practicing, and creating consistently.
Stay up to date with the latest tips, expert insights, product reviews, and step-by-step guides to help you grow, create, and succeed—no matter your industry or passion.