How to Make Your Own Photography Presets

June 09, 2025

By RocketPages

Creating custom Lightroom presets for photography workflow.

Creating your own photography presets is an invaluable skill for any photographer, whether you're a hobbyist, professional, or social media influencer. Not only do they speed up your editing process, but they also ensure that all of your photos have a unique, consistent look that aligns with your style. Whether you're using Adobe Lightroom, Photoshop, or a mobile app like Snapseed or VSCO, creating custom presets can save you time and enhance your brand identity.


In this guide, we’ll break down what photography presets are, why you should create your own, and how to get started—step by step!


What is a Photography Preset?


A preset is essentially a set of predefined editing adjustments that you can apply to your photos with one click. These adjustments can include changes to:


  • Exposure (how bright or dark the photo is),
  • Contrast (the difference between light and dark areas),
  • Color grading (adjusting the hues, saturation, and luminance of colors),
  • Tone curves (refining shadows, midtones, and highlights),
  • Sharpness (enhancing fine details).


In simple terms, think of a preset as a custom-made filter that you create, not just for aesthetics but also for consistency. While apps like Instagram offer basic filters, presets provide more professional-level control that gives your photos a unique, polished look.


Why Create Your Own Presets?


While you can always download presets from various marketplaces or influencers, creating your own presets offers several benefits:


  • Save Time: One of the biggest advantages of presets is the time they save. Instead of manually adjusting every single photo you take, you can apply your preset to dozens or hundreds of photos in seconds.
  • Ensure Consistency: When you apply your custom preset, your photos instantly gain a cohesive look. This is essential if you're building a portfolio, Instagram feed, or any collection of images where uniformity matters. It keeps your work professional and easily recognizable.
  • Refined Control: When you create your own preset, you're in control of every detail. You can fine-tune the preset based on your exact shooting conditions and artistic preferences, rather than relying on someone else's vision.


For more tools and techniques on how to improve your editing and build your own aesthetic, check out Best Photo Editing Apps in 2025.


How to Create Your Own Presets


1. Choose a Base Photo : To create a preset that works across a range of images, start with a base photo that represents your typical shooting environment. This should include:


  • Lighting conditions: Choose a photo that reflects the kind of lighting you often work with (natural light, studio lighting, golden hour, etc.).
  • Subject: Whether you're shooting portraits, landscapes, or products, your base photo should represent the style you typically shoot.
  • Mood: If you prefer a moody, dark style or a bright, airy look, this image should reflect that.


This base photo will act as a reference point for all your editing decisions, ensuring that the preset you create will work well with similar types of images.


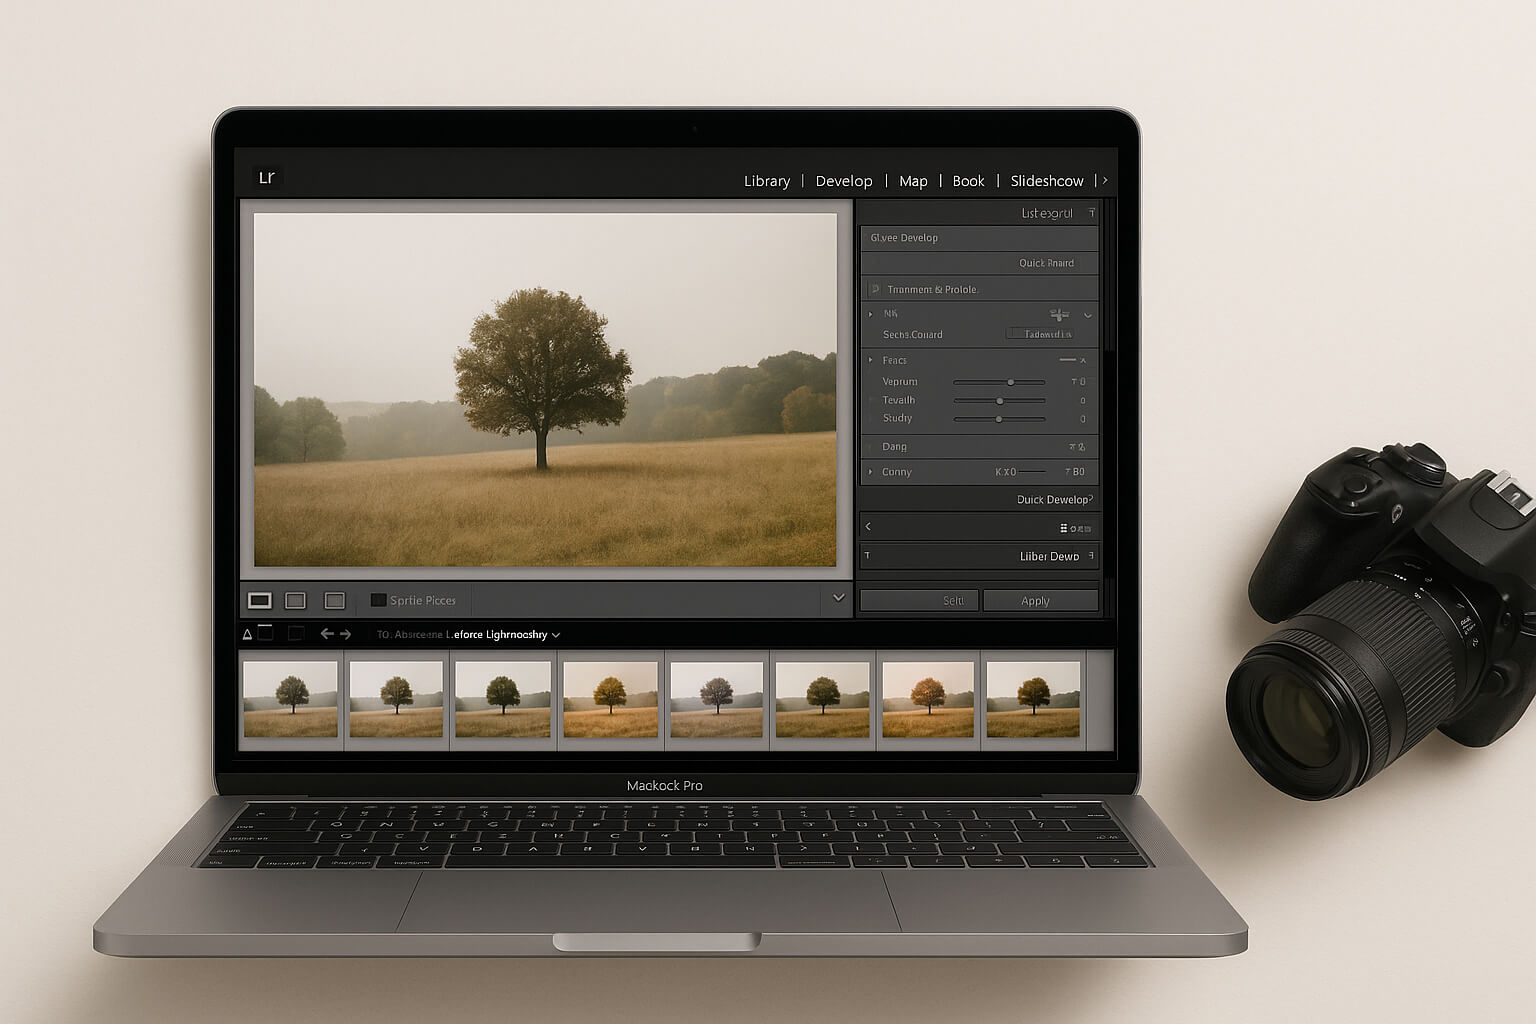
2. Edit Thoughtfully : Now comes the fun part—editing! Open your chosen photo in an editing program like Adobe Lightroom or Photoshop. Focus on the following key adjustments:


  • Exposure: The overall brightness of the image. Adjust this based on your preference or how the light is hitting your subject. For example, outdoor shots may need a slight increase in exposure to balance shadows.
  • Contrast: This controls the difference between the lightest and darkest areas of the image. A higher contrast makes colors pop and sharpens details, while lower contrast gives a softer, more muted look.
  • Highlights & Shadows: Fine-tune these to bring out details. Reduce highlights to prevent bright spots from washing out, and raise shadows to reveal hidden details in dark areas.
  • White Balance: Adjust this to ensure your whites look neutral and not too warm or cool. If you're shooting indoors, for instance, you may need to adjust the white balance to counteract any yellowish tones from tungsten lighting.
  • Color Grading: Play with the hue, saturation, and luminance of specific colors to match your style. For example, you may prefer cool tones in landscapes or warm hues in portraits.
  • Clarity & Texture: Use clarity to enhance midtone contrast and texture to add fine details. This is especially useful for skin tones in portraits or intricate details in landscape photography.
  • Vignette or Grain (optional): Adding a vignette (darkening the edges of the frame) can give your photo a more polished look, while grain adds an artistic, film-like quality to the image.


For a deeper understanding of color adjustments, check out Color Correction vs. Color Grading, which dives into how color choices affect mood and visual storytelling.


3. Save the Preset : Once you've finished editing, you’ll want to save those settings for future use. Here’s how:


  • In Lightroom, go to the ‘Presets’ panel (on the left side), click the ‘+’ icon, and choose ‘Create Preset’.
  • Name your preset (e.g., "Golden Hour Glow," "Moody Portraits"), choose which settings you want to include, and hit Create.


This preset is now saved, and you can apply it to any future photos with a single click. Make sure to test it out on a variety of photos to ensure it works well under different lighting and settings.


4. Test & Adjust : No preset works perfectly for every photo straight out of the box. Once you apply your preset to a new image, make small adjustments where needed. For example, you might need to tweak the exposure or adjust the white balance for specific shots.


If you find that the preset needs significant changes, tweak the original photo and save the updated version as a new preset.


Pro Tips for Better Presets


  • Create Variations for Different Lighting Conditions: If you shoot in a variety of lighting environments (indoor, outdoor, golden hour), make sure to create presets for each scenario.
  • Avoid Extreme Settings: Keep your adjustments subtle. Extreme settings might look great on one image but may not work well on others. A good preset is flexible and adaptable.
  • Organize Your Presets: As you build your library of presets, organize them into folders (e.g., "Light & Airy," "Warm Tones," "Dark & Moody") for quick access.
  • Update Your Presets Over Time: Your editing style will evolve. Revisit your presets periodically and refine them to stay aligned with your current aesthetic.


To keep evolving your photography style, consider reading How to Create a Signature Style in Photography, which covers tips on developing a unique look that stands out.


Share or Sell Your Presets


Once you've perfected a collection of presets, you can share them with others or even sell them online. Many photographers build secondary income streams by selling their custom presets on platforms like Etsy, Creative Market, or their own websites.


If you’re interested in monetizing your photography skills, check out How to Sell Your Photos Online for Passive Income.


Final Thoughts


Creating your own photography presets is a powerful way to enhance your editing workflow and ensure consistency across your photos. With just a few steps, you can build a toolkit that saves you time, helps you develop a signature style, and allows you to create stunning photos every time.


Whether you're using Lightroom or Photoshop, presets will help you streamline your editing process and give your images a cohesive, professional look that reflects your unique artistic vision.


Related Reads:


Recent Articles

Stay up to date with the newest tips, gear reviews, and step-by-step guides to elevate your photography journey from home and beyond.