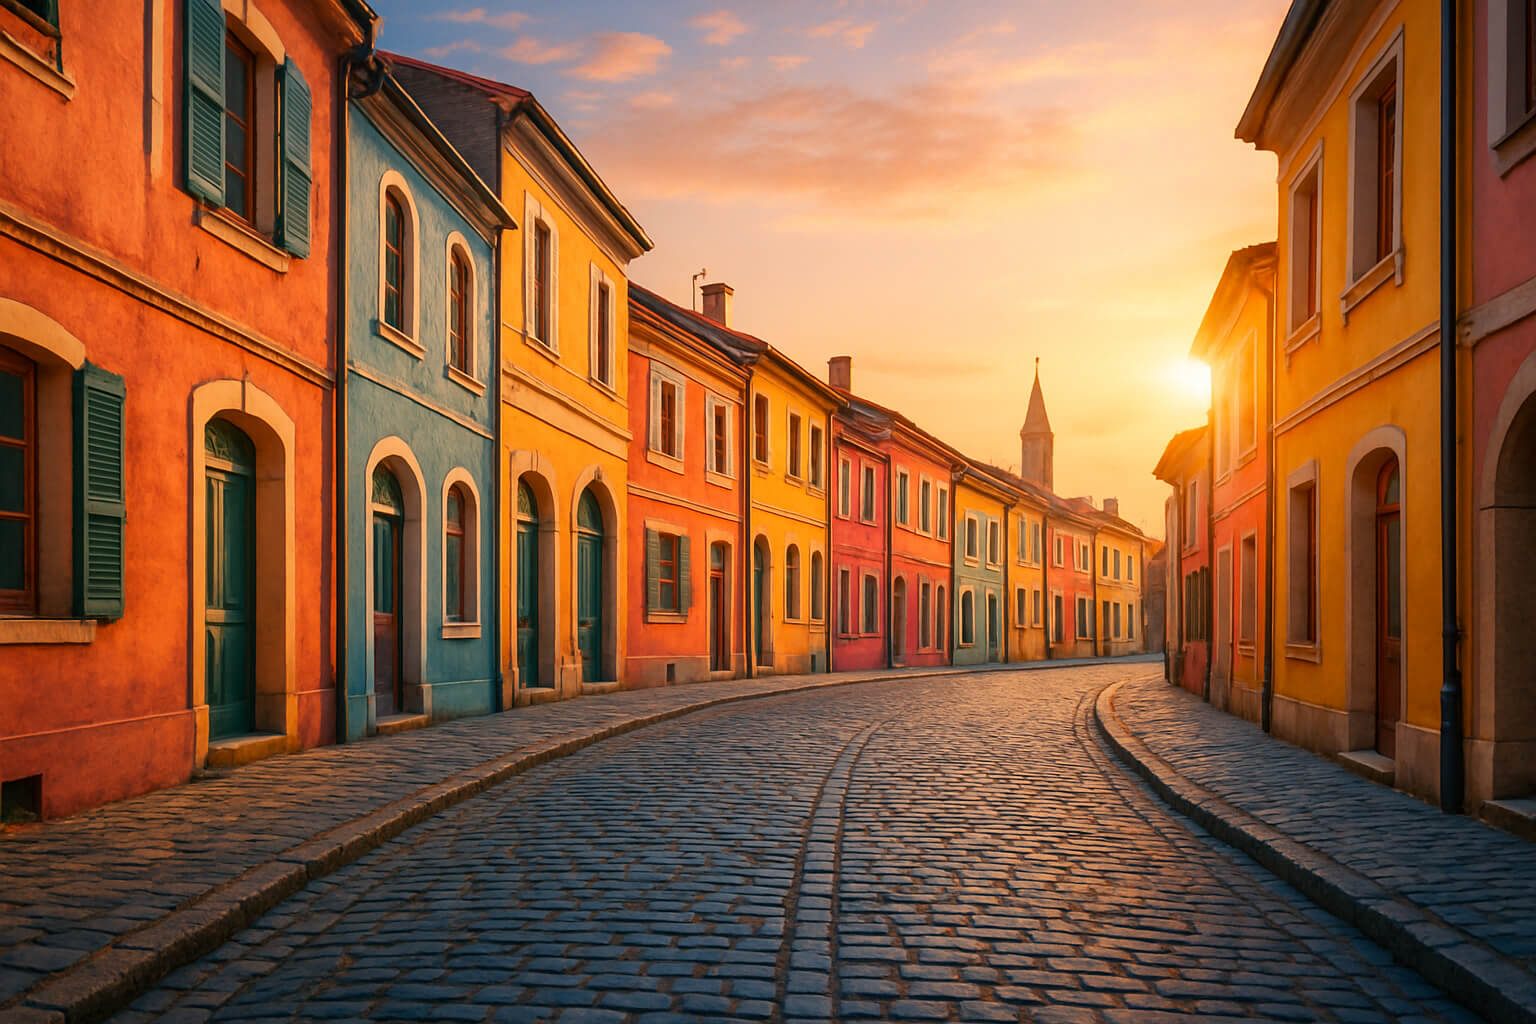
Travel photography is more than just taking pictures—it’s about capturing the essence of a place, its people, culture, and unique moments. However, even the most stunning photographs can benefit from post-processing to truly bring them to life. Proper editing helps enhance colors, fix exposure issues, and ensure your photos evoke the same magic you experienced while traveling.
In this detailed guide, we’ll take you through the essential steps of editing your travel photos using professional tools, creative techniques, and proven methods to make your images stand out.
Why Editing Travel Photography Is Essential
No matter how great your travel photography is, editing plays a pivotal role in ensuring your photos are polished and impactful. Here are a few reasons why editing is crucial:
- Correct Lighting and Exposure Issues: Even in ideal lighting conditions, travel photos can sometimes have exposure imbalances, underexposed shadows, or overexposed highlights. Editing allows you to balance these inconsistencies.
- Enhance Colors and Vibrancy: Nature’s beauty may not always be accurately captured by your camera. Post-processing helps to enhance and saturate colors, making them pop in a natural, yet vivid way.
- Remove Distractions: During travel, you may encounter unwanted elements in your frame such as tourists, signs, or trash that detract from the scene’s beauty. Editing enables you to remove or minimize these distractions.
- Create a Consistent Visual Style: If you're posting your photos to social media or building a photography portfolio, a cohesive visual style is essential. Editing allows you to apply a consistent tone or filter to all your photos.
Related: How to Take Professional-Looking Photos
Choose the Right Editing Software
The first step in your editing journey is selecting the right software that fits your needs and skill level. Here are a few options to consider:
1. Adobe Lightroom
- Lightroom is one of the best tools for global adjustments. It gives you full control over exposure, color grading, and white balance. It’s perfect for photographers who prefer to apply adjustments to the overall image without diving deep into detailed retouching. Lightroom also allows for non-destructive editing, meaning you can always revert to the original file.
2. Adobe Photoshop
- While Lightroom is excellent for global adjustments, Photoshop is the go-to software for detailed work such as retouching, object removal, and pixel-level edits. Photoshop offers a variety of advanced tools like layer masking, content-aware fill, and advanced blending modes.
3. Mobile Apps
- If you’re editing on-the-go, mobile apps are a great choice. Apps like Snapseed, VSCO, and Lightroom Mobile provide powerful editing features that allow you to edit your photos anywhere. These apps offer quick fixes like color adjustments, sharpening, noise reduction, and more.
- Related: Best Photo Editing Apps in 2025
Step-by-Step Editing Workflow
Now that you have your software ready, follow this detailed workflow to transform your travel photos into stunning masterpieces.
1. Correct Exposure and White Balance : Travel photos are often taken under varying lighting conditions. Getting the exposure and white balance right is the first step in creating a well-balanced image.
- Exposure: Adjust the exposure slider to brighten or darken the image. Pay attention to the highlights and shadows to ensure you don’t lose any important details.
- Contrast: Enhance the contrast to create a more dynamic image, making dark areas darker and light areas lighter.
- White Balance: Correct the white balance to ensure that colors are true to life. This is particularly important for photos taken under artificial or mixed lighting. You can either use the auto white balance or manually adjust the temperature and tint to create a natural look.
- Related: Color Correction vs. Color Grading
2. Enhance Colors and Tones : Once exposure and white balance are adjusted, the next step is enhancing the colors to make the photo vibrant and lifelike.
- Vibrance & Saturation: Increase the vibrance to boost colors without over-saturating skin tones or other delicate areas.
- HSL Adjustments: Use the HSL (Hue, Saturation, Luminance) sliders to adjust specific colors. For example, if the sky looks too dull, increase the blue saturation, or if the grass looks too yellow, adjust the green hues.
- Graduated Filters: If you’re editing landscape or scenic photos, use graduated filters to adjust the sky, creating a more dramatic or balanced look by darkening bright skies or adding warmth.
- Related: What is Color Grading in Photography?
3. Sharpen and Reduce Noise
Noise can be a big issue in travel photos taken in low-light situations. Here’s how to deal with it:
- Noise Reduction: Use noise reduction sliders to reduce graininess in your photo. Make sure not to overdo it, as excessive noise reduction can make the image appear too smooth and lose fine details.
- Sharpening: Increase the sharpness to bring back fine details and textures, especially on elements like landscapes, architecture, or people.
4. Crop and Straighten : Composition is key to creating an impactful travel photograph. Ensure that your subject is framed properly.
- Cropping: Use the rule of thirds to crop your images and achieve a more balanced composition. Leave space around the subject to give the photo a sense of breathing room.
- Straightening Horizons: For landscape or cityscape shots, it’s important to straighten the horizon to prevent a tilted or crooked appearance. This is especially crucial for large bodies of water, beaches, or skylines.
- Related: Leading Lines in Photography
5. Remove Unwanted Objects
Travel photos often contain distractions like tourists, stray objects, or unwanted signage. Use the following tools to clean up your image:
- Healing Brush: In Lightroom or Photoshop, use the healing brush or clone stamp tool to remove distractions.
- Content-Aware Fill: Photoshop's content-aware fill tool allows you to remove objects seamlessly by filling in the space with similar surrounding textures.
- Related: How to Remove Unwanted Objects from Photos
6. Apply Presets for Consistency : If you want a cohesive look for your entire travel collection, use presets. Presets are pre-made editing settings that you can apply to multiple images at once, ensuring a consistent color palette and style across all your photos.
- Create or Download Presets: You can either create your own custom presets based on the style you prefer or download presets from online resources to speed up the editing process.
- Related: How to Make Own Photography Presets
Advanced Creative Edits
To elevate your travel photography even further, here are a few advanced techniques that can add depth and artistic flair to your images.
- Cinematic Tones: Use split toning to give your photo a moody, cinematic look by applying different color tones to the highlights and shadows.
- Vignettes: Apply a subtle vignette to draw attention to your subject by darkening the edges of the photo.
- Selective Adjustments: Use adjustment brushes or radial filters to highlight specific areas of your photo, such as a person, building, or an object.
Related: Artistic Photography Explained
Exporting for Web and Social Media
Once you’ve edited your photo, it’s time to export it for sharing. To ensure your images load quickly and look great on social media, follow these tips:
- Resize for Web: Use Lightroom or Photoshop to resize your images to fit common social media platforms (e.g., Instagram, Facebook). This ensures faster loading times and prevents cropping issues.
- Sharpening for Web: Apply light sharpening after resizing to ensure your photos look crisp on screens.
- Optimize File Formats: Save your images in JPEG format for web use (with compression for a smaller file size), and use TIFF for high-quality print options.
- Related: How to Optimize Your Photos for SEO and Social Media
Pro Editing Tips
Here are some expert tips to take your editing game to the next level:
- Work on Non-Destructive RAW Files: Always shoot and edit in RAW format to retain as much image data as possible for flexibility in editing.
- Use Adjustment Layers in Photoshop: Layers allow for non-destructive editing, giving you the freedom to make changes without altering the original photo.
- Backup Your Files: Always keep backups of your original and edited photos in case you need to revisit them later.
- Create a Signature Style: Over time, develop your unique editing style that reflects your personal touch in all your images.
- Related: How to Create a Signature Style in Photography