
May 22, 2025

You don’t need a big budget or a fancy studio to take professional-quality photos at home. With the right lighting setups, any room—be it your living room, kitchen, or even a corner of your bedroom—can turn into a creative photo studio. Whether you're capturing portraits, flat lays, or product shots, this guide will walk you through some of the best lighting techniques for home photography in 2025.
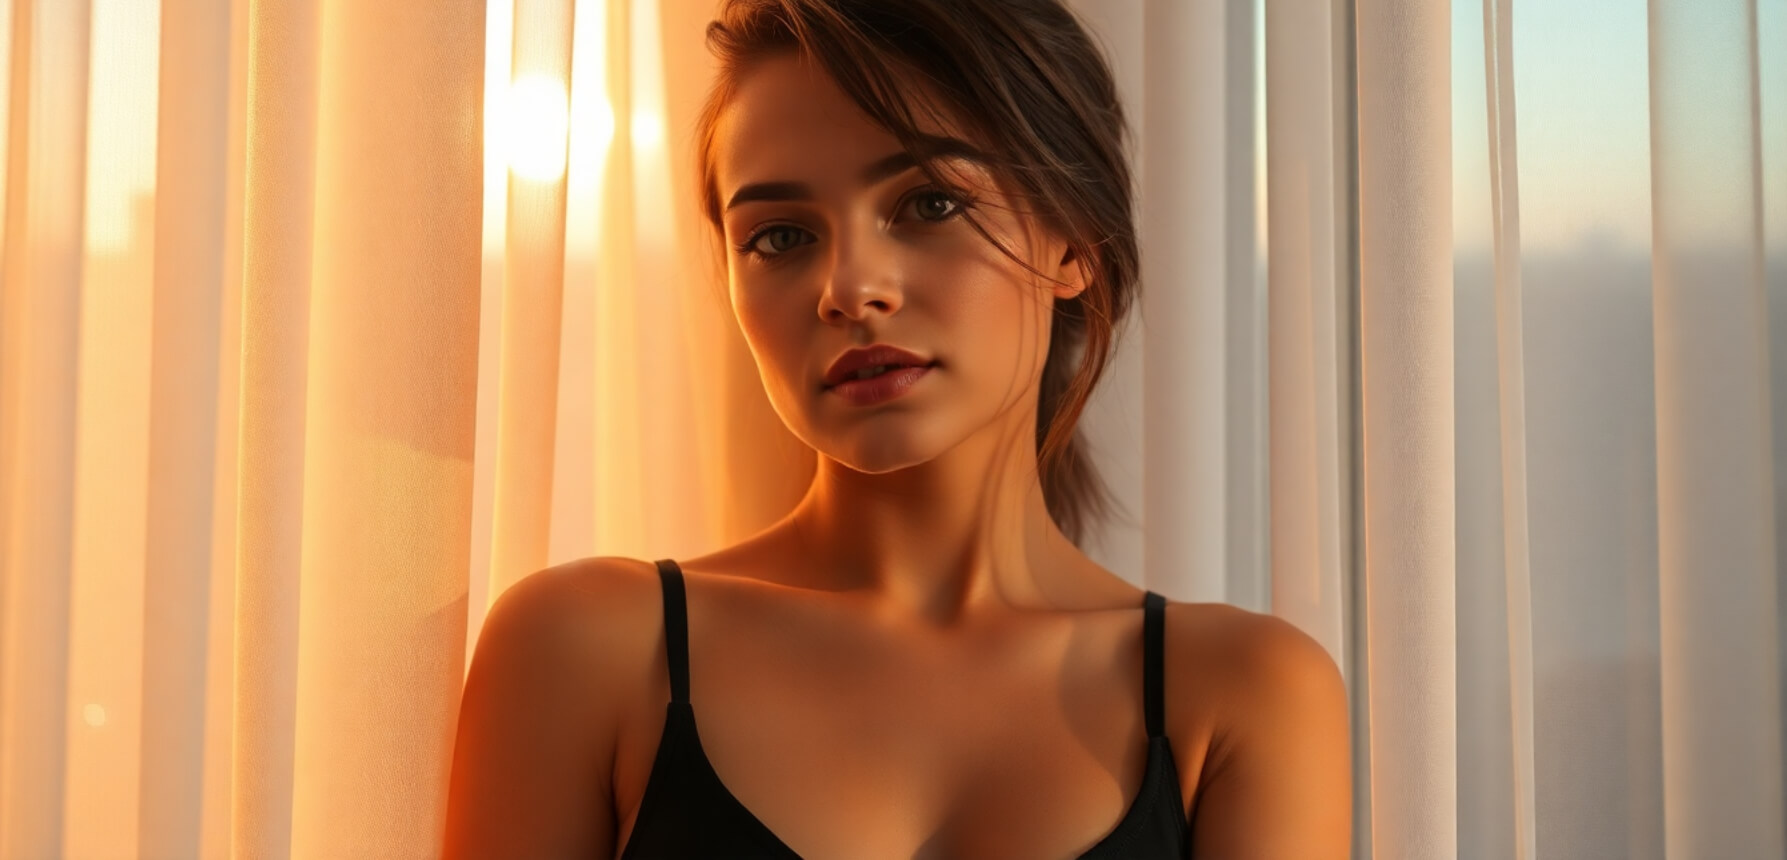
Natural sunlight is one of the easiest and most beautiful lighting sources to work with—especially at home. It’s free, soft, and flattering when used correctly.
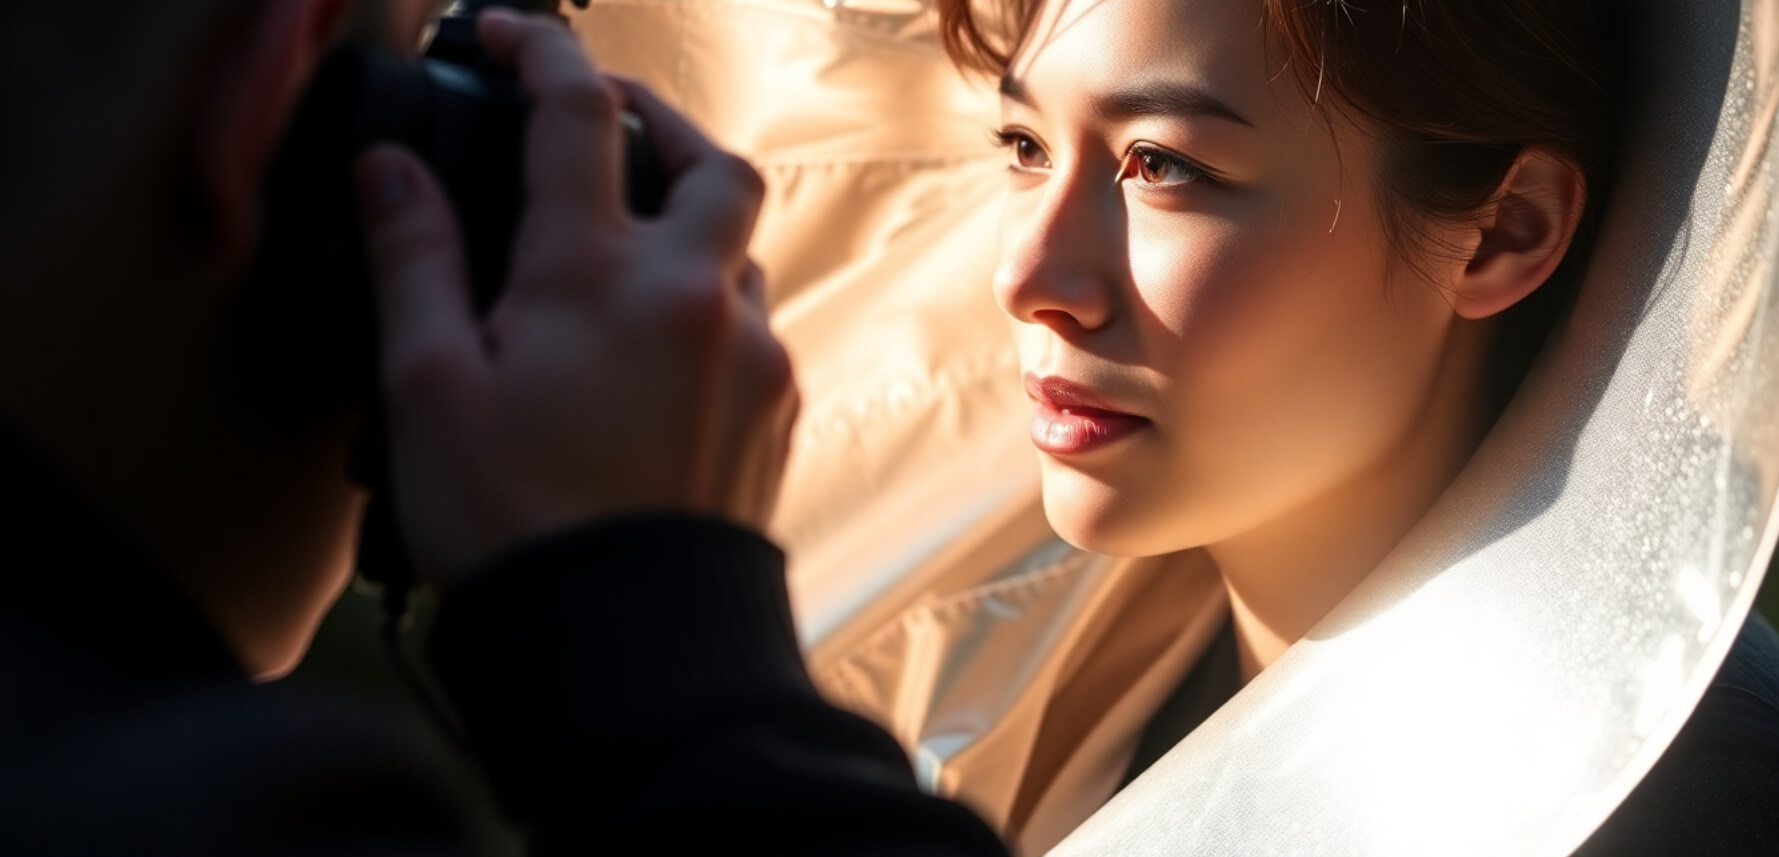
As mentioned in the cinematic wedding photo guide, natural backlighting can add depth and emotion to your shots.
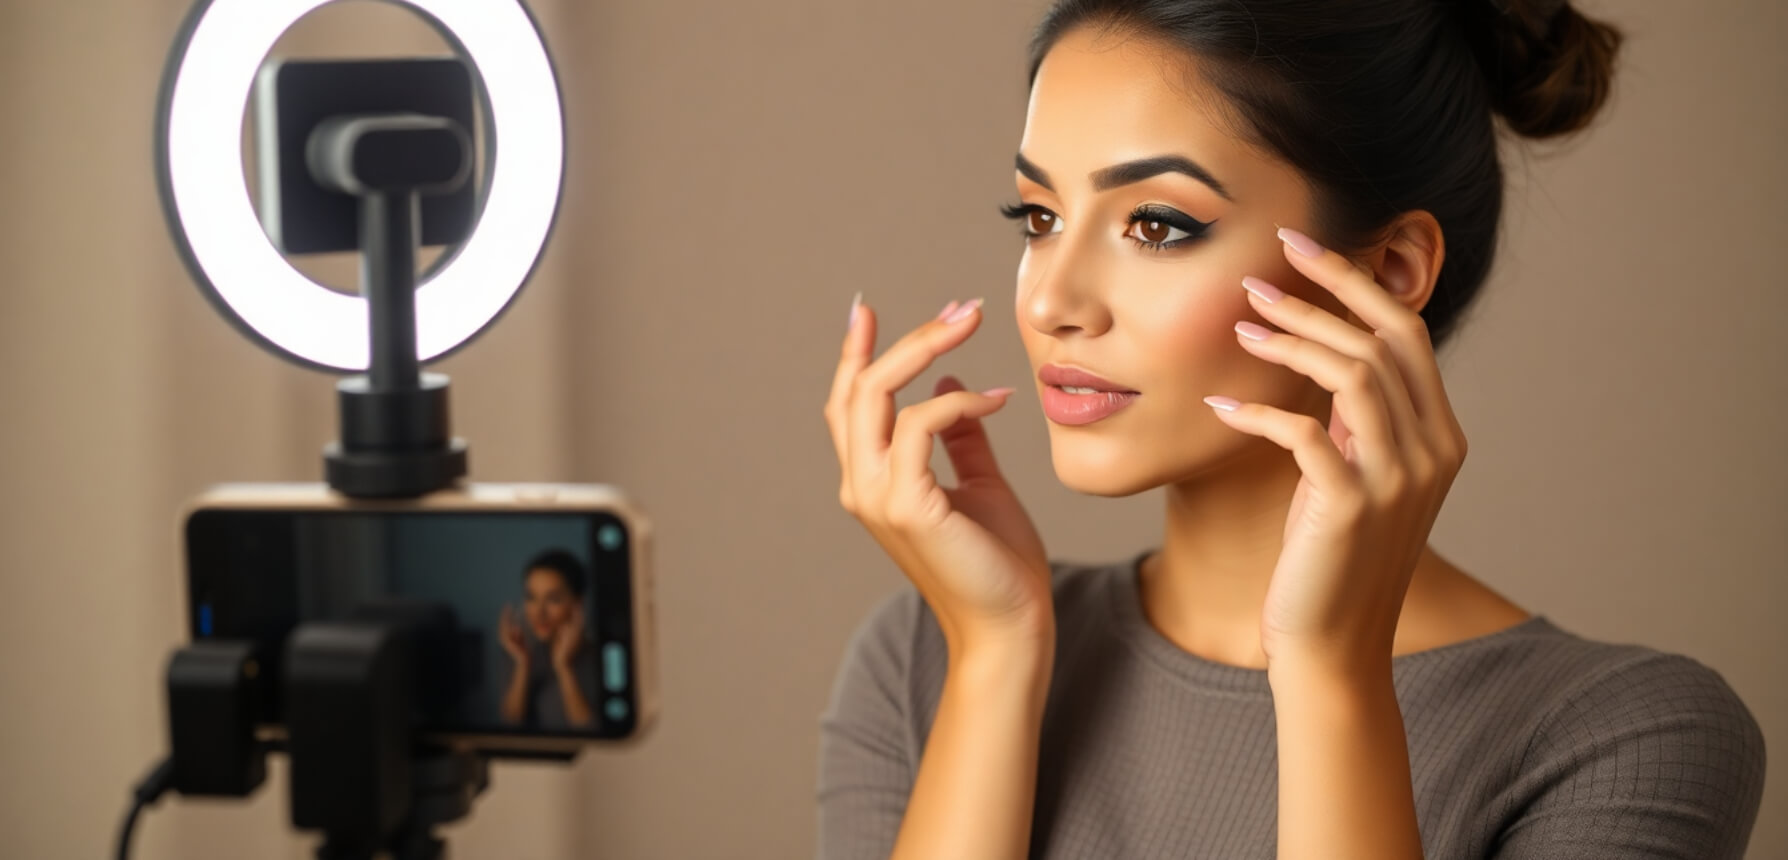
Ring lights are perfect for portraits, beauty shots, and social media content.
💡 In the photo editing apps guide, using even lighting helps reduce the need for heavy retouching.
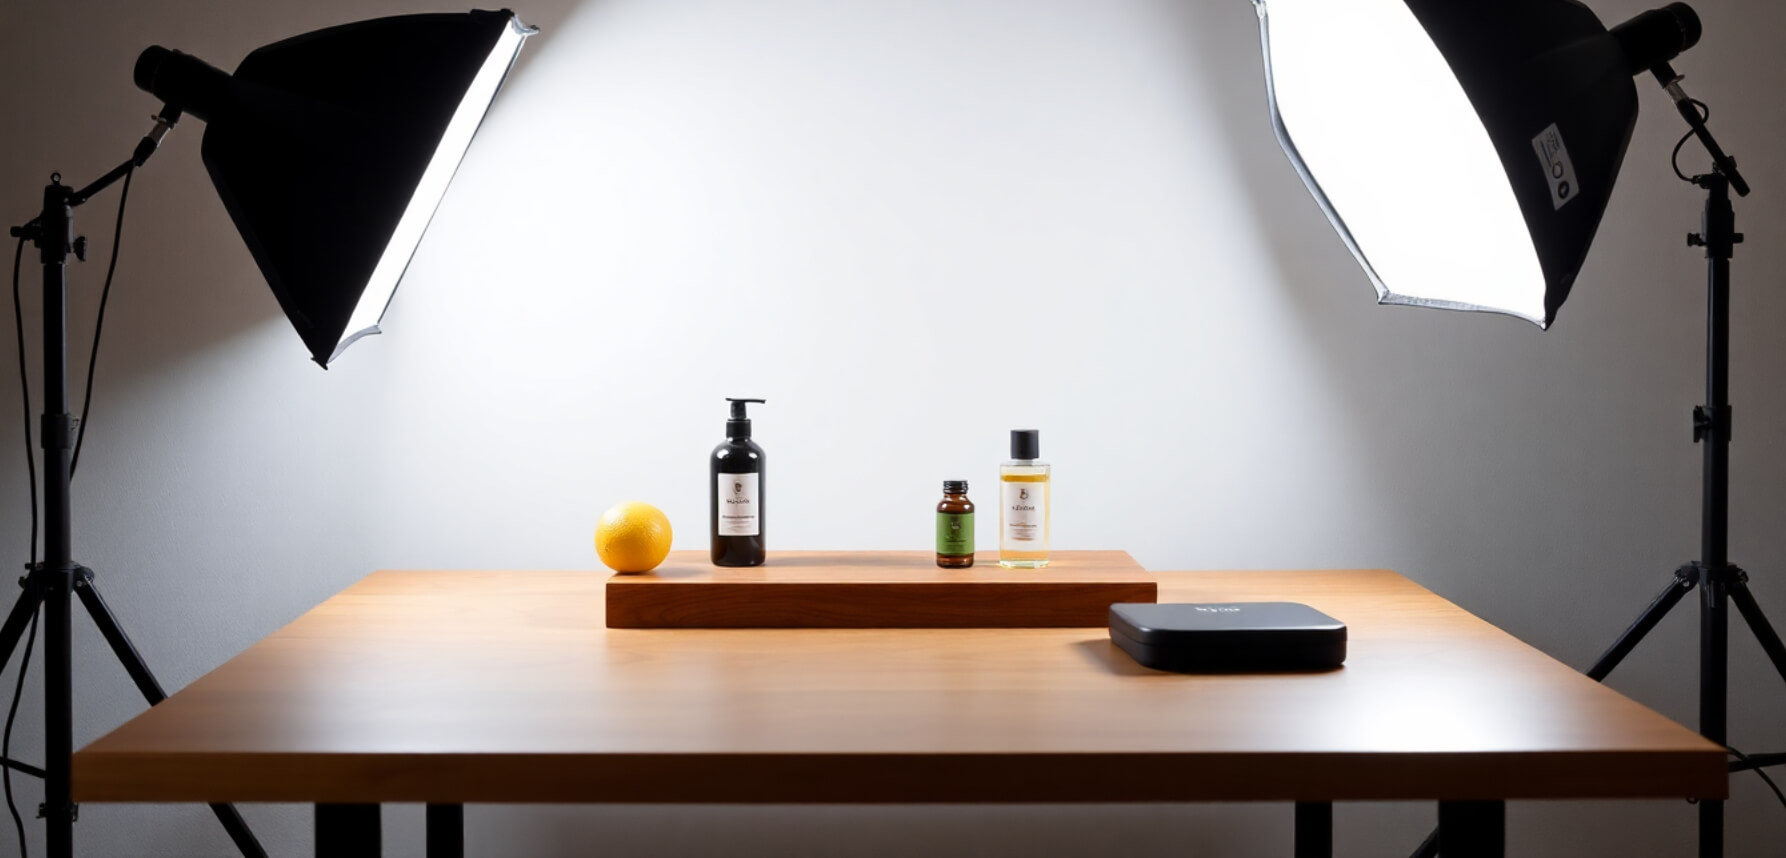
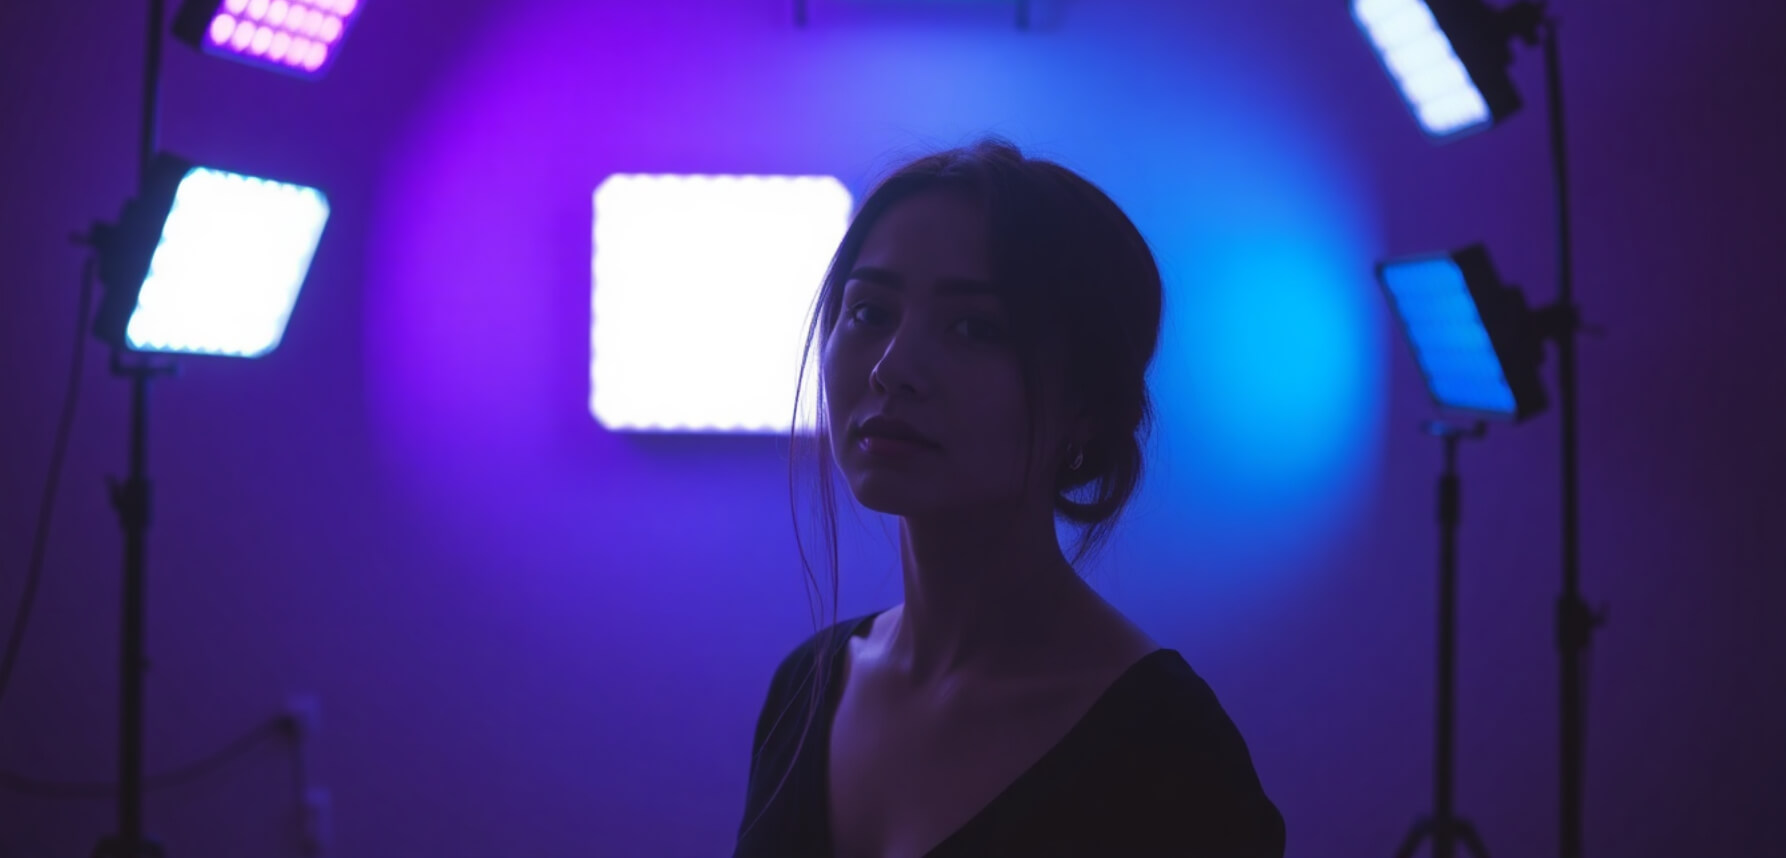
Softboxes and umbrella lights mimic natural daylight but give you more control over intensity and direction.
🎯 In the artificial lighting guide, softboxes are a top recommendation for beginners building their first home studio.
Don’t have a second light? A reflector can bounce light from your main source to fill in shadows and balance your exposure.
📸 In the split lighting article, reflectors are mentioned as tools to reduce the harshness of dramatic lighting.
Want to get creative? Add a pop of color using RGB LED lights or smart bulbs.
🎨 The double exposure photography guide discusses how color and creativity bring a surreal look to your photos—just like these lighting techniques can.
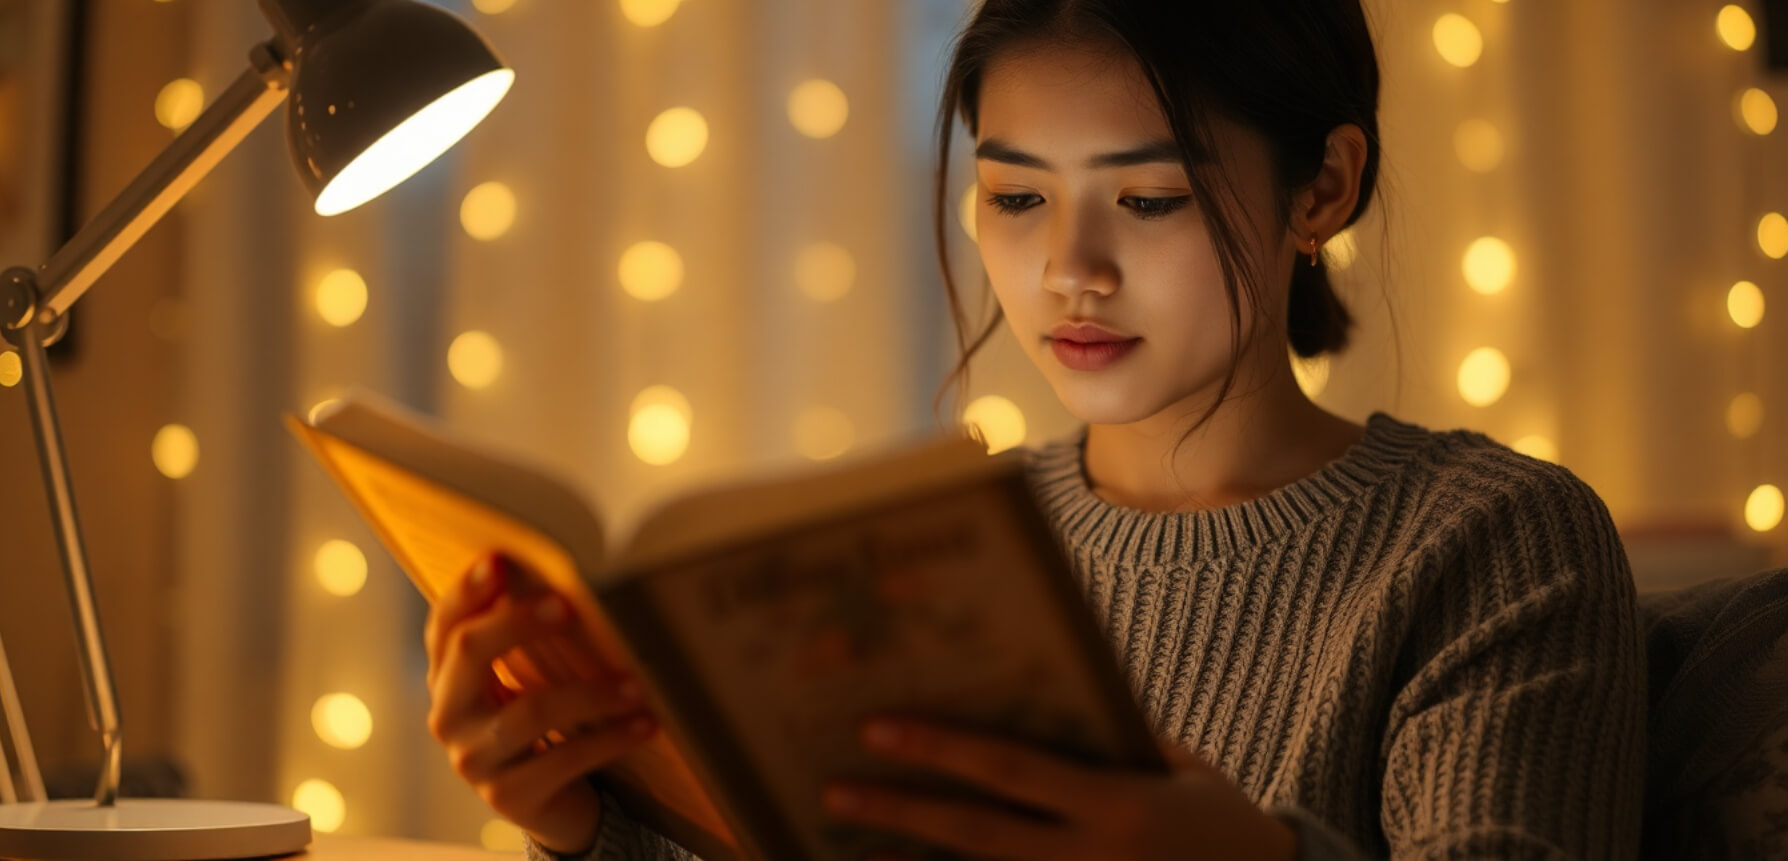
Not all great photos need professional gear. Household lights like table lamps, fairy lights, or even your TV screen can be used creatively.
📖 The pricing your photography guide notes that storytelling adds value to images—lighting plays a huge role in that story.
With the right lighting techniques, any space in your home can become a canvas for beautiful photos. Whether you're a beginner shooting products for Instagram or an aspiring portrait photographer building a portfolio, mastering light is your first step to stunning results. Start simple—use window light, bounce cards, and one LED panel. As your skills grow, upgrade gradually.
Want to take your lighting to the next level? Combine these setups with post-processing tips from the best photo editing apps guide to give your images a polished, professional look.
Stay up to date with the newest tips, gear reviews, and step-by-step guides to elevate your photography journey from home and beyond.