The Basics of Creating a Home Recording Studio

August 14, 2025

By RocketPages

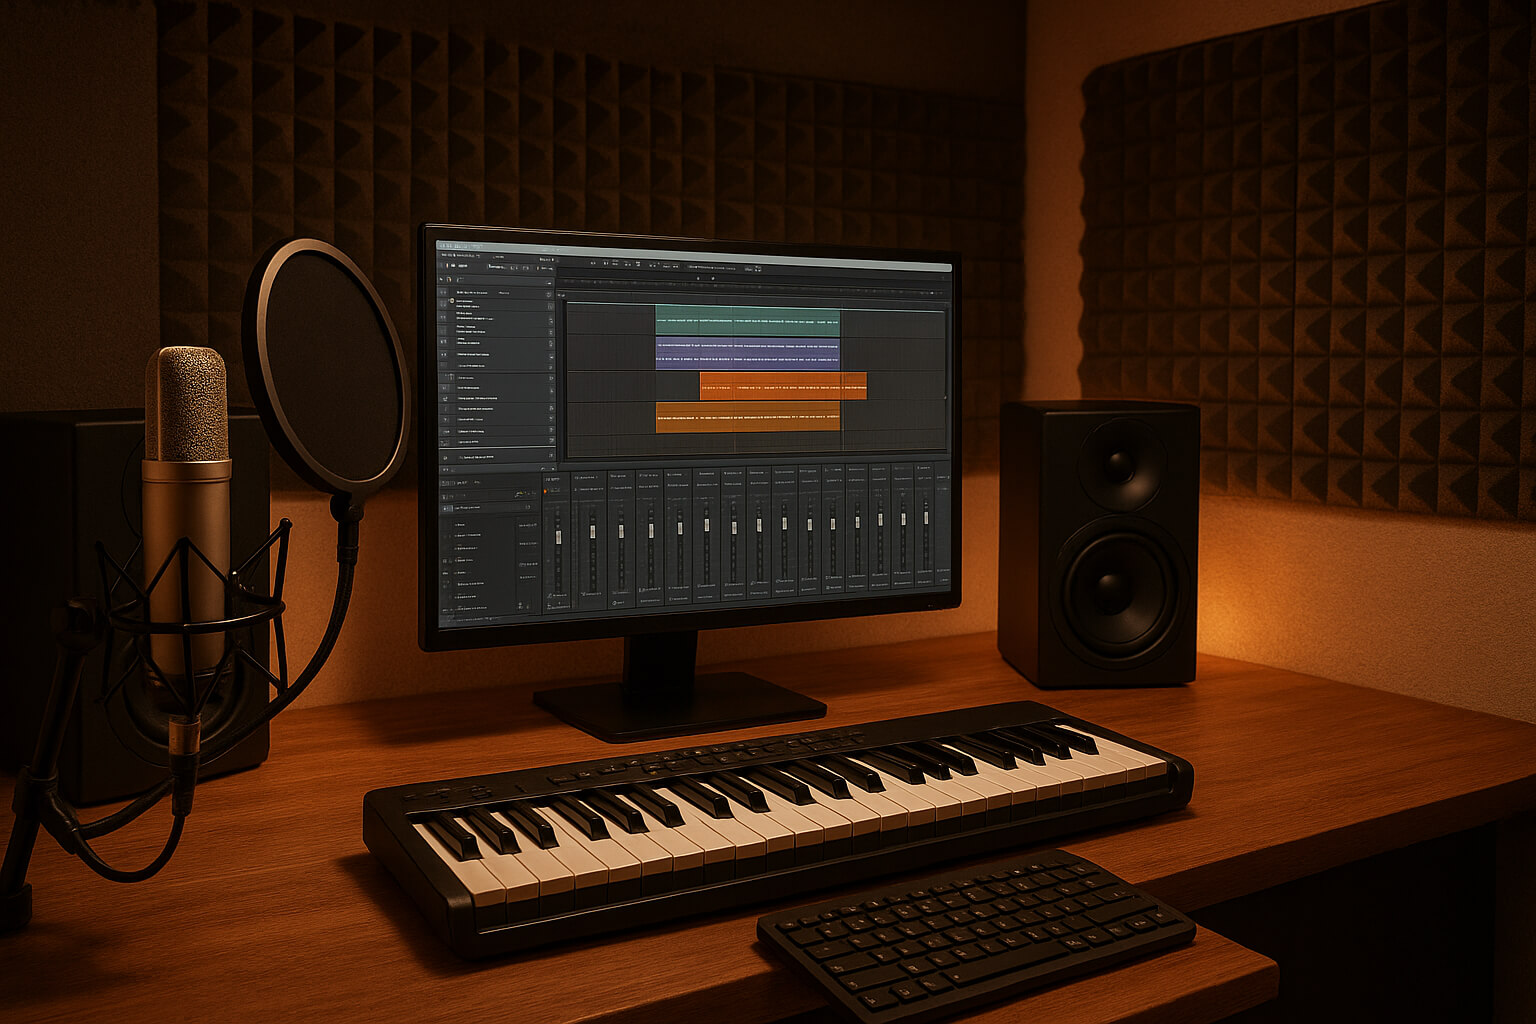
Home recording studio with DAW on computer, microphone, studio monitors, and acoustic treatment.

Setting up a home recording studio can seem like a daunting task, especially for newcomers to music production, but with the right equipment and some careful planning, it's completely achievable. Whether you're a singer, musician, or aspiring producer, having your own studio setup allows you to create high-quality recordings without the need for a professional studio space. This guide will walk you through the basics of building your own home studio, from choosing the right space to understanding key pieces of equipment and software.


1. Choose the Right Space


The first step in creating your home recording studio is selecting a space that minimizes external noise and provides an environment that’s acoustically friendly. Here’s what to consider:


  • Quietness: Ideally, the room should be as isolated as possible from external noise—traffic, HVAC systems, and loud neighbors can all interfere with recordings.
  • Acoustic Treatment: Rooms with soft surfaces like carpets, curtains, or upholstered furniture help reduce sound reflections. If you’re just starting out and have limited space, even a small bedroom corner can work as long as you treat the room properly. You can learn more about setting up an effective space in this guide on home studio essentials.


2. Essential Hardware for Beginners


Now that you’ve selected your space, it’s time to invest in the key hardware you’ll need to start recording. As a beginner, you don’t need to break the bank to get professional-sounding recordings, but the right equipment is crucial. Here are the must-haves:


i. Audio Interface


The audio interface is the bridge between your instruments and your computer. It converts analog signals from microphones and instruments into digital audio that your computer can process. For beginners, reliable and budget-friendly options include:


  • Focusrite Scarlett 2i2: Known for its high-quality preamps and ease of use.
  • PreSonus AudioBox USB 96: A great option for those just starting out, with solid performance at an affordable price.


You can learn more about audio interfaces and how to choose the right one for your needs in this detailed guide.


ii. Microphones


The type of microphone you choose will depend on the kind of recordings you do. Here are a couple of options for different needs:


  • Condenser Microphone: Perfect for vocals, acoustic instruments, and other detailed recordings, as they are sensitive and capture nuance. A popular choice is the Audio-Technica AT2020.
  • Dynamic Microphone: Ideal for loud instruments (like electric guitar amps) and live sound due to their durability and ability to handle high sound pressure levels. Consider the Shure SM58, which is an industry-standard for vocals.


For a comprehensive comparison of different mic types, check out this microphone types explained guide.


iii. Studio Monitors and Headphones


When it comes to mixing and recording, accurate playback is essential. Here’s a breakdown:


  • Studio Monitors: These are designed for accuracy, so you can hear every detail of your recording. Popular choices for beginners include the Yamaha HS5 or KRK Rokit 5.
  • Headphones: If you don’t have the space for monitors or need a more private setup, closed-back headphones like the Audio-Technica ATH-M50X are an excellent option for both recording and mixing.


To help you decide between studio monitors and headphones, read this comparison guide.


3. Software and DAWs


A Digital Audio Workstation (DAW) is the software that allows you to record, edit, mix, and produce your music. Here are some beginner-friendly DAWs to consider:


  • Audacity: A free, open-source option that’s easy to use and great for basic recording.
  • GarageBand: Exclusively for Mac users, it’s user-friendly and comes with a wide range of pre-recorded loops and effects.
  • Ableton Live Lite: A streamlined version of Ableton Live that’s great for production and beat-making.
  • FL Studio Fruity Edition: Known for its user-friendly interface and powerful features, especially for electronic music production.


For a deeper understanding of DAWs and how to choose the right one for your needs, read this detailed explanation of DAWs.


4. Acoustic Treatment


One of the biggest challenges in a home studio is dealing with sound reflections and room noise. Acoustic treatment can significantly improve the quality of your recordings. Here are some simple and effective solutions:


  • Acoustic Foam Panels: These are effective at reducing high-frequency reflections and flutter echoes. Consider placing them on walls or around the area where you record vocals.
  • Bass Traps: These are especially helpful in corners where low frequencies tend to build up, causing a muddy sound.
  • Curtains and Carpets: While not as precise as professional acoustic treatment, thick curtains and carpets can help absorb sound and reduce unwanted noise.


For a deeper dive into home studio acoustics, check out resources like Sweetwater’s home studio acoustics guide for tips on how to optimize your recording environment.


5. Accessories and Setup Tips


Once you’ve got the core equipment set up, don’t forget the smaller but essential accessories:


  • Pop Filters: These prevent plosives (the harsh “p” and “b” sounds) from ruining your recordings. They’re essential for vocal work.
  • Mic Stands: Ensure your microphone is securely positioned for optimal recording.
  • Cables: High-quality cables ensure clear, noise-free connections between all your equipment.
  • Surge Protectors: Protect your gear from electrical surges or outages, which could damage your equipment.


Make sure your computer has enough RAM and storage to handle your DAW, plugins, and recordings efficiently.


6. Workflow and Recording Tips


Here are some tips to improve your workflow and recording process:


  • Start Simple: If you’re new to recording, start by focusing on recording one instrument or vocal track at a time.
  • Organize Your Files: Create a naming system for your files and tracks so you can easily access and identify them during your session.
  • Back Up Your Projects: Regularly back up your recordings to external drives or cloud services like Google Drive or Dropbox.


7. Learn and Grow


The home recording process doesn’t stop once you’ve recorded your tracks. Understanding mixing, compression, EQ, and reverb can take your recordings to the next level. For tips on mixing and mastering your tracks, check out guides like:


As you experiment with your gear and techniques, always keep learning and exploring new methods to refine your sound.


Conclusion


Building a home recording studio is a rewarding and creative journey. With the right equipment, acoustic treatment, and a solid understanding of the technical aspects, you can create professional-quality recordings from the comfort of your home. Use this guide as a starting point and continue to expand your knowledge, improve your skills, and explore new possibilities in music production. Happy recording!

Recent Articles

Stay up to date with the latest tips, expert insights, product reviews, and step-by-step guides to help you grow, create, and succeed—no matter your industry or passion.