In 2025, taking high-quality pictures using your Chromebook or computer is easier and more powerful than ever. With the right tools, lighting, and simple post-processing, you can create professional-looking portraits—even from a built-in webcam.
This guide focuses on the key things that matter most: capturing images, improving them with light and software, and turning them into assets you can share or monetize.
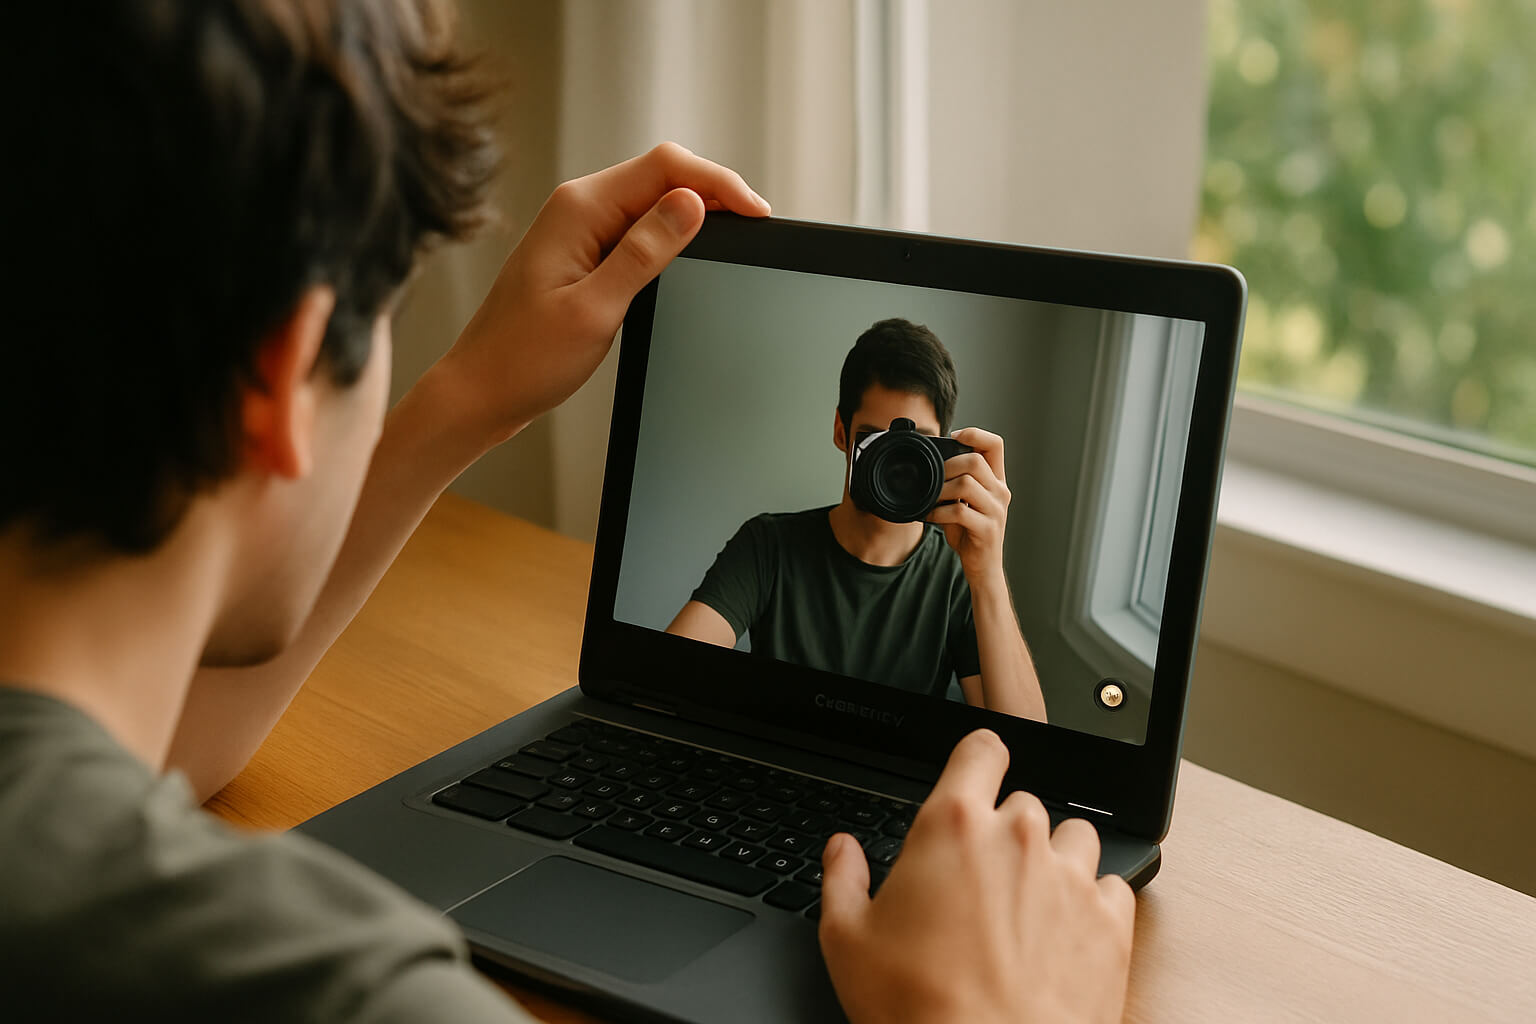
How to Take a Photo on a Chromebook
Chromebooks have a native camera app that’s easy to use and perfect for quick snapshots, virtual class photos, or social media images.
Step-by-Step:
1. Launch the Camera App
- Click the Launcher (bottom-left circle icon).
- Type and select “Camera”.
- The app opens instantly, using your front-facing webcam.
2. Choose a Mode
- Select from Photo, Video, or Square (for Instagram-style formats).
- If you're capturing for LinkedIn or professional use, stick to Photo mode.
3. Capture the Shot
- Click the shutter button to take a picture.
- Your photo is saved automatically in the Downloads folder.
4. Check Settings
- You can activate gridlines for better framing.
- Use a 3- or 10-second timer for hands-free selfies.
Pro Tip: If your images appear dull, don’t blame the camera—adjust the lighting (see next section).
Related: Beginner’s Guide to Studio and Creative Lighting
Lighting: The #1 Secret to Great Computer Photos
Even the best webcam or built-in camera will look bad without good lighting. Lighting affects sharpness, mood, and how flattering your photo looks.
What to Do:
- Face a Window: Use soft, natural daylight. It smooths skin and reduces shadows. Don’t sit with your back to the window—it causes silhouettes.
- Use a Ring Light: A USB-powered ring light provides consistent brightness and eliminates harsh shadows on your face. Clip-on versions work great for Chromebooks.
- Avoid Overhead Lighting: Fluorescents and ceiling lights cast downward shadows that accentuate eye bags and wrinkles.
- Use a Lamp at a 45° Angle: If you don’t have fancy gear, a basic lamp with a warm bulb directed at a 45° angle from your face works wonders.
🧪 Advanced Option: Combine natural and artificial lighting by layering a ring light and window light for balanced brightness.
📖 Dive deeper: Beginner’s Guide to Studio and Creative Lighting

Edit and Enhance Your Photos After Capturing
Once your picture is taken, you can elevate it dramatically with simple edits—adjusting exposure, removing blemishes, cropping out clutter, and adding visual appeal.
Best Free & Easy Editors (2025):
- Snapseed
- Works on ChromeOS and Android.
- Offers pro-level tools like healing, curves, HDR, and portrait mode enhancements.
- Canva
- Ideal for social media templates, filters, cropping, and adding text or logos.
- Lightroom (Free version)
- Great for exposure, tone curves, color correction, and presets.
- Photoshop Express
- Remove spots, smooth skin, and apply filters with just a few taps.
What to Focus On:
- Crop out background clutter.
- Adjust brightness and contrast to make your photo pop.
- Use blemish removal for clean skin (but don’t overdo it).
- Apply light filters if needed for consistency with branding.
Explore more tools: Best Photo Editing Apps in 2025
Remove Background Distractions & Objects
Even with great lighting and framing, your shot can look unprofessional if there’s background clutter. Use object removal tools to clean things up.
Tools That Work Instantly:
- Cleanup.pictures: Drag and erase objects instantly with AI.
- Fotor Object Remover: Works well for quick fixes on mobile or Chromebook.
- Photoshop (Content-Aware Fill): Best for advanced edits but requires a subscription.
Use Case Example: Took a selfie but have laundry in the background? Brush it out using Cleanup.pictures in seconds.
Learn more: How to Remove Unwanted Objects from Photos
Sell or Use Your Photos Professionally
A good self-portrait or lifestyle image can be more than just a profile photo—it can be part of your creative or professional portfolio.
Ways to Use or Monetize:
- Profile Branding: Use clean headshots for LinkedIn, resumes, or professional websites.
- Stock Photography: Submit to sites like SmugMug, Picfair, or EyeEm to earn passive income.
- Freelance Offerings: Offer simple portrait services or editing for others using the same tools.
- Watermark and Tag Your Work: Use metadata and watermarks to protect and brand your work.
Learn how:
Final Tips for Better Results Without Buying New Gear
You can dramatically improve your photos just by following these pro strategies:
- Use Eye-Level Framing: Raise your laptop with a box or use a tripod to get your camera at eye level. This looks more natural and confident.(Best Tripods for 2025)
- Clean Your Lens: Smudges on a webcam lens reduce sharpness. Wipe with a microfiber cloth before shooting.
- Take Multiple Shots: Don’t settle on one image. Take 3–5 variations with different expressions and lighting.
- Use the Timer: A 10-second timer gives you time to adjust posture or pose hands-free.
- Understand Color Basics:
- Color correction = fixing exposure and balance.
- Color grading = changing the image tone for mood (e.g., warm or cinematic looks).
Resources:
Conclusion: Your Laptop is a Photography Tool—Use It Well
You don’t need a $1,000 camera to create striking, polished photos. In 2025, your Chromebook or computer, paired with great lighting and free software, can produce results that rival professional headshots.
- Start with strong lighting.
- Frame carefully and shoot multiple times.
- Edit lightly and clean up distractions.
- Repurpose your image for branding, social media, or even online income.
Your webcam can be more than just a video call tool—it can be your gateway to creativity, confidence, and opportunity