How to Take a Passport Photo with an iPhone in 2025 – Complete Guide

May 26, 2025

By RocketPages

Young adult taking a passport photo using an iPhone and tripod at home with a white background and natural lighting.

Taking a passport photo with your iPhone in 2025 is not only doable — it’s smart. With the right lighting, framing, and apps, you can capture a professional, government-approved image without stepping into a photo studio.


Whether you're applying for a new passport, renewing an old one, or needing a compliant image for visas or ID cards, this guide will walk you through how to take a passport photo using just your iPhone — and make it look exceptional.


Know the Rules First


Before you press the shutter, make sure your photo meets official guidelines (which may vary slightly by country):


  • Neutral expression – No smiles or frowns
  • Plain white or off-white background
  • No shadows on the face or background
  • No glasses, hats, or distracting accessories
  • Centered, eye-level head positioning
  • Correct size (typically 2x2 inches or 600x600 pixels)


Step 1: Lighting Is Everything


Lighting can make or break your passport photo. Natural light is best — but when indoors, mimic professional setups:


  • Face a window for soft, even natural light.
  • Use a ring light or LED panel if indoors to eliminate harsh shadows.
  • Avoid overhead lights — they create under-eye shadows and unflattering contrast.
  • If you're curious about creative and studio setups, check out this Beginner’s Guide to Artificial Lighting.
Bonus: Learn how Split Lighting works to understand face structure and shadowing—even if it’s more of a creative tool.


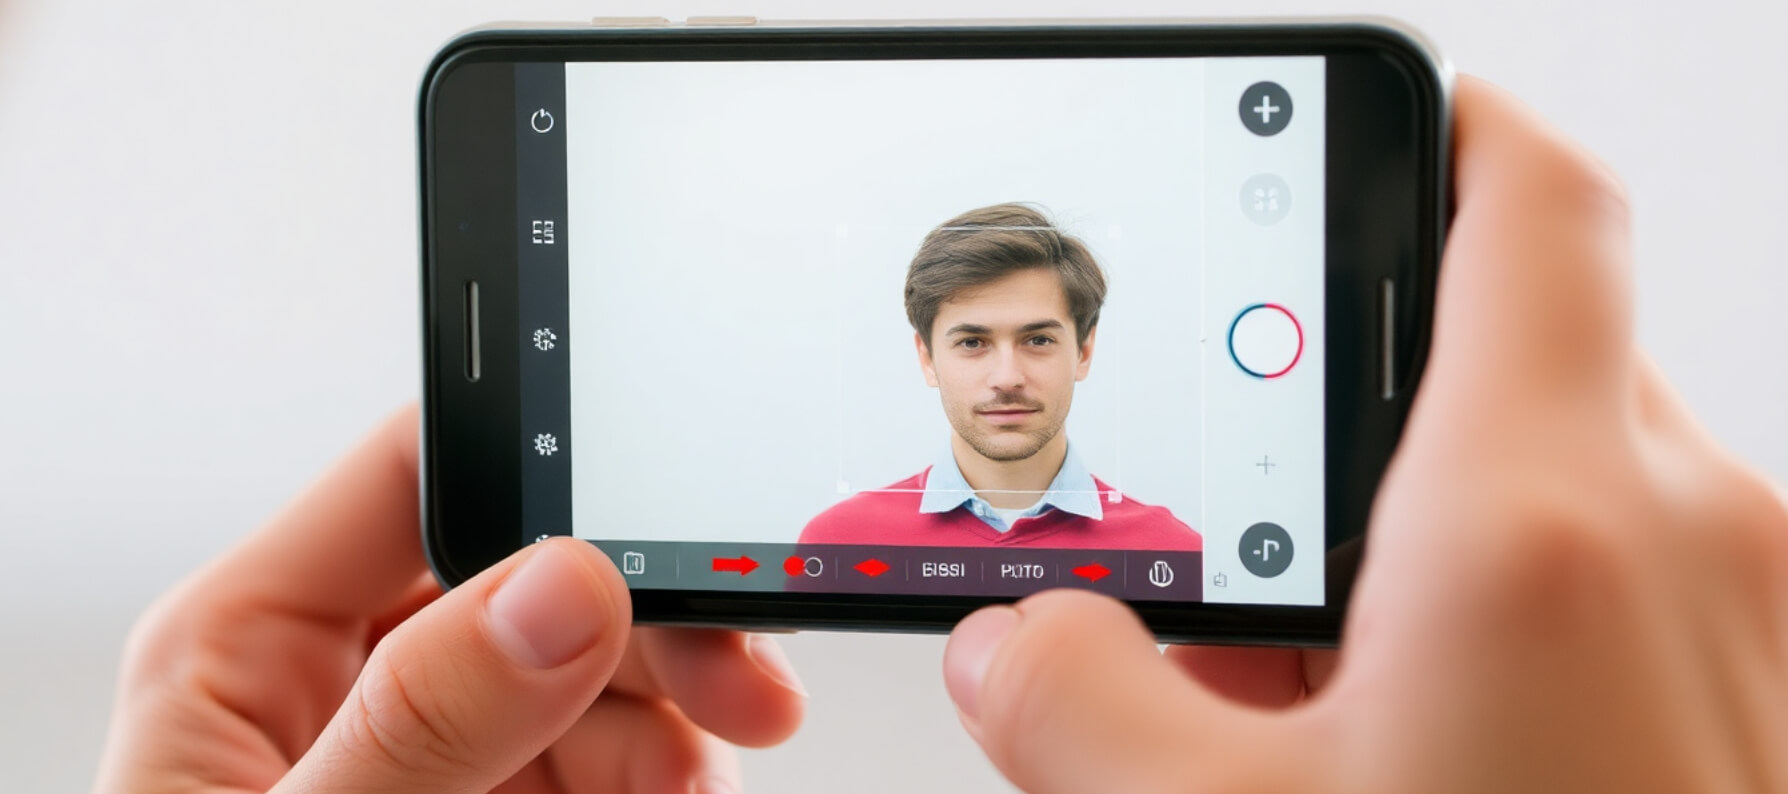
Step 2: Set Up Your iPhone Like a Pro


  • Use the rear camera of your iPhone — it delivers higher quality.
  • Place your phone on a tripod at eye level. (If you don’t own one, browse the Best Tripods in 2025.)
  • Enable grid lines to center your face properly.
  • Set the self-timer to 3–10 seconds so you can step back into position.


Step 3: Take the Photo


  • Stand about 4 feet from the camera.
  • Ensure your head and shoulders are fully in frame.
  • Keep a neutral expression, eyes open and mouth closed.
  • Capture multiple shots with slight variations — you can pick the best later.


Step 4: Edit Without Breaking the Rules


Editing passport photos is fine — if you stay within acceptable limits. You can’t over-edit or use beauty filters, but you can crop, brighten, and clean the background.

Use one of the tools from the Best Photo Editing Apps of 2025:


  • Snapseed: Crop, straighten, and fine-tune brightness.
  • Lightroom: Adjust shadows and whites.
  • Photoshop Express: Clean up blemishes and resize the image.


Step 5: Remove Background Clutter (If Needed)


Your photo must have a solid, distraction-free background. If yours doesn’t, clean it up with tools like:


  • Cleanup.pictures: Erase any unwanted items.
  • Fotor Object Remover: Tidy up the space behind you without affecting your appearance.


These tools are outlined in detail in the article on removing unwanted objects.


Step 6: Resize, Format, and Export


Most passport agencies require:


  • 2 x 2 inches (51mm x 51mm)
  • 300 DPI
  • JPEG file format


Many editing apps like Canva or Photoshop Express allow precise export settings. Double-check your country’s official specifications.


Step 7: Submit or Print the Photo


  • For digital submission, ensure your image is high-quality, correctly cropped, and well-lit.
  • For printing, use matte or glossy photo paper. A quality inkjet printer is ideal, or upload to a site like Walgreens, CVS, or an online print lab.


Want to take it to the next level? You can restore old ID or passport photos with tools found in this guide: Best Photo Restoration Software in 2025.


Bonus: Can You Sell or Repurpose These Skills?


If you’ve mastered iPhone-based photo creation, you can turn it into income:


Final Checklist


  • White, shadow-free background
  • Eye-level framing using a tripod
  • Neutral expression with mouth closed
  • Proper lighting (daylight or ring light)
  • Edited (but not altered) to passport specs
  • Correct dimensions and format


Conclusion: You Don’t Need a Studio


Your iPhone is powerful enough to capture passport-quality photos with the right know-how. Whether you’re applying for your own ID or looking to monetize your skills, a simple shot can lead to professional results.

All it takes is:


  • Smart lighting
  • Proper framing
  • Gentle editing
  • Knowledge of guidelines


Happy shooting — and don’t forget to explore artistic techniques like Double Exposure or Cinematic Wedding Shots once you’ve nailed the basics!

Would you like:

Recent Articles

Stay up to date with the newest tips, gear reviews, and step-by-step guides to elevate your photography journey from home and beyond.