
May 15, 2025

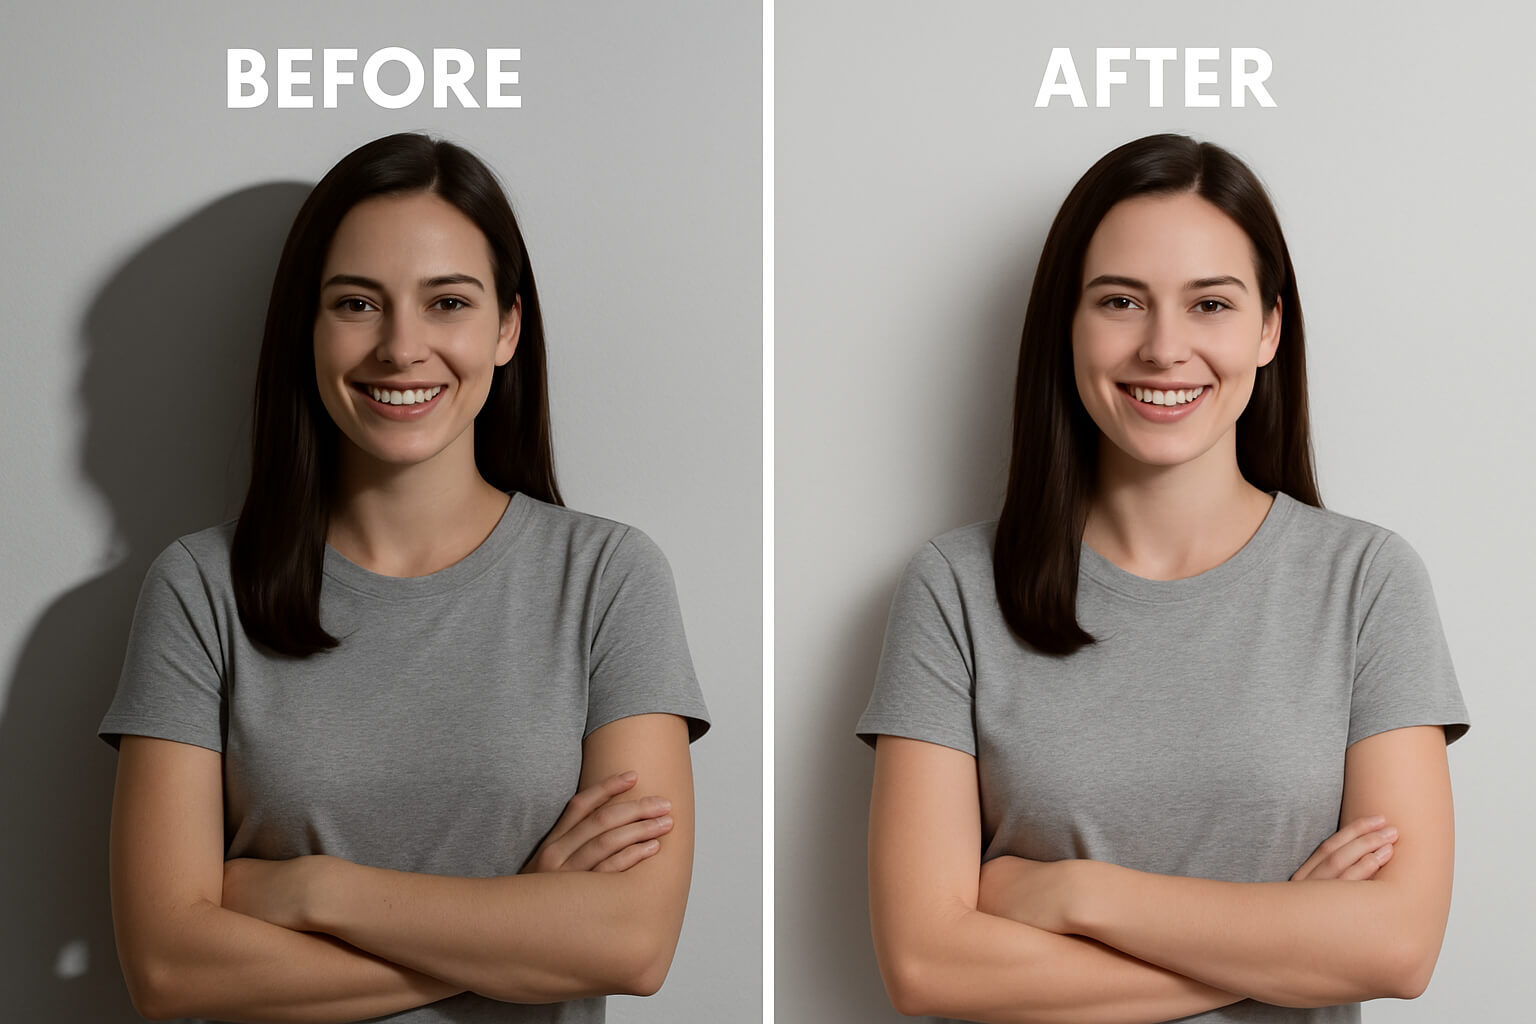
Shadows can add drama and depth to your images — but not all shadows are welcome. Sometimes, harsh lighting or poorly timed flashes can cast distracting or unflattering shadows that ruin an otherwise perfect shot. Whether you’re working on portraits, product photography, or scenic compositions, knowing how to remove shadows from photos can take your edits from “meh” to masterpiece.
In this guide, we’ll break down how to remove shadows from photos using manual techniques, AI-powered tools, and tips from advanced photography principles — while drawing inspiration from our expert articles like Cinematic Wedding Photography, Double Exposure Effects, Black and White Photography, and Best Photo Selling Platforms.
Before diving into the "how," let’s cover the "why." Not all shadows need to be removed — in fact, some are essential to cinematic or artistic styles. But unwanted shadows:
Removing shadows is essential when you’re going for a clean, professional aesthetic — whether you're building a portfolio or uploading to one of the best photo-selling websites.
1. Use the Clone Stamp or Healing Brush (Photoshop)
The most accurate method for small shadow areas:
This technique is often used in cinematic wedding retouching where subtle edits matter (see reference).
2. Adjust Shadows with Lightroom
Great for softening, not removing:
This method works well for lifestyle portraits and editorial work — especially when converting images to black and white, where shadows can get intense.
3. Use AI Shadow Removal Tools
Fast and beginner-friendly:
These tools are perfect for beginners using entry-level gear mentioned in Best Cameras for Beginners.
4. Mobile Editing Apps
For on-the-go photographers and influencers:
These tools are ideal for influencers editing branded content for resale or campaign use, just like we suggested in photo monetization guides.
Prevention is easier than correction — here's how professionals avoid harsh shadows:
Not every shadow needs to be erased. In fact, dramatic use of light and shadow is a hallmark of cinematic wedding photography and monochrome images. Consider whether the shadow adds emotion, depth, or storytelling before you remove it.
If you're selling prints or products online, removing shadows can drastically improve sales. Clean, consistent lighting is key — especially when uploading to platforms listed in our guide to the best photo-selling sites.
Use tools like Luminar AI, Pixelmator Pro, or Canva Pro’s background eraser to polish product photos and make them marketplace-ready.
Removing shadows is both a technical and artistic decision. While tools make it easier than ever, understanding when to remove vs when to keep a shadow is what separates a beginner from a professional.
Whether you’re fine-tuning portraits, prepping prints for sale, or simply crafting a clean brand aesthetic, shadow control is your secret weapon. Apply what you've learned here alongside lighting, framing, and editing strategies to create images that are as clean as they are compelling.
Stay up to date with the newest tips, gear reviews, and step-by-step guides to elevate your photography journey from home and beyond.