
May 23, 2025
Reflection photography offers a fresh way to view the world. The magic lies in how ordinary elements—like rainwater, glass buildings, or even mirrors—can transform into captivating works of art when captured thoughtfully. Whether you're photographing a serene lake, a puddle reflecting city lights, or a bustling street mirrored in a storefront window, reflections add layers of depth, mystery, and symmetry. By understanding key techniques, you can master this art form and elevate your photography game using equipment and knowledge you already possess.
Reflection photography is all about finding the right surfaces that naturally create a mirror effect. From puddles after a rainstorm to the sleek surfaces of glass windows and metallic structures, reflections are found in the most unexpected places. Start by looking for natural reflective surfaces such as still water, shiny car doors, or even the screen of a smartphone. A calm pool of water in a quiet park can transform a simple landscape into something dreamlike, while a shiny storefront window or a car's side mirror offers a chance for complex, layered reflections. Take a look at Adobe’s guide on reflection photography for inspiration, and explore practical examples and framing techniques at ExpertPhotography’s tips.
When shooting, also experiment with capturing reflections in architectural glass or polished floors to create striking urban or modern compositions.

Polarizing filters can make or break reflection shots. While these filters are often used to reduce or eliminate reflections, reflection photography benefits from experimenting with them in creative ways. By rotating the polarizer, you can selectively enhance the reflections or control how much light is reflected on your surface, helping you balance the brightness between the scene and its mirrored counterpart. If you're photographing outdoor scenes like puddles, windows, or bodies of water, adjusting the polarizing filter can help control the saturation and contrast, leading to a more dynamic image.
Learn more about how to control reflections using a polarizer in this comprehensive guide. For indoor reflective photography, where artificial lighting plays a role, check out how to manipulate lighting for reflective control for creative effects.

Reflection photography is rooted in symmetry—both literal and abstract. Whether you are photographing a person standing in a puddle or capturing the perfect reflection of a building in a glass surface, symmetrical compositions tend to have the most visual impact. Pay close attention to how you align the reflective surface with the subject. Sometimes the reflection is just as important as the subject itself, and framing them both in harmony can make for a compelling image. Use techniques like the rule of thirds to balance the reflection with the scene, ensuring that neither element dominates the other. This guide on minimalist photography can teach you how to simplify your frame and make your reflections pop.
Additionally, you can experiment with split lighting techniques (often used in portrait photography) to emphasize dramatic contrasts between light and dark in reflective surfaces. This can work well if you're capturing a person’s silhouette or a specific scene against a reflective backdrop.

Lighting has a profound effect on how reflections appear. The time of day you shoot can drastically alter the mood and intensity of your reflections. The golden hour, which occurs just before sunset and after sunrise, provides warm, soft light that enhances the vibrancy of reflections, especially in water or glass. During the blue hour—just after sunset or before sunrise—the cooler tones create a moody, cinematic effect that’s perfect for urban reflections or cityscape shots.
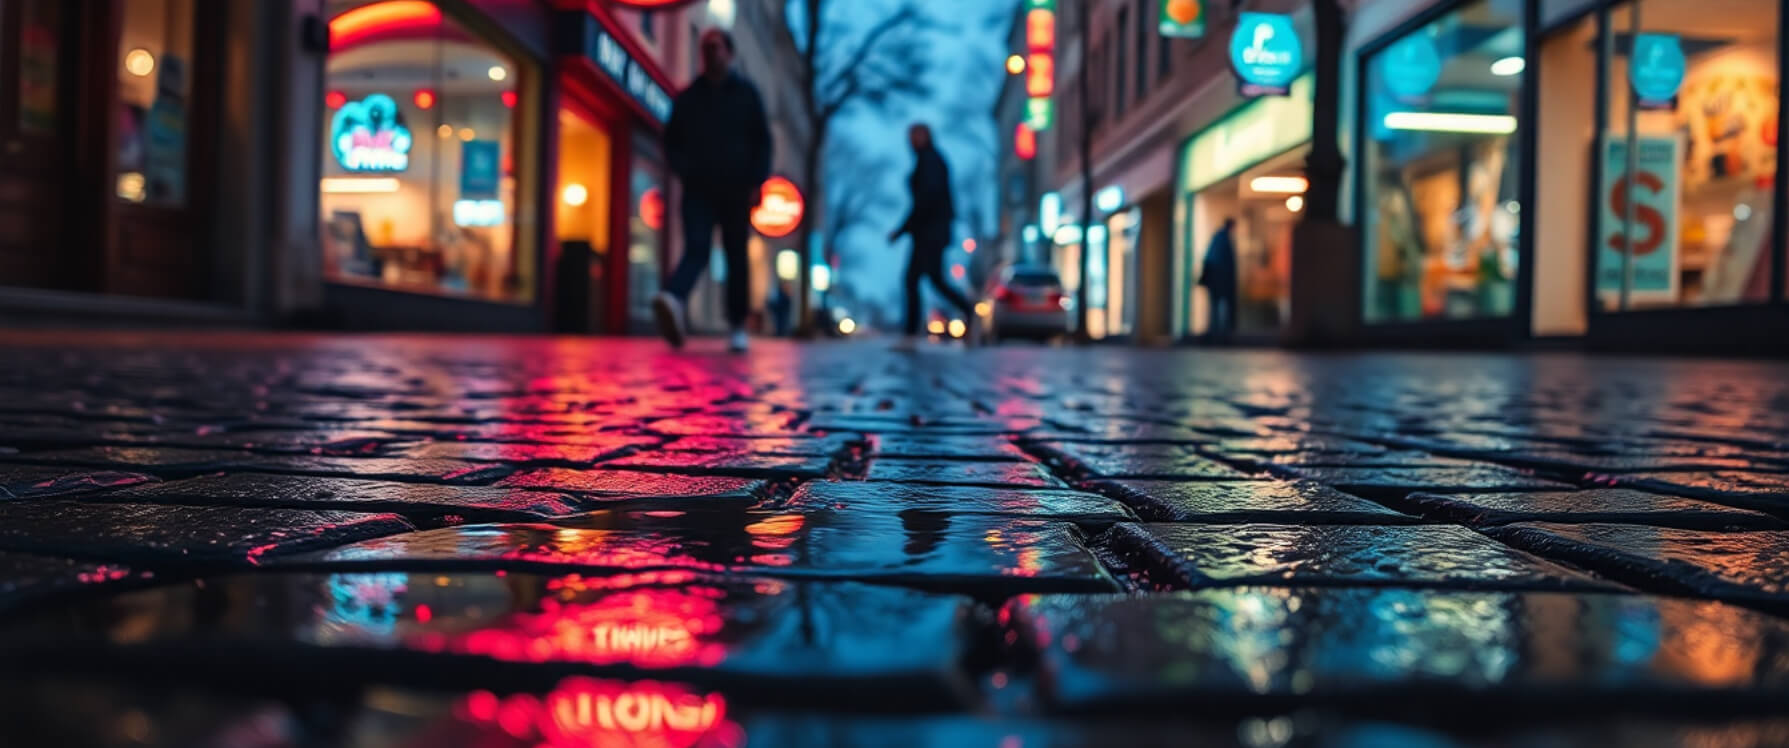
If you're shooting at night, reflections on wet surfaces, such as street pavements or puddles, can transform city lights into beautiful bokeh patterns. For more on how to utilize light in your reflection shots, check out this guide to outdoor lighting setups for tips on finding the best times and techniques to shoot.

Sometimes the best way to showcase reflections is by shooting from a low angle. By getting down close to the surface of a puddle or reflective glass, you allow the reflective element to take center stage. This can enhance the depth and scale of the image, making the reflection feel more immersive. For photographers using smartphones, this technique works well when you flip the phone upside down and position it near the surface. This creates a surreal, abstract effect by introducing depth in a way that isn’t visible from a higher perspective.
If you’re using a DSLR or mirrorless camera, crouching or laying down to shoot low will offer you more creative freedom. To achieve the best results, check out this resource on beginner-friendly cameras designed for shooting from unique, creative angles. For more inspiration, you can browse the Flickr Reflection Photography Group, where many creatives share their low-angle reflection shots.

Once you’ve captured your perfect reflective shot, editing can further refine the image and bring out hidden details in the reflection. Tools like Lightroom allow you to selectively edit only the reflective surface, adjusting contrast, exposure, and clarity to ensure the reflection is sharp and defined. You can also adjust the overall color balance of the image to create harmony between the reflection and the original scene.
For advanced edits, learn how to use Lightroom masking to selectively adjust different parts of your photo, particularly the reflection. Color grading can help achieve moodier or more dramatic tones—particularly useful when shooting during golden or blue hours. You can further enhance your reflections by applying techniques from this guide to color correction. Additionally, if there are distractions, tools like the clone stamp and healing brush can be used to remove unwanted objects from the reflective surface. For more tips on cleaning up distractions, explore how to remove unwanted objects.

When shooting in low light, reflections can be difficult to capture sharply, especially if you’re using longer exposures. A tripod is crucial for stabilizing your camera, ensuring crisp, clear photos. It also allows you to shoot from a lower angle without worrying about camera shake. This is particularly useful when capturing city lights reflected on wet streets, or if you’re using a slower shutter speed to capture the smooth, mirror-like surface of a lake.
For night or long exposure shots, check out this tripod guide to find gear that’s ideal for low-light and reflective photography. Stabilizing your shot ensures that your reflections stay sharp, even in challenging lighting conditions.

The beauty of photography is that it’s a community of creatives who share ideas and inspire each other. Browse sites like Digital Photography School and ExpertPhotography to explore different takes on reflection photography. See how others incorporate puddles, windows, and mirrors into their compositions, and get inspired by their unique perspectives. For added creativity, try experimenting with double exposure effects to blend reflections with other images for a surreal, artistic touch.

Reflections aren’t just an art form—they can also be a valuable source of income. Many photographers make a living by selling their reflection shots as fine art prints, digital downloads, or through stock photography platforms. Whether you’re capturing urban landscapes, nature scenes, or creative compositions, reflections tend to be highly sought after in the art market.
For a guide on how to monetize your photography, check out how to sell your photos online and learn how to create a sustainable income stream. You can also explore this pricing guide for professional photographers to help you set fair rates for commissioned reflection photography sessions.
![]()
Reflection photography encourages you to pause, observe, and see the world in reverse. It teaches patience, perception, and balance — and once you learn to spot reflections, you’ll start seeing them everywhere. Whether you're using puddles, windows, or polished metal, these mirrored moments can elevate your photography from snapshots to art.
Stay up to date with the newest tips, gear reviews, and step-by-step guides to elevate your photography journey from home and beyond.