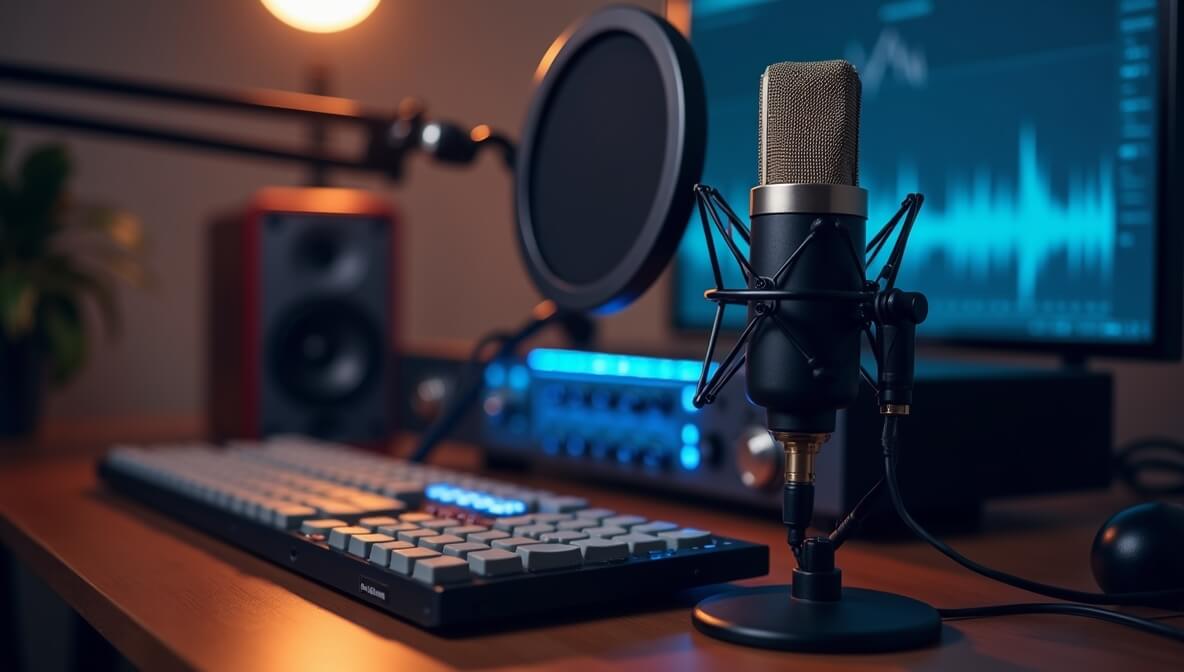
Starting your home recording journey is an exciting and creative step, but it can also feel overwhelming when it comes to picking out the right equipment. Your microphone is one of the most important pieces of gear in the recording chain, and choosing the right one for your needs can make all the difference in the quality of your recordings. With so many different types, features, and price points, it’s easy to get lost in the options. In this guide, we’ll break down everything you need to know to make an informed decision and confidently purchase your first microphone.
1. Understand the Different Types of Microphones
Before diving into brands or specific models, it's important to know the types of microphones and what they’re best used for. Each type has its strengths and ideal applications:
- Dynamic Microphones: These are your workhorses for live performances and loud sources like guitar amps and drums. Dynamic mics are incredibly durable, affordable, and can handle high sound pressure levels without distortion. They’re perfect for beginners, especially if you plan to record with loud instruments or if your space isn't acoustically treated.
- Examples: Shure SM57 (legendary for amps), Shure SM58 (popular for vocals)
- Condenser Microphones: Condenser mics are sensitive and capture a lot of detail. They’re the go-to choice for studio vocals, acoustic instruments, and any recording that needs to capture a nuanced, full sound. These mics require phantom power, which most modern audio interfaces can provide. Because they are more sensitive, condenser mics pick up all the sounds in the environment, so they are best used in controlled environments with good acoustics.
- Examples: Audio-Technica AT2020, Rode NT1-A
- Ribbon Microphones: These microphones are often seen in professional studios due to their smooth, vintage tone. They’re great for capturing warmth and natural sound, but they are much more fragile than dynamic or condenser mics, so they may not be the best choice for a first mic, especially for beginners.
- Example: Royer R-121 (used in high-end studios)
Related Read: Microphones Explained — Dynamic vs. Condenser vs. Ribbon Mics
2. Know Your Recording Environment
Your recording space plays a crucial role in how your microphone will perform. If your environment is acoustically untreated (i.e., you have lots of reflections, echoes, or background noise), a highly sensitive condenser mic could capture unwanted sounds, making your recordings sound muddy or inconsistent.
In an untreated room, a dynamic microphone might be a better choice as it’s less sensitive to the acoustics around it and will focus more on the sound source (like your voice or guitar) rather than the room itself.
If you plan to record in an untreated room, it’s a good idea to invest in acoustic treatment like foam panels, bass traps, or portable reflection filters to improve the sound quality of your recordings.
For more tips on creating an ideal recording space, check out: Building Your Home Studio — Essential Gear and Setup Guide.
3. Match the Mic to Your Recording Goals
Now that you understand the types of microphones, think about what you’ll be recording most often. Different mics are suited for different uses:
- Vocals: If your main goal is to record vocals, a large diaphragm condenser microphone is typically the best choice. These mics capture a broad frequency range and give you warm, clear sound with a natural depth. They’re a classic choice for capturing detailed vocal performances.
- Podcasts or Voiceovers: If you're planning to start a podcast or voiceover work, a broadcast-style dynamic mic is a great option. These mics are designed for clarity and warmth, delivering that intimate, professional "radio" sound that’s perfect for spoken word recordings.
- Instruments: If you're mainly recording acoustic instruments like guitar, piano, or strings, a small diaphragm condenser microphone will offer accurate, detailed capture with minimal distortion.
- Live Loud Sources: For amplifiers, drums, or other loud instruments, a dynamic mic like the Shure SM57 is legendary for its ability to handle high sound pressure levels without distortion, making it the go-to choice for these applications.
4. Consider Your Budget
As a beginner, you don’t need to break the bank to get a solid microphone. There are plenty of affordable microphones that offer great sound quality without costing a fortune. Here’s how to think about your budget:
- Entry-Level Microphones: Many budget-friendly dynamic and condenser microphones offer professional-quality recordings. Brands like Audio-Technica, Samson, and Rode offer excellent mics under $100 that are perfect for beginners.
- Mid-Range: As you get more experienced, you might want to upgrade to mics that offer even more detail, range, and versatility. Mics in the $150-$300 range can often serve as both studio and live performance solutions.
- High-End: If you’re going for top-tier professional-quality recordings right from the start, you’ll need to invest more. Expect to pay upwards of $500 for high-end condenser or ribbon microphones.
Remember that your first mic is just a starting point. You can always upgrade later as your recording skills and needs evolve. Also, don’t forget to factor in the cost of accessories (mic stands, pop filters, shock mounts, etc.).
5. Don’t Forget the Accessories
A microphone is just one part of your home recording setup. To ensure the best results and protect your equipment, you’ll also need:
- Audio Interface: An audio interface converts the microphone's analog signal to a digital one that your computer can process. A good interface is key for clear and professional-sounding recordings. Many entry-level audio interfaces come bundled with microphones (e.g., Focusrite Scarlett 2i2).
- Related Read: Understanding Audio Interfaces — What They Do and How to Choose
- Pop Filter: A pop filter helps reduce plosives (those harsh "p" and "b" sounds that can distort recordings), making your vocals cleaner and more professional.
- Shock Mount: This isolates the microphone from vibrations or noise from the floor or desk, preventing unwanted noises from sneaking into your recordings.
- Mic Stand: A sturdy stand is essential for stable recordings. A boom stand is often preferred for flexibility and comfort.
6. Test Before You Buy (If Possible)
Whenever possible, it’s a good idea to test microphones before purchasing them. The way a mic reacts to your voice or instrument can be surprisingly different from what you expect. The frequency response, the level of detail, and how it handles various recording environments can all vary greatly.
If in-person testing isn’t feasible, research user reviews and listen to demo recordings online to get a sense of how the mic sounds in real-world scenarios.
The Takeaway
Choosing your first microphone is about balancing your recording goals, environment, and budget. Start with a microphone that fits your most common recording tasks — whether it’s vocals, instruments, or podcasts — and make sure you have the right accessories to support it. Don’t forget to consider the acoustics of your recording space, as this can have a significant impact on your final recordings.
As you gain more experience and your recording skills grow, you can always expand your microphone collection. But your first mic will be your gateway to high-quality home recording, and with the right choices, you’ll be set up for success.