
May 21, 2025
With smartphone cameras becoming more advanced each year, you already hold the power to create high-quality product images in your pocket. Whether you're a small business owner, an Etsy seller, or just curating your brand’s Instagram feed, mastering smartphone photography can make your products shine—without investing in expensive gear.

Before you begin shooting, always ensure that your smartphone camera lens is spotless. Use a microfiber cloth to gently wipe off any smudges, dust, or fingerprints. Even small imperfections on the lens can lead to blurry or hazy images, compromising the sharpness and clarity of your photos. A clean lens is fundamental for achieving high-quality shots.
Tip: If you’re using a DSLR or mirrorless camera for your product shots, the same rule applies—keep your lens clean for sharper photos. Beginner cameras such as the Canon EOS Rebel T8i or Nikon D3500 are great choices if you’re looking to step up from smartphone photography. However, don't feel limited—smartphones like the iPhone 15 Pro or Samsung Galaxy S23 Ultra offer excellent camera performance for beginner photographers.
Lighting is one of the most critical factors in product photography.
💡 Pro Tip: Avoid using your phone’s flash. Flash creates uneven lighting, harsh highlights, and unflattering shadows that can ruin your shots. Instead, rely on natural or controlled artificial lighting. For an extra cinematic effect, you can experiment with cinematic photography techniques like using softer, diffused light for moodier shots—great for creating dramatic, storytelling product images.
The background should not distract from your product. A clean and neutral backdrop helps keep the focus on the item you're photographing.
📌 Tip: A clutter-free background will make your product appear more professional and polished. Double exposure photography can also be a creative method for adding artistic flair, blending a product with a conceptual or atmospheric background, giving your photos an avant-garde touch.
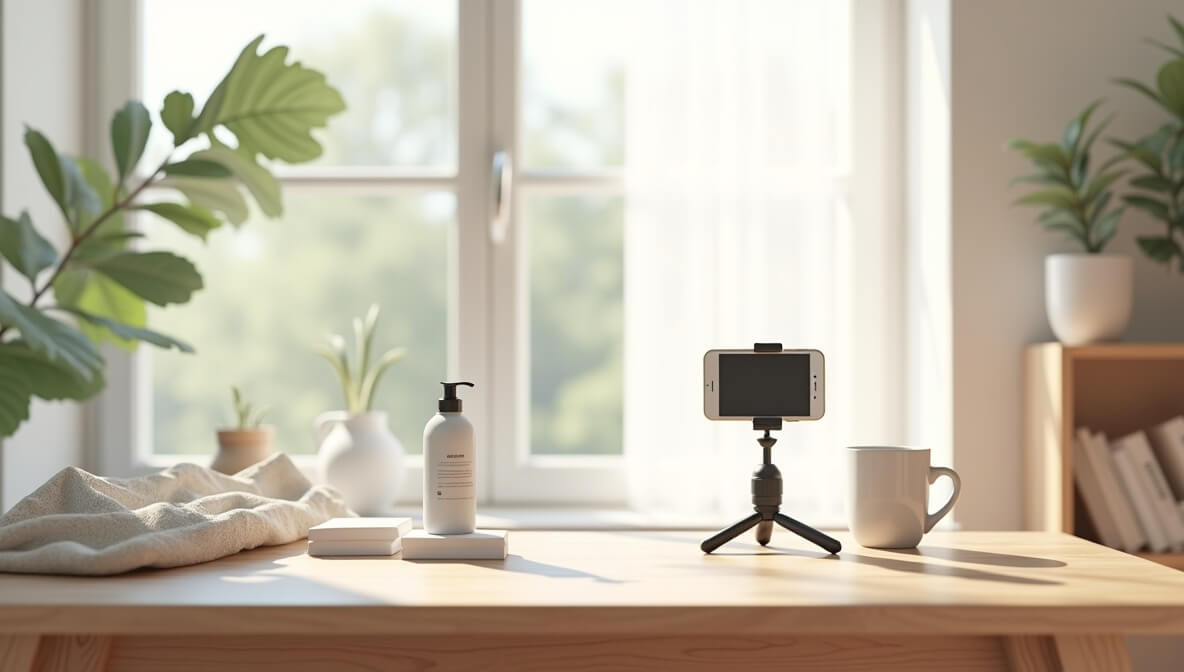
To avoid blurry or shaky photos, it’s crucial to keep your phone steady while shooting.
For more advanced setups, you can also invest in a gimbal stabilizer to create smooth, cinematic motion if you're capturing video or doing product demonstrations.
Enable the gridlines feature on your smartphone camera to help align your product within the frame. This makes it easier to apply the rule of thirds, ensuring your product is visually balanced.
📸 If you want to take your shots even further, consider learning the art of cinematic photography for dramatic, moody images. Techniques such as controlling the depth of field, using selective focus, and experimenting with composition can elevate your product shots to something visually striking.
Digital zoom degrades image quality by cropping and enlarging the image digitally, which results in pixelation. Instead of zooming in, physically move closer to the product to maintain sharpness and detail. This approach preserves the integrity of the image, resulting in clearer, more professional-looking photos.
📌 Tip: If necessary, crop the image later during the editing process rather than using digital zoom during the shot. Also, consider experimenting with artistic double exposure photography, which can be achieved in editing apps to create ethereal, layered effects in your product images.
Editing your photos can enhance their appearance, but it's important not to overdo it.
💡 Pro Tip: Avoid heavy filters or edits that alter the product’s natural appearance. Customers want to see what the product looks like in real life, so maintain authenticity in your photos.
If you’re looking to perfect your editing, check out photo restoration software to bring old or vintage images back to life with modern touch-ups.
Once you're satisfied with the photo, it’s time to export it.
📌 Tip: A high-quality image can make a significant difference in attracting customers and conveying professionalism. Take the time to ensure your photos look polished.
When upgrading your gear, consider what makes a great camera:
Here are some useful resources that enhance your skills and knowledge when it comes to smartphone and general photography techniques:
Stay up to date with the newest tips, gear reviews, and step-by-step guides to elevate your photography journey from home and beyond.