How to Restore Old Photos Using Photoshop (2025 Guide)
Old, faded, or damaged photos are more than just images; they are windows into our past, holding powerful memories and stories waiting to be told. With the right tools and techniques in Photoshop, you can breathe new life into these cherished keepsakes. This comprehensive guide is designed for beginners and hobbyists alike, providing you with essential steps for photo restoration using Photoshop—no expert-level experience required.
Why Restore Old Photos?
Restoring old photographs is a rewarding endeavor that allows you to:
- Preserve Family Heritage: Old photos often serve as the only visual records of family history. By restoring them, you ensure that these memories are preserved for future generations, allowing your family’s story to be passed down.
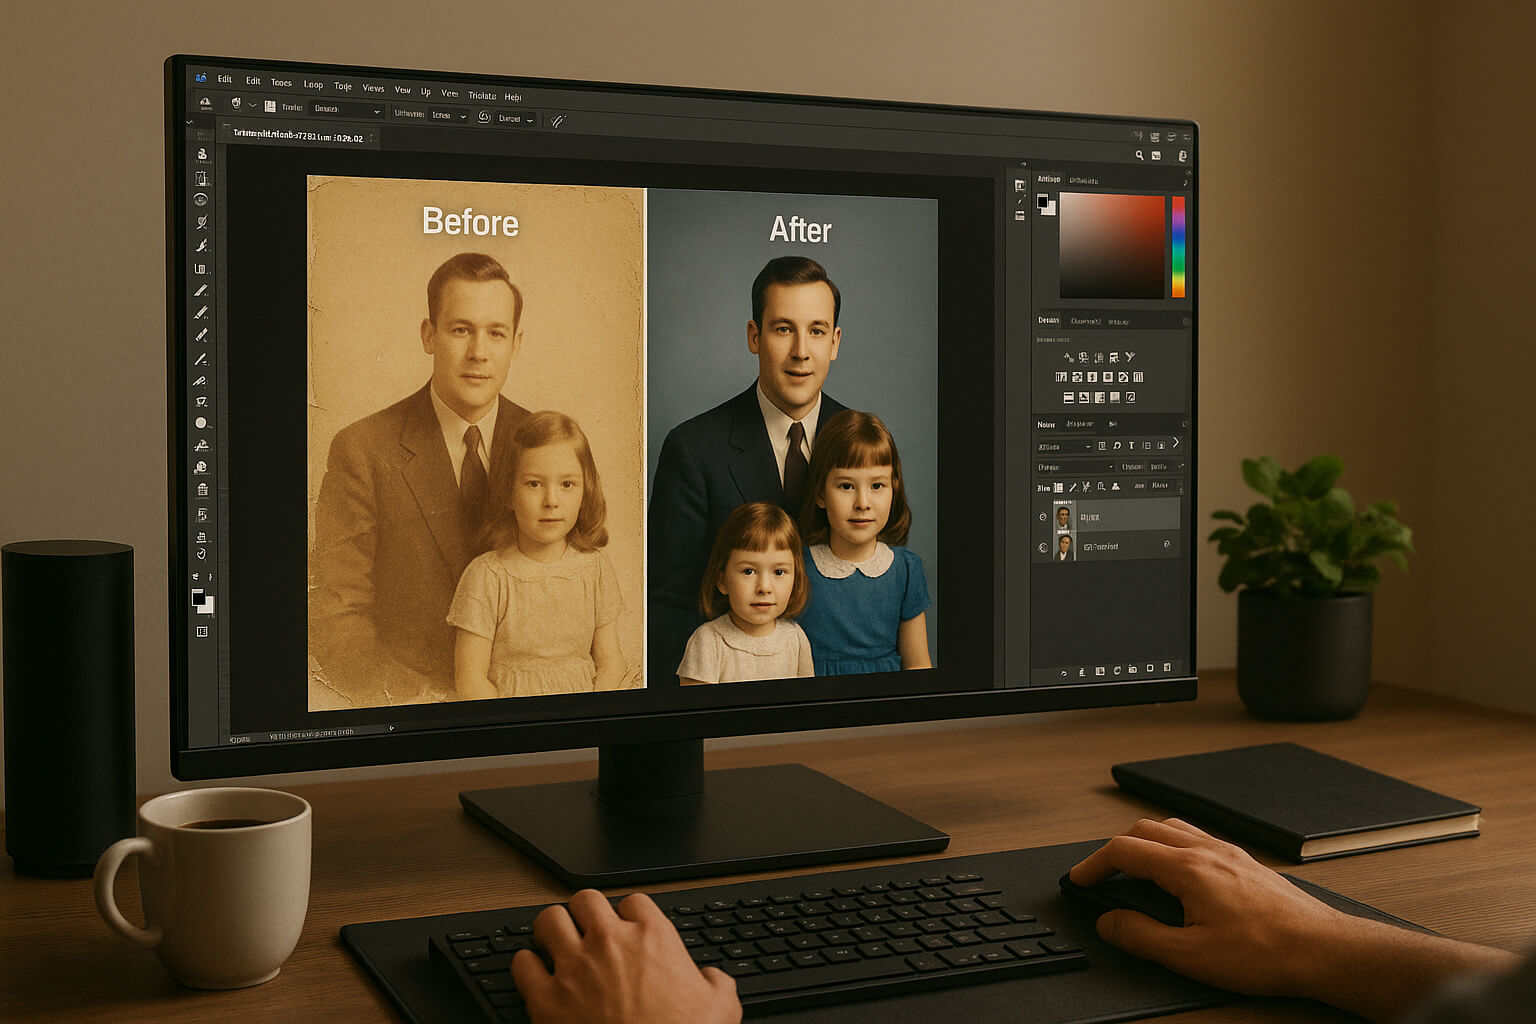
- Repair Damage: Over time, photos can suffer from various types of damage, including tears, water stains, and fading due to sunlight exposure. Restoration techniques can help repair these issues, making the images look as good as new.
- Digitally Enhance Faded Details: Many old photos lose their vibrancy and detail over the years. Digital restoration allows you to enhance colors and details that have faded, bringing back the original beauty of the image.
- Create Gifts or Legacy Prints: Restored photos can be transformed into beautiful gifts for family members or printed as legacy pieces to be cherished. Imagine gifting a restored family portrait to a loved one—it's a heartfelt way to celebrate your shared history.
Curious about the tools available? Check out our list of the Best Photo Restoration Software in 2025 – Revive Your Memories for additional options and insights.
What You Need Before You Start
Before diving into the restoration process, ensure you have the following essentials:
- A Scanned Copy of the Old Photo: A high-resolution scan (600 DPI recommended) is crucial for effective restoration. The higher the resolution, the more detail you can work with.
- Photoshop (2025 Version or Later): Ensure you have the latest version of Photoshop to access all the necessary tools and features that facilitate photo restoration.
- A Graphics Tablet (Optional): While not mandatory, a graphics tablet can provide more precision for retouching and detailed work, making it easier to achieve professional results.
Step-by-Step: How to Restore a Photo in Photoshop
1. Scan and Open the Image
- Begin with a high-resolution scan of your old photo. This step is critical, as the quality of your scan will directly impact the restoration process.
- Open the image in Photoshop and duplicate the background layer (right-click on the layer and select "Duplicate Layer") to preserve the original. This way, you can always revert back if needed.
2. Crop & Straighten
- Use the Crop Tool to remove unwanted borders and focus on the main subject of the photo. This helps to enhance the overall composition.
- Utilize the Ruler Tool to straighten any tilted images. Click and drag along the edge that should be horizontal or vertical, then use the Crop Tool to adjust the canvas.
3. Fix Dust, Scratches, and Tears
- Employ the following tools for repairs:
- Spot Healing Brush Tool: This tool is perfect for quickly removing small blemishes and dust spots. Simply paint over the area you want to fix, and Photoshop will automatically blend it with the surrounding pixels.
- Clone Stamp Tool: This tool allows you to copy pixels from one area of the image to another. Hold down the Alt key to select the source area, then paint over the damaged area.
- Patch Tool: Ideal for larger areas of damage, the Patch Tool lets you select a damaged area and replace it with pixels from another part of the image.
- Zoom in (using Ctrl + +) and work carefully in small sections for the best results. Patience is key in this step!
4. Adjust Brightness and Contrast
- Use Levels (Ctrl+L) or Curves (Ctrl+M) to restore tonal balance. These tools allow you to adjust the brightness and contrast, enhancing the overall look of the photo.
- Adjust the brightness and contrast to enhance faded areas without overexposing the image. Aim for a balanced look that brings out the details without losing the essence of the original photo.
5. Color Correction (If Applicable)
- Use Hue/Saturation and Color Balance adjustments to correct any discoloration. This step is essential for photos that have yellowed or lost their original color.
- Experiment with the sliders to find the right balance. You can also use the Selective Color adjustment to target specific colors for more precise corrections.
Need help understanding color tools? Read our detailed guide on Color Correction vs. Color Grading in Photography for a deeper understanding of these concepts.
6. Sharpen and Enhance Details
- Apply Unsharp Mask or High Pass Filter on a duplicate layer to enhance the definition of the image. This step helps to bring back the clarity and sharpness of the restored photo.
- For the Unsharp Mask, go to Filter > Sharpen > Unsharp Mask, and adjust the sliders to achieve the desired sharpness. For the High Pass Filter, go to Filter > Other > High Pass, and set the radius to a low value (1-3 pixels) before changing the layer blending mode to Overlay or Soft Light.
Bonus Tip: Save in Multiple Formats
When saving your restored photos, consider the following formats:
- TIFF: Ideal for archival quality and preserving all image data. This format is lossless, meaning no quality is lost during saving.
- JPG: Suitable for web or social media sharing, but be mindful of compression, which can reduce image quality.
- PSD: Save your work in Photoshop format to preserve layers and edits for future adjustments. This allows you to revisit your project and make changes as needed.
Want to turn your restored photos into a side hustle? Learn how to sell your photos online and generate passive income by sharing your artistic creations with the world.
Additional Learning Resources
Expand your knowledge and skills with these helpful resources:
