How to Photograph the Milky Way Step by Step
Photographing the Milky Way is one of the most awe-inspiring challenges for photographers. The vast expanse of the galaxy, with its billions of stars, creates an opportunity to capture the night sky in all its glory. But getting that perfect shot requires planning, the right gear, and specific techniques. This guide will walk you through everything you need to know—from preparation to editing—so you can create stunning Milky Way images.
Step 1: Plan the Perfect Night
Capturing the Milky Way starts long before you pick up your camera. The planning stage is crucial to ensure that you have the best possible conditions for shooting.
- Find a Dark Sky Location : The darker the sky, the better your Milky Way photos will be. To find optimal locations for stargazing and photography, use online tools like Dark Site Finder or the Light Pollution Map. These tools show you areas far from city lights, which are essential for photographing the stars without interference from light pollution.
- Check the Moon Phase : The brightness of the moon can wash out the Milky Way, making it hard to capture its details. Aim to photograph during a new moon phase when the sky is darkest. If you can’t wait for the new moon, the days before or after will also work, but try to avoid a full moon.
- Best Time to Shoot : The core of the Milky Way is visible in the night sky from March to October (depending on your hemisphere). However, the best time to photograph the Milky Way’s core is between midnight and 4 a.m. This is when the Milky Way is most visible in the sky. Check the time when the Milky Way is visible using apps like Stellarium or SkySafari.
- Weather Conditions : Clear skies are essential for capturing the Milky Way, so be sure to check the weather forecast. Websites like Clear Outside provide detailed cloud cover predictions, helping you plan your shoot for the clearest nights.
Step 2: Use the Right Gear
To capture the Milky Way, you’ll need specific equipment. Here’s what you should have in your kit:
- Camera : A full-frame DSLR or mirrorless camera with manual mode is ideal for Milky Way photography. These cameras can handle low-light situations, and manual mode gives you full control over exposure settings. Cameras like the Canon EOS 6D or the Sony A7 III are popular choices.
- Lens : A wide-angle lens (between 14mm and 24mm) is perfect for capturing a wide expanse of the sky. Additionally, choose a lens with a fast aperture (f/2.8 or faster) to allow as much light into the camera as possible. A wide aperture lets you capture more stars and reduces the amount of noise in the final image.
- Tripod : A sturdy tripod is a must to keep your camera steady during long exposures. Even the slightest camera shake can ruin a shot when photographing the night sky. Look for a tripod that can handle your camera's weight and has adjustable legs for different terrain.
- Remote Shutter or Timer : To avoid camera shake, use a remote shutter release or set your camera’s self-timer. This prevents you from physically touching the camera during the shot and introducing blurriness.
Explore:
Step 3: Camera Settings for Milky Way Shots
Now that you have your gear, it’s time to adjust your camera settings to optimize your shot. These settings serve as a solid starting point:
- Aperture (f-stop) : Set your aperture to the widest setting possible (typically f/2.8 or lower). A wide aperture allows more light to reach the sensor, helping you capture more stars in less time.
- Shutter Speed : The 500 Rule is a popular guideline for calculating the maximum shutter speed to avoid star trails.
- ISO : A common ISO range for Milky Way photography is 3200 to 6400. Start with ISO 3200 and adjust if needed. Higher ISO values introduce more noise, but they are necessary to capture the faint light of distant stars. If you notice too much noise in your images, consider lowering the ISO and increasing the exposure time (while staying within the limits of the 500 Rule).
- Focus : To ensure sharp stars, switch your camera to manual focus. Set the focus to infinity. You can use live view and zoom in on a bright star to adjust the focus precisely. Some cameras have a focus peaking feature that can help with this.
Step 4: Compose and Shoot
Now that you’ve set your camera, it’s time to focus on composition:
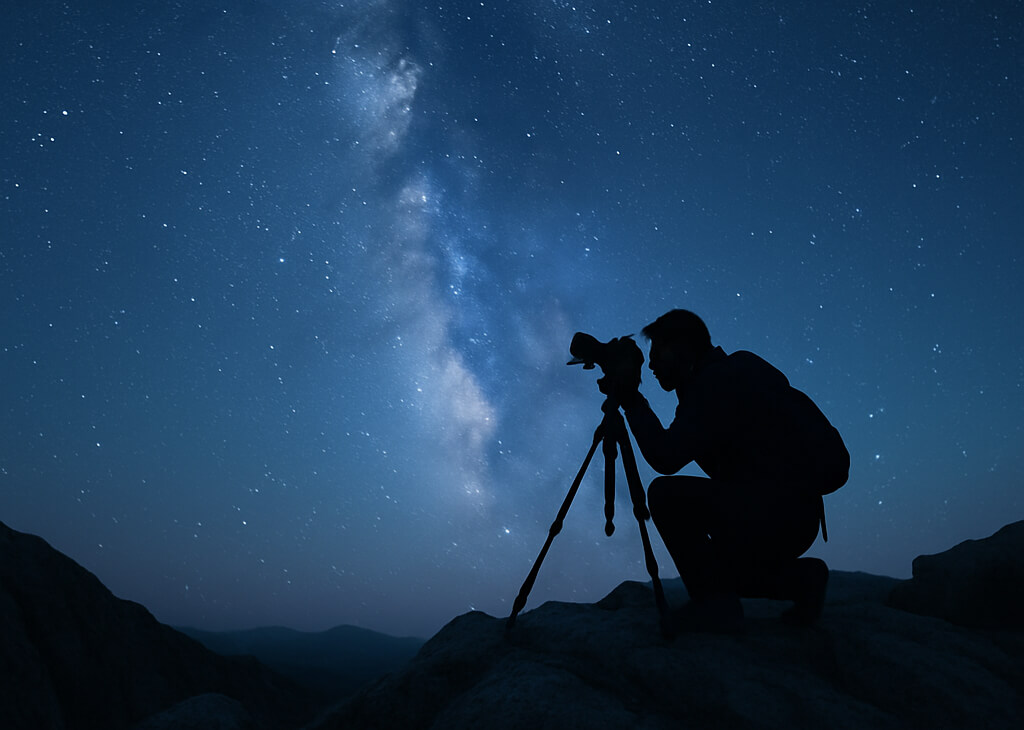
- Foreground Interest : Including interesting foreground elements—such as trees, mountains, or buildings—adds depth and context to your Milky Way images. A silhouette of a mountain against the starry sky can create a striking and more dynamic photograph.
- Avoid Light Pollution : It’s important to shoot away from city lights or artificial light sources. Light pollution can overpower the Milky Way and create an unnatural haze in your photos. Always check your location on the Light Pollution Map to ensure you're far enough from light sources.
- Take Multiple Shots : Experiment with different angles, compositions, and focal points. Small adjustments can make a big difference. Try shooting from different locations to find the best composition that highlights the Milky Way’s core and the surrounding landscape.
Step 5: Post-Processing Tips
After you’ve captured your Milky Way photos, it’s time to bring out the best in them through editing:
- Software : For editing, Adobe Lightroom and Adobe Photoshop are industry-standard tools. Lightroom is excellent for basic adjustments, while Photoshop offers more advanced editing features.
- Adjustments : In Lightroom, you can adjust contrast, clarity, dehaze, and white balance to make the stars pop. Increasing the contrast will help separate the Milky Way from the night sky, while clarity and dehaze can help reduce atmospheric haze around the stars.
- Noise Reduction : Use moderate noise reduction to clean up high ISO grain without losing too much detail. Lightroom’s Noise Reduction slider is particularly effective for smoothing out the noise while preserving star sharpness.
- Stacking (optional) : For the cleanest images, you can stack multiple exposures to reduce noise. Software like Sequator (Windows) or Starry Landscape Stacker (Mac) allows you to stack images and combine them into a single, clearer photograph.
Explore:
Common Mistakes to Avoid
Here are some common mistakes to watch out for:
- Using autofocus in the dark: Autofocus won’t work well at night. Always use manual focus.
- Shooting too long and getting star trails: If your shutter speed is too long, you’ll get star trails instead of pin-sharp stars. Stick to the 500 Rule.
- Not using RAW format: Always shoot in RAW to preserve the most data for post-processing.
- Ignoring weather or moon phase: Bad weather or a full moon can make capturing the Milky Way impossible. Always check conditions before heading out.
Bonus Tips
- Arrive Early: Get to your location early to scout and set up your gear.
- Bring a Red Flashlight: A red flashlight won’t destroy your night vision, allowing you to adjust settings without losing your ability to see in the dark.
- Be Patient: Don’t expect perfect shots on your first try. It may take multiple attempts to get the right exposure and composition.
With these steps, you’re well on your way to capturing stunning photos of the Milky Way. Remember, the key is preparation—take the time to plan, get the right gear, and experiment with your camera settings. Above all, have patience and enjoy the process of capturing the beauty of our galaxy. Happy shooting!
