
May 20, 2025
The delicate swirl of a rose, the fuzzy texture of a sunflower, the sparkling dew on a morning bloom—macro flower photography lets you freeze nature’s tiniest details in breathtaking clarity.
Whether you're an aspiring nature photographer or a hobbyist who simply loves flowers, macro photography offers endless creative potential. In this guide, you’ll learn how to master the art of floral close-ups—step by step.
Macro photography is the art of capturing extraordinary detail in the ordinary—bringing small subjects like flowers, insects, or textures to life by photographing them at life-size (1:1 ratio) or greater magnification. In practical terms, this means that the image of the subject projected onto your camera’s sensor is equal to or larger than its real-world size.
When it comes to flowers, macro photography reveals a stunning level of intricacy that often goes unnoticed by the human eye. It allows you to focus on:
These subtle textures, patterns, and shapes transform simple blooms into dramatic and mesmerizing compositions.
Unlike general close-up photography, macro work requires a specific approach: dedicated lenses or extension tools, careful lighting, and a precise focus plane due to the extremely shallow depth of field at such close distances. It's not just about getting close—it's about mastering how to capture sharpness, depth, and light within a very small frame.
Macro photography isn't just technical—it's deeply creative. It invites photographers to slow down, observe nature with intention, and craft visually poetic images from the smallest wonders around us.
Would you like a visual comparison diagram between macro vs. standard photography to add here?
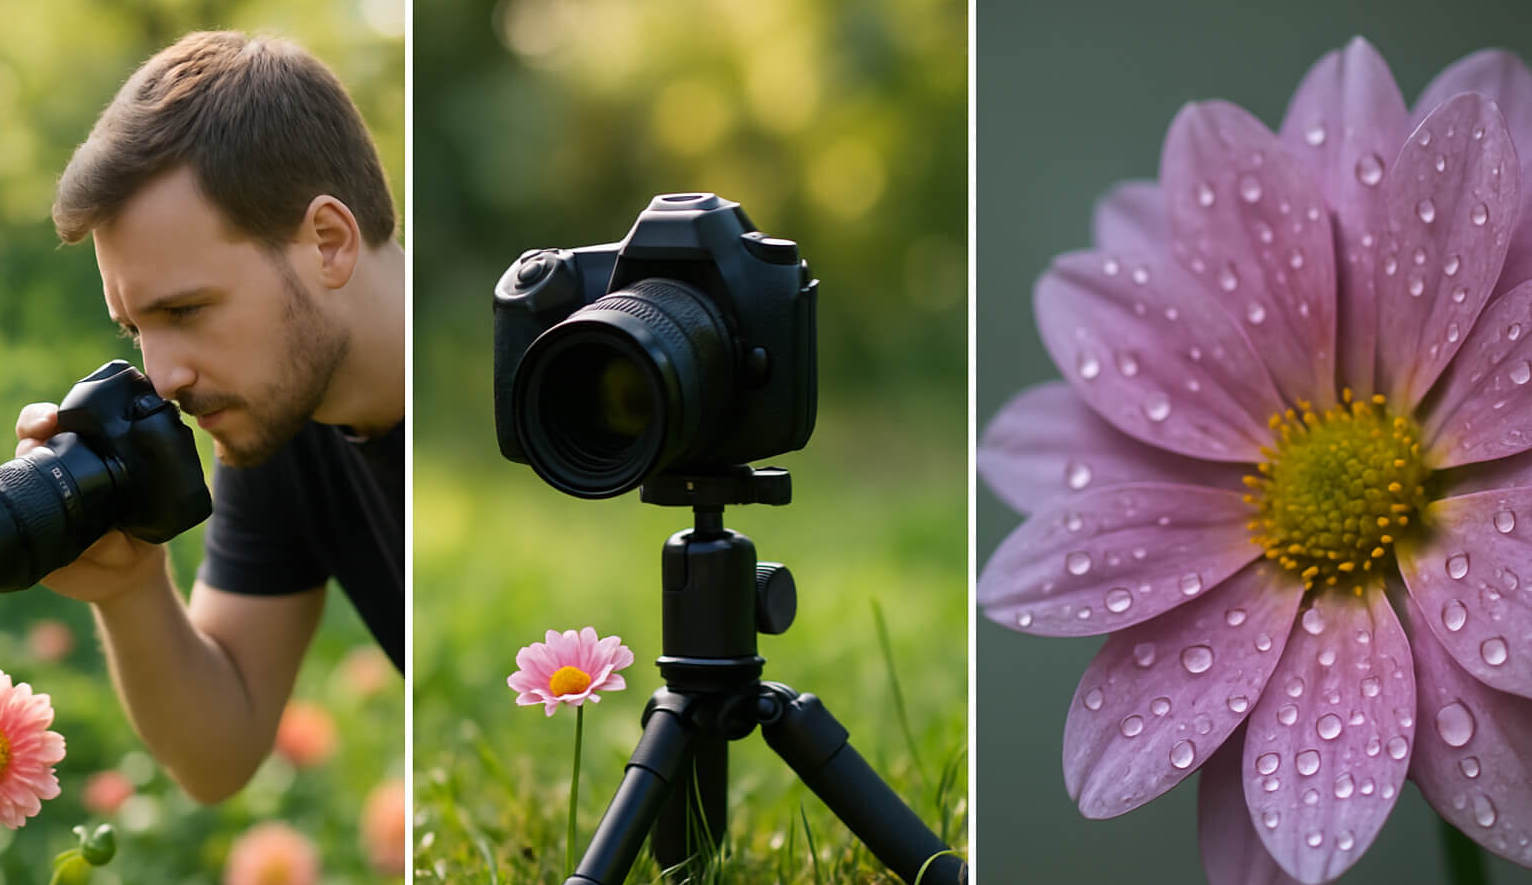
You don’t need a studio full of gear, but a few essentials make a big difference:
1. Macro Lens
A macro lens is the most essential tool for flower macro photography. Look specifically for lenses that offer a 1:1 reproduction ratio, meaning the subject will appear life-size on the camera sensor. This ratio is crucial for capturing the minute details—like the pollen clusters, petal ridges, or even the symmetrical curves of a flower's stamen.
Popular Examples:
💡 Pro Tip: Use manual focus when working very close to ensure precise sharpness on targeted elements like a petal edge or a dew droplet.
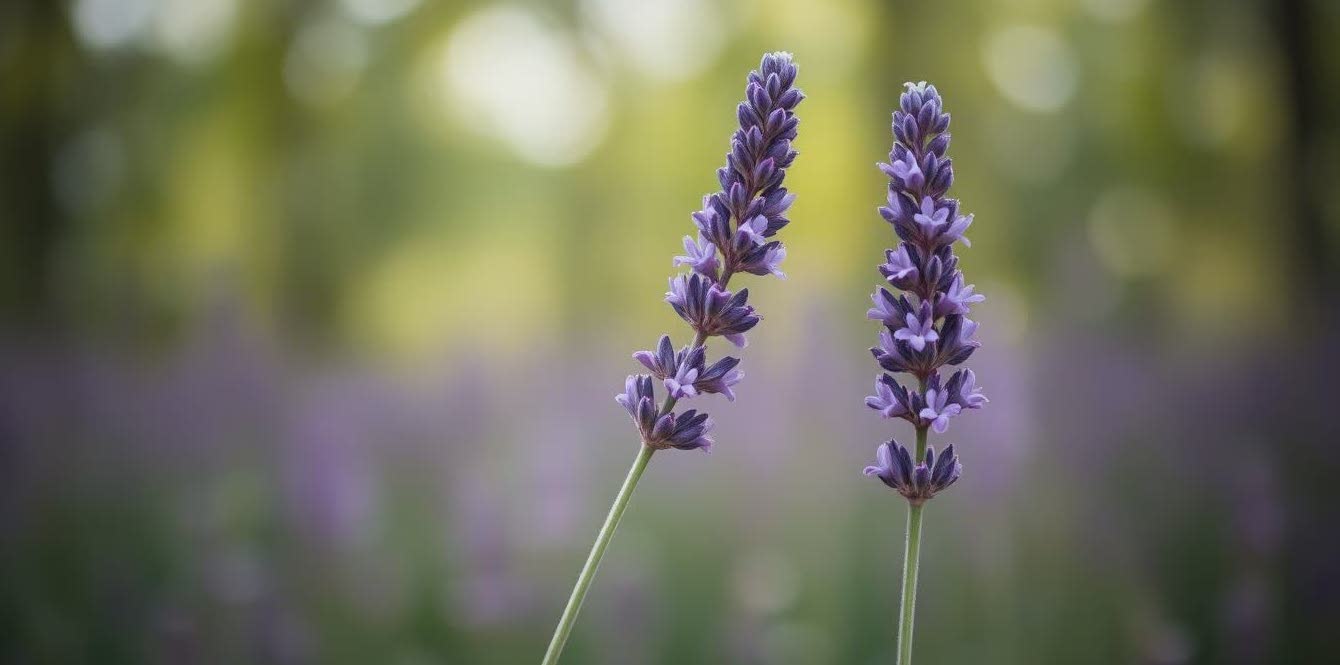
2. Tripod
In macro photography, even the slightest movement—like your breath or a light wind—can throw your focus off. A sturdy tripod provides the stability needed for sharp, blur-free images, especially when shooting at narrow apertures like f/11 or f/16 to increase depth of field.
Why It Matters:
Example: While photographing a daisy from the side, a macro rail lets you slowly move the camera forward to perfectly align the sharpest focus on the flower’s inner disk florets.
3. Lighting
Good lighting transforms a macro flower photo from flat to magical. While natural light is ideal for its softness and dynamic range, it’s important to control the direction and intensity of that light.
Example: Shooting a rose under bright noon sunlight may cause harsh highlights and shadows. By placing a white umbrella or diffuser overhead, you soften the light and preserve delicate details in the petals.
Bonus Tip: Use a small reflector card (even a piece of white paper) to bounce light into shadowed areas—perfect for bringing out the underside of hanging blossoms like lilies or fuchsias.
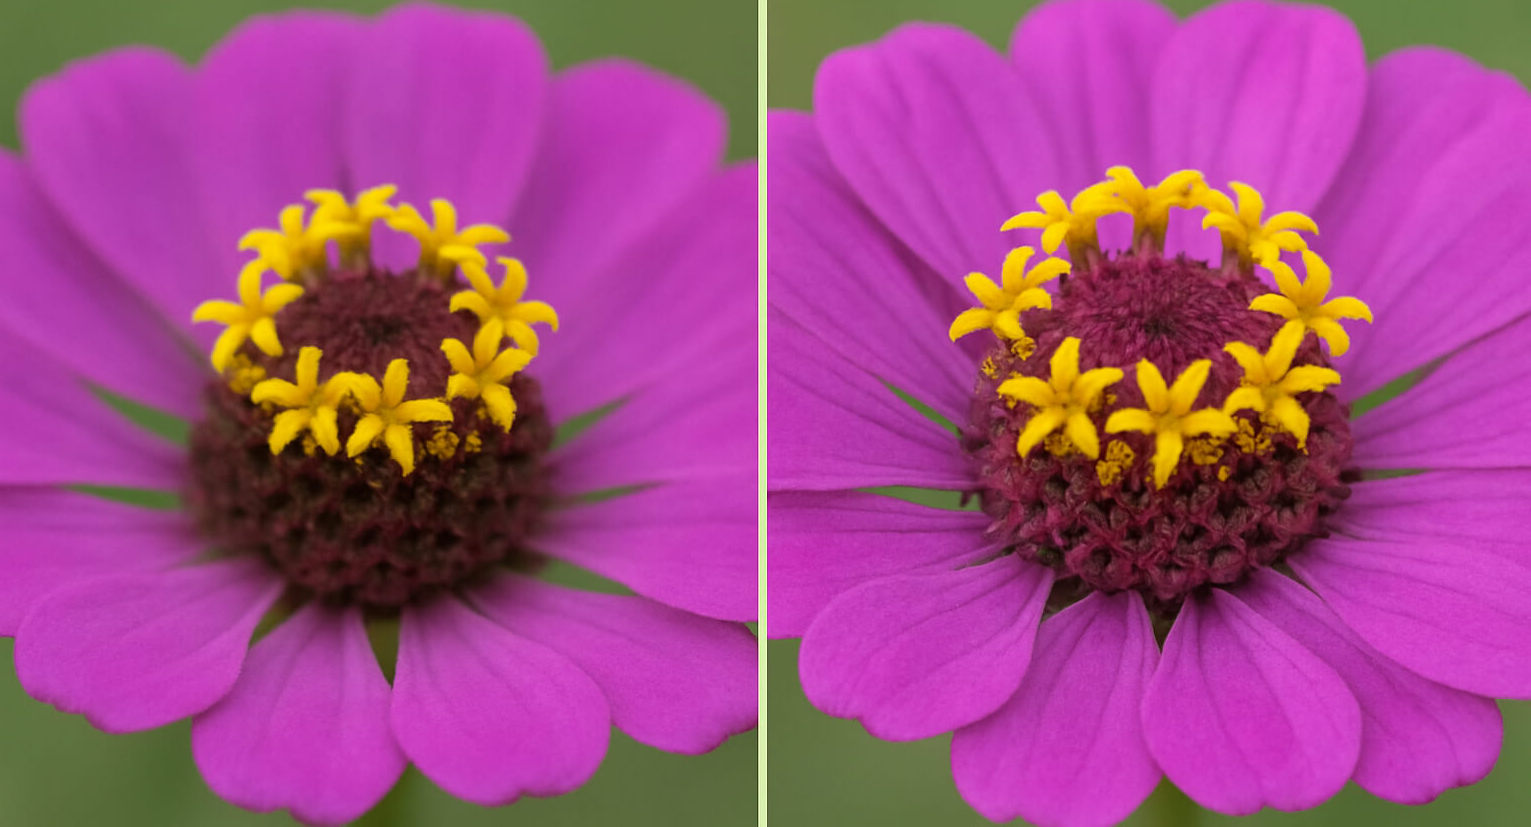
Post-processing should enhance—not overpower—your floral images.
🔗 Related: Best Photo Editing Apps for 2025
Absolutely! Macro floral prints are in demand for home décor, nature magazines, botanical calendars, and more.
🔗 Related:
Macro flower photography is a peaceful, meditative, and rewarding genre. With a bit of patience and creativity, you’ll discover how a single bloom can become an entire universe when viewed through your lens. So grab your camera, step outside, and get closer than ever before.
Stay up to date with the newest tips, gear reviews, and step-by-step guides to elevate your photography journey from home and beyond.