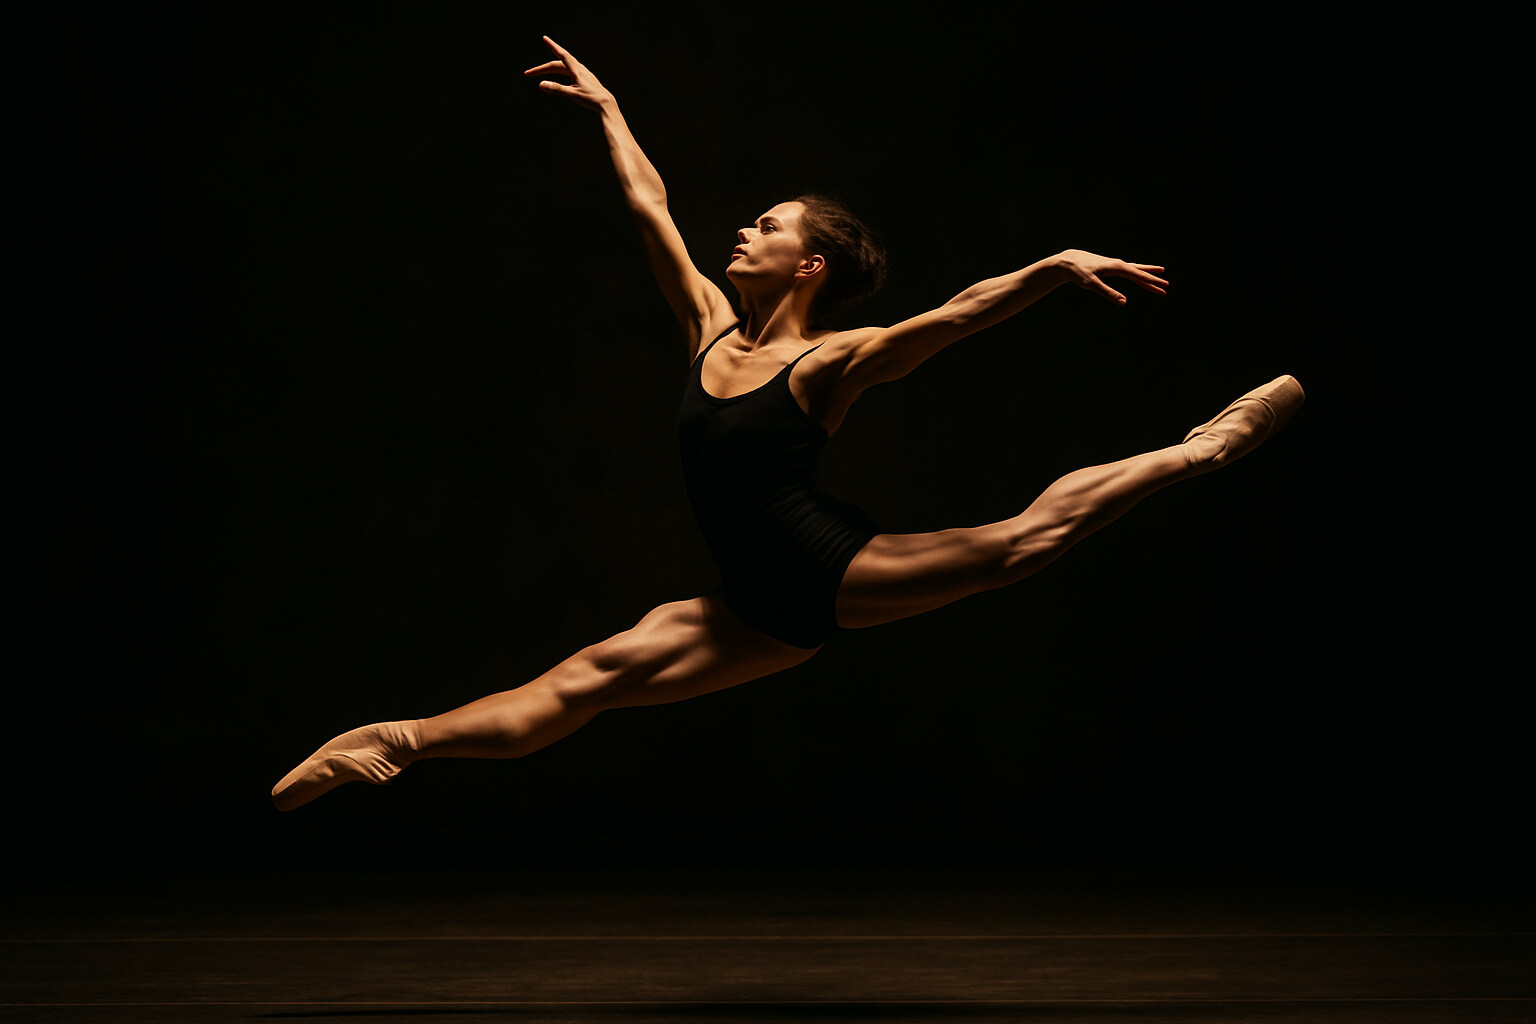
How to Photograph Dancers in Motion

Dance photography is a stunning fusion of art and technique. Capturing dancers mid-movement freezes emotion, grace, and power in a single frame. Whether you’re shooting ballet, hip-hop, or contemporary styles, here’s how to photograph dancers in motion like a pro.
1. Understand the Dance First
Before you even raise your camera, take time to:
- Watch rehearsals or videos of the routine.
- Learn about signature moves or poses.
- Talk to the dancers about key moments they want highlighted.
Understanding the rhythm and climax helps you anticipate perfect moments, so you can be in the right place at the right time.
2. Use the Right Gear
Having the right gear is essential for capturing dancers in motion with clarity and impact.
- Camera : A DSLR or mirrorless camera with fast autofocus and burst mode is ideal. These cameras allow you to shoot continuously while maintaining focus on the fast-moving subjects.
- Lenses
- 70–200mm: Perfect for shooting from a distance during stage performances.
- 24–70mm: A versatile lens for capturing wide compositions or shooting in tight studio spaces.
- Tripod/Monopod : Optional depending on your lighting situation and mobility needs. A monopod offers more freedom than a tripod while providing stability for panning shots.
3. Master Your Settings
Having the right settings for dance photography is crucial to capturing crisp, in-focus shots of fast-moving dancers.
- Shutter Speed : A fast shutter speed is a must to freeze movement. Aim for 1/500s or faster, depending on the speed of the dancer. For high-speed movements like jumps, you may need to increase the shutter speed to 1/1000s or higher.
- Aperture : An aperture of f/2.8–f/4 will allow for a shallow depth of field, separating the dancer from the background and keeping the focus on the action.
- ISO : Set your ISO between 800–3200, adjusting based on the lighting situation. In bright studios or outdoor spaces, you can use a lower ISO, but in darker venues, you may need to raise it to avoid underexposed shots.
- Continuous Autofocus (AI-Servo/AF-C) : Enable continuous autofocus to ensure the camera adjusts focus as the dancer moves. This setting ensures your subject stays sharp, even when they’re in constant motion.
- Burst Mode : Use burst mode to take multiple shots in rapid succession, increasing the chance of capturing the perfect frame during a jump or spin.
4. Light It Right
Lighting plays a major role in dance photography, especially in performances.
- Natural Light : If you’re shooting in a studio or location with large windows, take advantage of natural light. Backlighting can create dramatic silhouettes or highlight the dancer’s movements.
- Studio Lights : If shooting in a studio, high-speed strobes can freeze movement clearly. Position the light source to add highlights and shadows that enhance the dancer’s form.
- Stage Photography : When photographing on stage, expose for the subject and not the bright stage lights. The dancer should be well-lit, but the background should not be overexposed or lost in the light.
5. Focus on Emotion and Form
Dance is as much about emotion as it is about form, and capturing both is key to great dance photography.
- Pointed Toes & Extended Limbs: Pay attention to the dancer’s body lines—extended arms, pointed toes, and stretched limbs add grace and beauty to the shot.
- Expressive Faces: A dancer’s face tells the emotional story. Be sure to capture moments of intensity or joy through their facial expressions.
- Timing: In dance, the perfect shot often happens in a split second. Timing is everything, so count beats and aim to shoot on the high point of jumps or the climax of the movement.
6. Creative Techniques to Try
To make your dance photos stand out, experiment with creative techniques that add a unique touch to your images.
- Silhouettes : Shoot against a strong light source, like a window or stage light, to create dramatic silhouettes that emphasize the dancer’s form.
- Long Exposure : Try long exposure shots to blend motion blur with stillness, capturing the fluidity of dance while creating a beautiful, dynamic effect.
- Double Exposure : Layer multiple images of the same dancer in different poses to convey movement and create artistic compositions.
- Negative Space : Use negative space to allow the dancer to "breathe" within the composition, enhancing the visual impact of the image.
7. Post-Processing Tips
Editing can elevate your dance shots, making them sharper and more expressive.
- Enhance Contrast & Clarity: Increase contrast to define movement and emphasize the dancer’s form. Clarity adjustments help bring out the fine details of the dancer’s costume or skin texture.
- Retouch Gently: When editing dancers, avoid over-retouching skin or backgrounds. Keep textures intact for a natural look.
- Black and White: Converting dance photos to black and white can create a timeless, dramatic feel that emphasizes the emotion and movement.
Mistakes to Avoid
To capture the best dance photos, avoid these common mistakes:
- Unflattering Angles: Avoid shooting from angles that make the dancers look distorted, like too low or too high. Try to shoot at eye level for the most flattering results.
- Cutting Off Limbs: Ensure that limbs, especially legs and arms, aren’t cut off in mid-action. Allow for plenty of room in the frame to keep the flow of movement intact.
- Using Flash in Live Performances: Flash photography is generally prohibited during live performances because it can distract the performers. Always check with the event organizers for permission before using flash.
