
May 19, 2025

Golden hour photography is a timeless secret weapon in every photographer’s creative arsenal. It’s that fleeting period just after sunrise or just before sunset when the light softens, the shadows stretch, and the world glows with a warm, magical hue.
Whether you’re capturing portraits, weddings, landscapes, or everyday moments, golden hour light gives your photos a cinematic, ethereal quality that’s hard to replicate. But mastering golden hour takes more than timing—it takes creative vision, technical understanding, and thoughtful planning.
Let’s explore what makes golden hour special—and how you can use it like a pro.
Golden hour refers to the first hour after sunrise and the last hour before sunset. During these short windows, the sun sits low in the sky, and sunlight passes through more of the atmosphere, scattering blue tones and leaving behind warm, golden light.
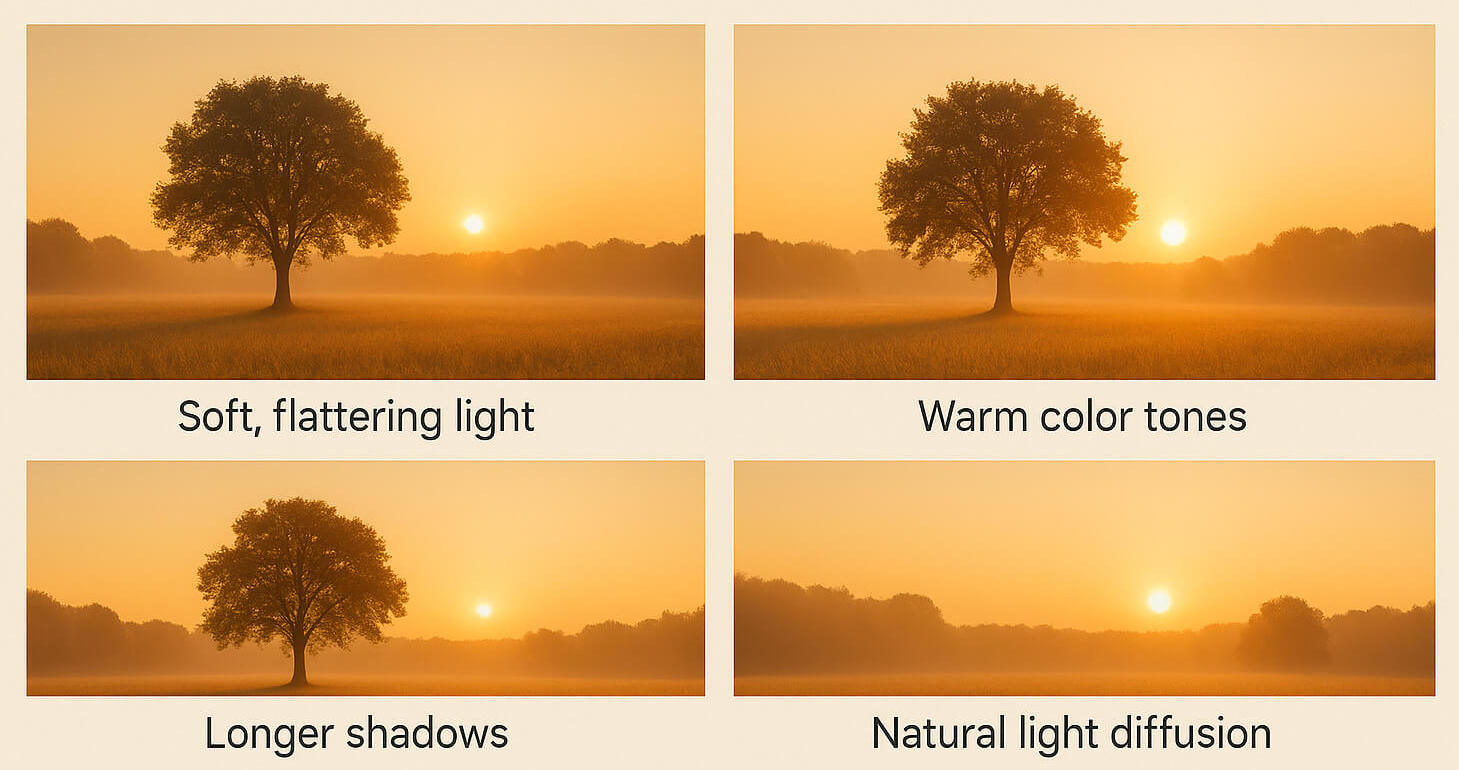
Unlike the flat, harsh light of midday, golden hour enhances drama, emotion, and depth in your photography.
⏳ Pro tip: Use apps like Golden Hour One or Sun Surveyor to pinpoint golden hour based on your exact location.
Golden hour is beloved by beginners and pros alike because it’s:
You don’t just see the golden hour—you feel it. And your photos reflect that mood.
Let’s dive deeper into how you can master golden hour in every aspect of your workflow:

Golden hour only lasts around 30–60 minutes. To make the most of it:
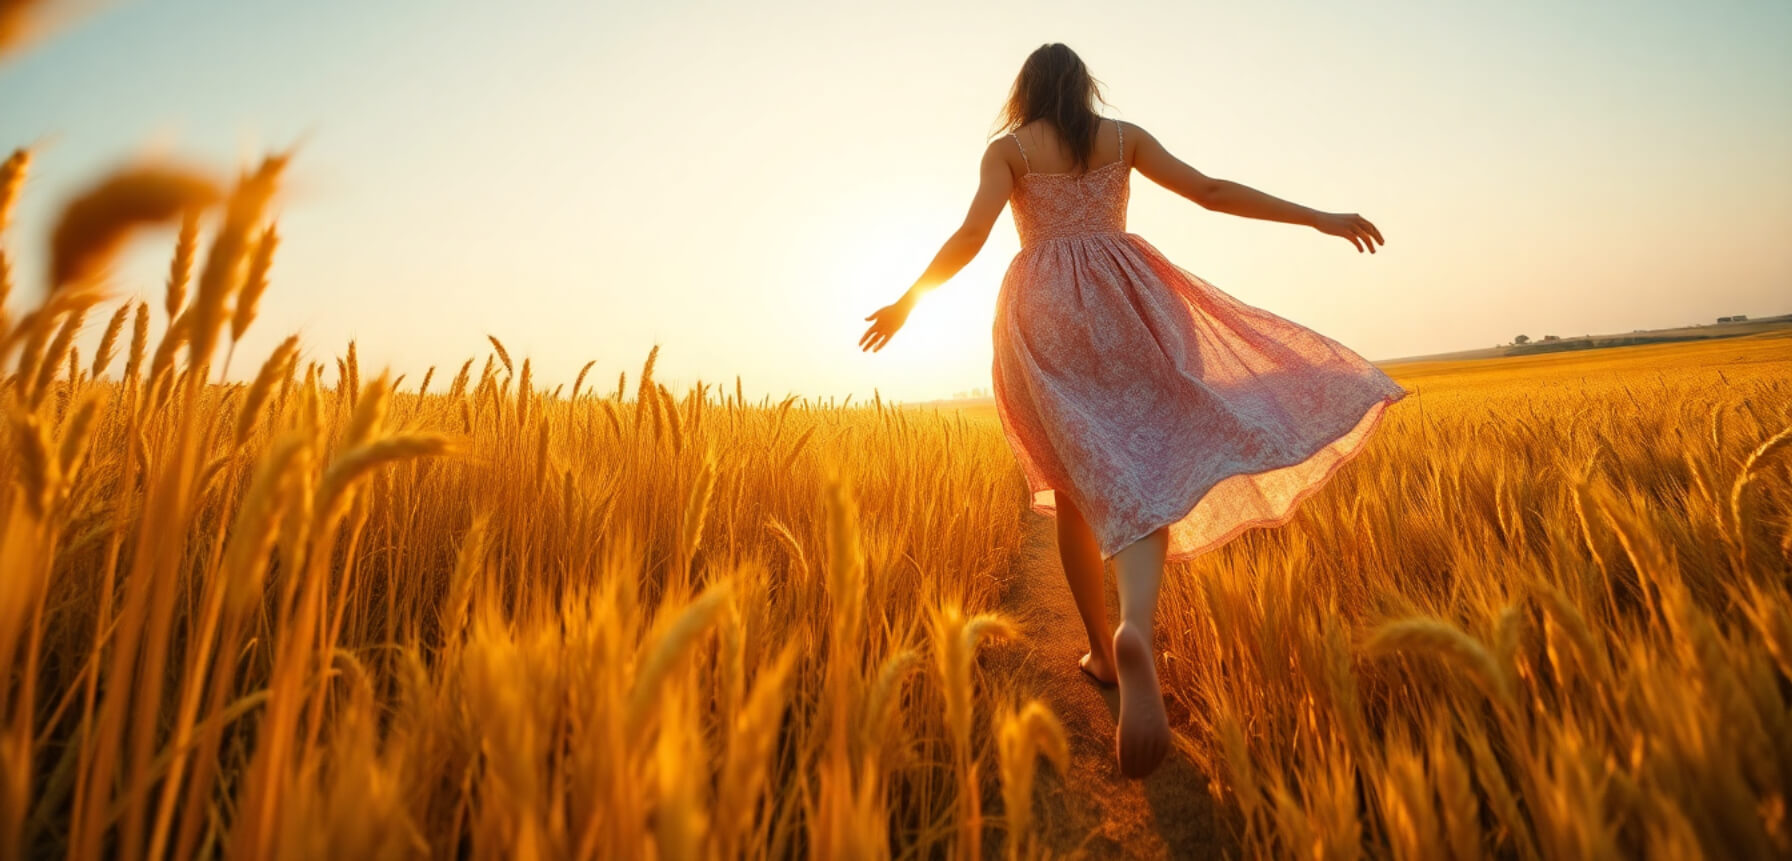
Golden hour light changes quickly. Get creative with:
Try letting the sun peek through trees, windows, or hair for gorgeous natural flares.
Explore cinematic framing ideas like those used in wedding photography here:
How to Take Cinematic Wedding Photos »
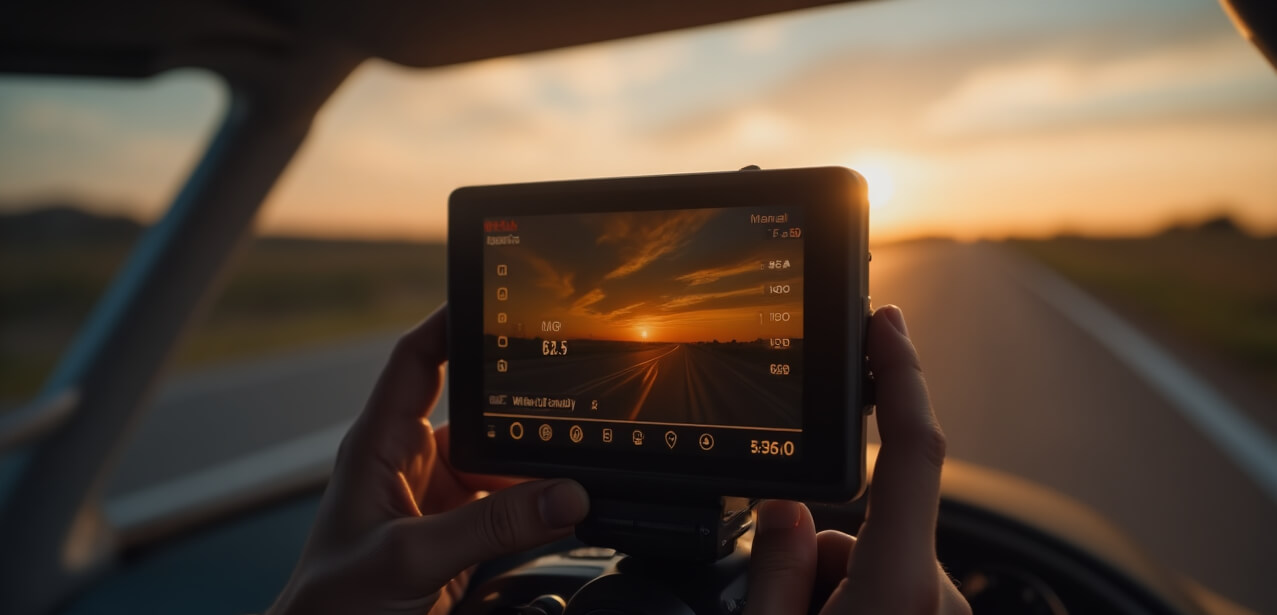
Manual settings give you more control over golden hour lighting:
📌 Need gear advice? Discover beginner-friendly DSLRs and mirrorless cameras:
Best Camera for Professional Photography Beginners in 2025 »
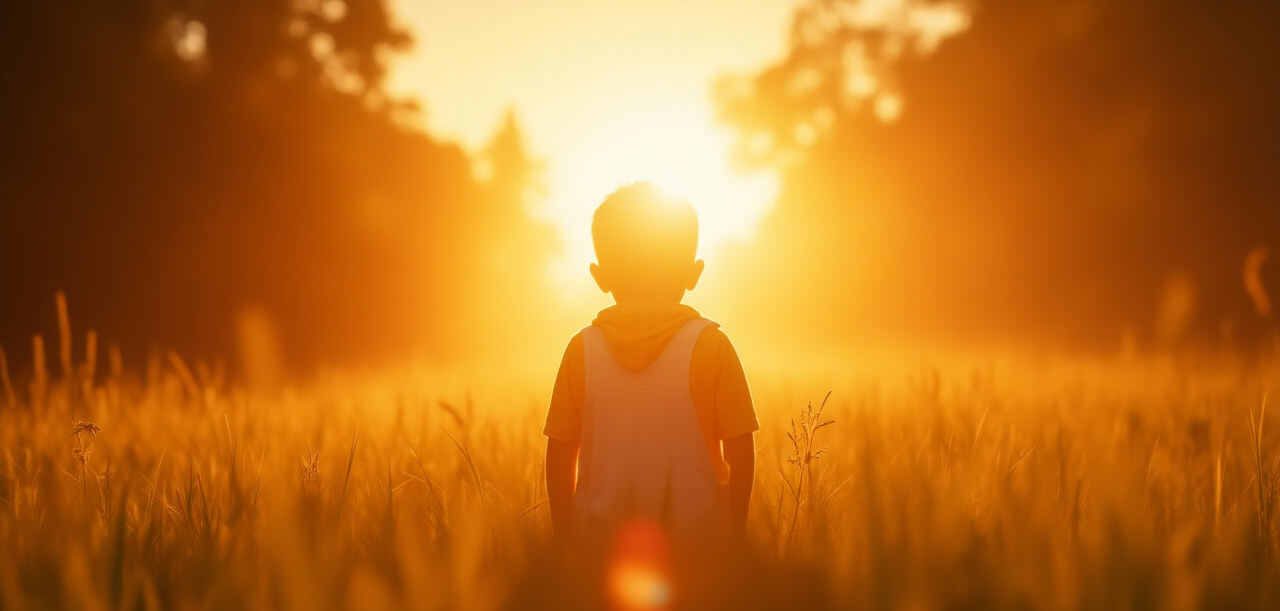
Golden hour is about more than just pretty light—it’s about mood. Capture that feeling:
Think storytelling: what does this light reveal about the scene?
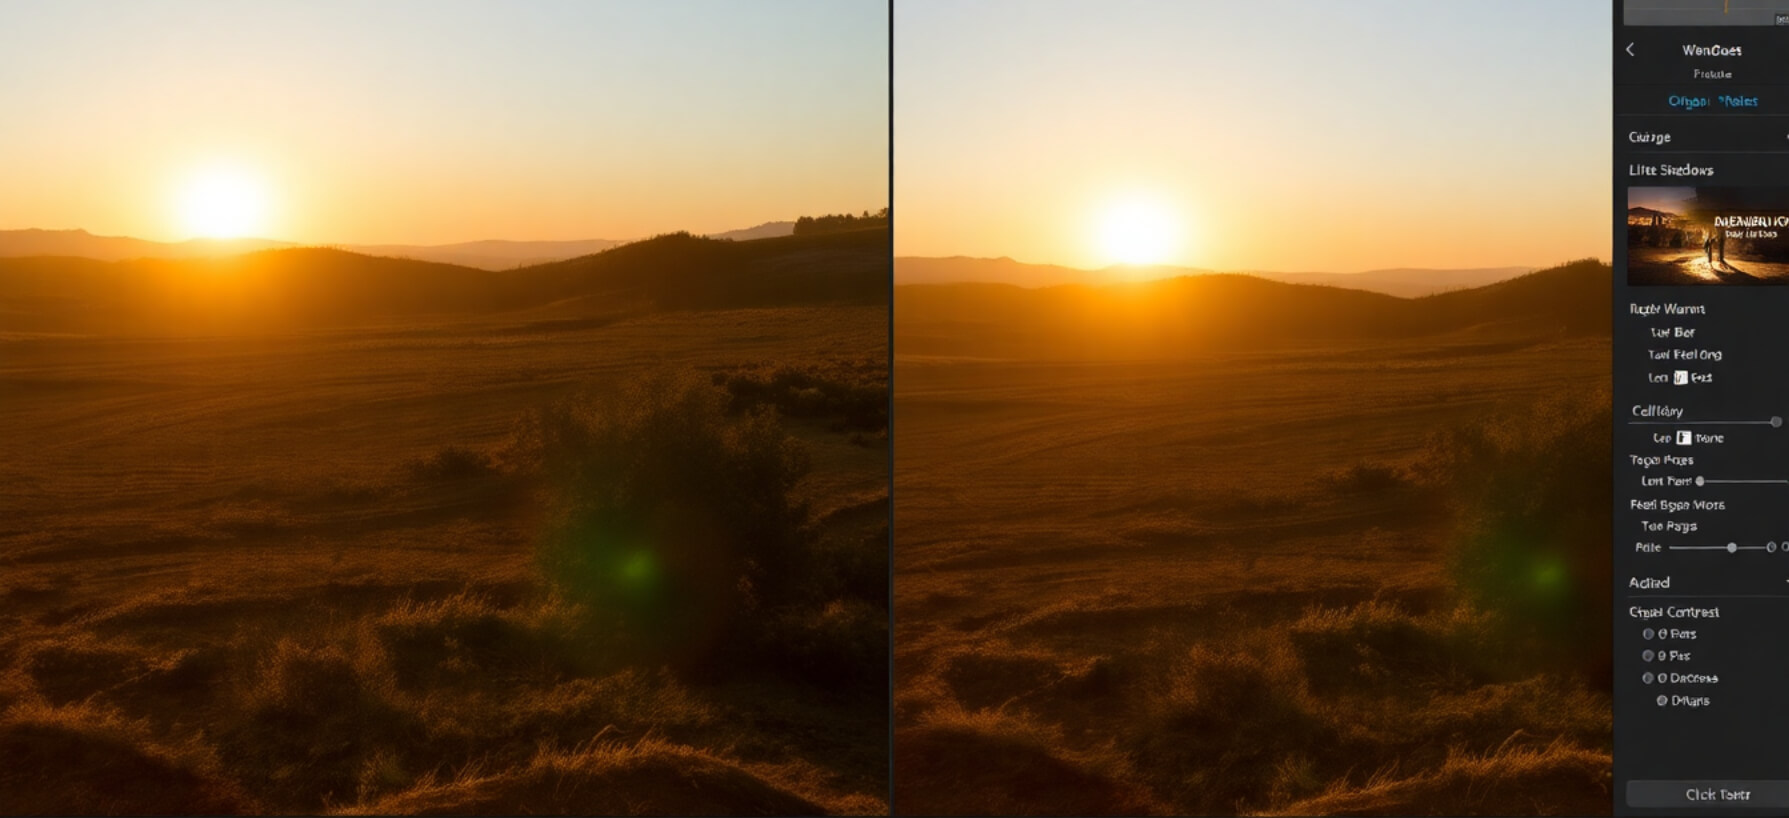
Golden hour already gives you beautiful tones. Just refine:
Need help choosing editing tools? Here’s a trusted roundup:
Best Photo Restoration & Editing Software in 2025 »
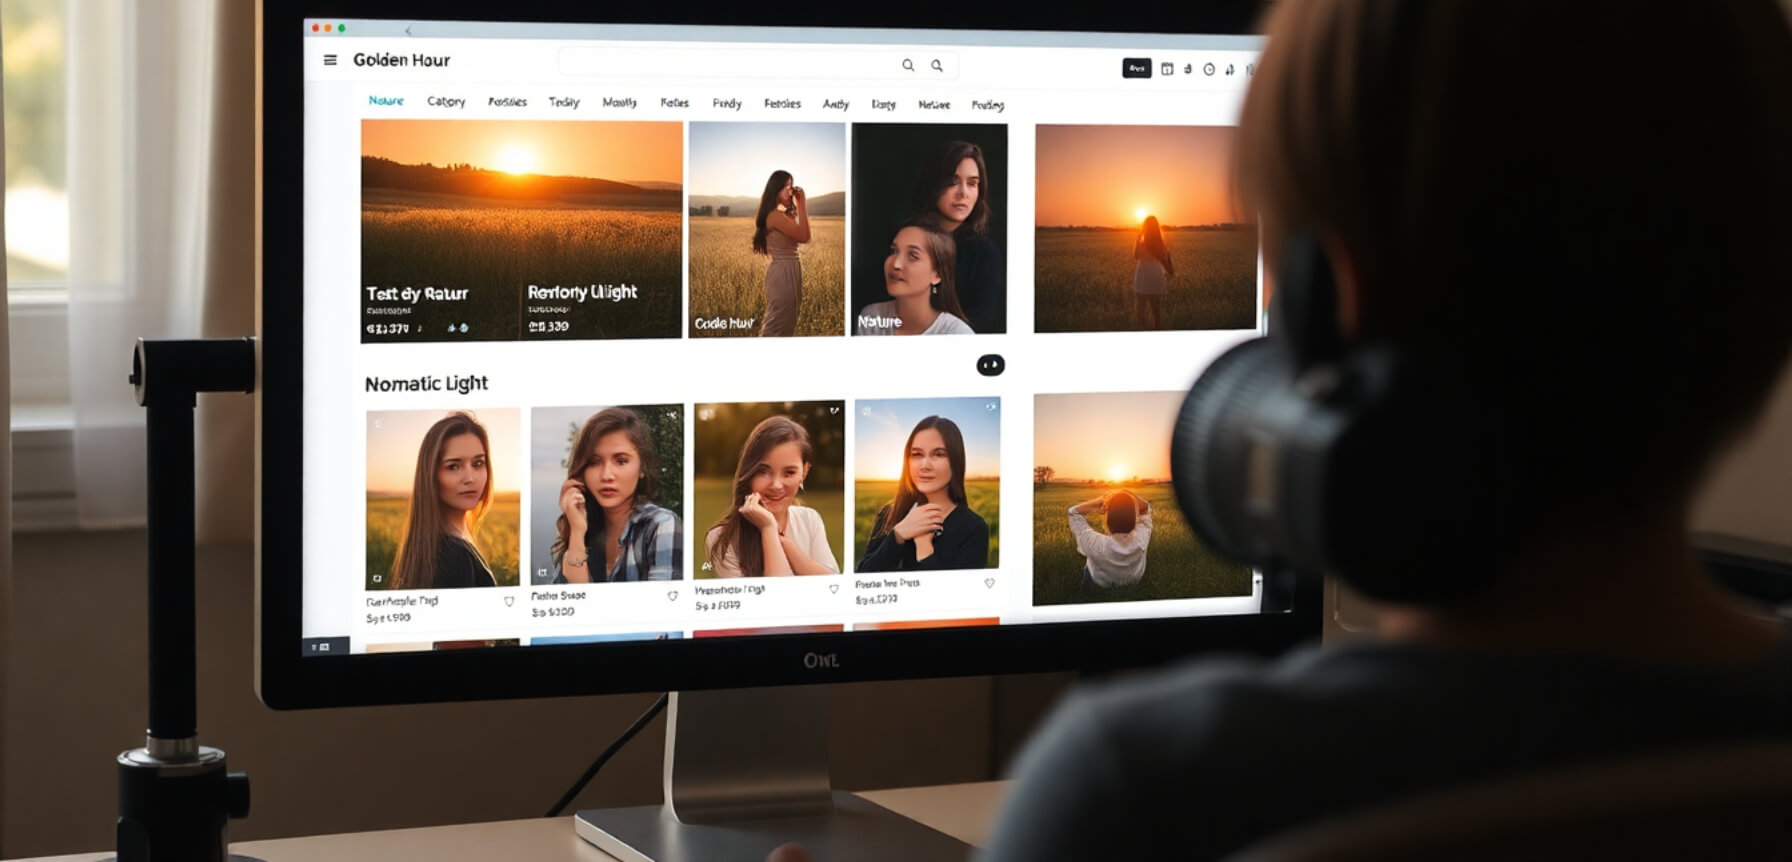
Golden hour photos are in demand on photo-selling platforms for:
Want to turn your portfolio into income?
Start selling your work here:
How to Sell Your Photos Online for Passive Income in 2025 »
Also check: Best Photo Selling Websites in 2025 »
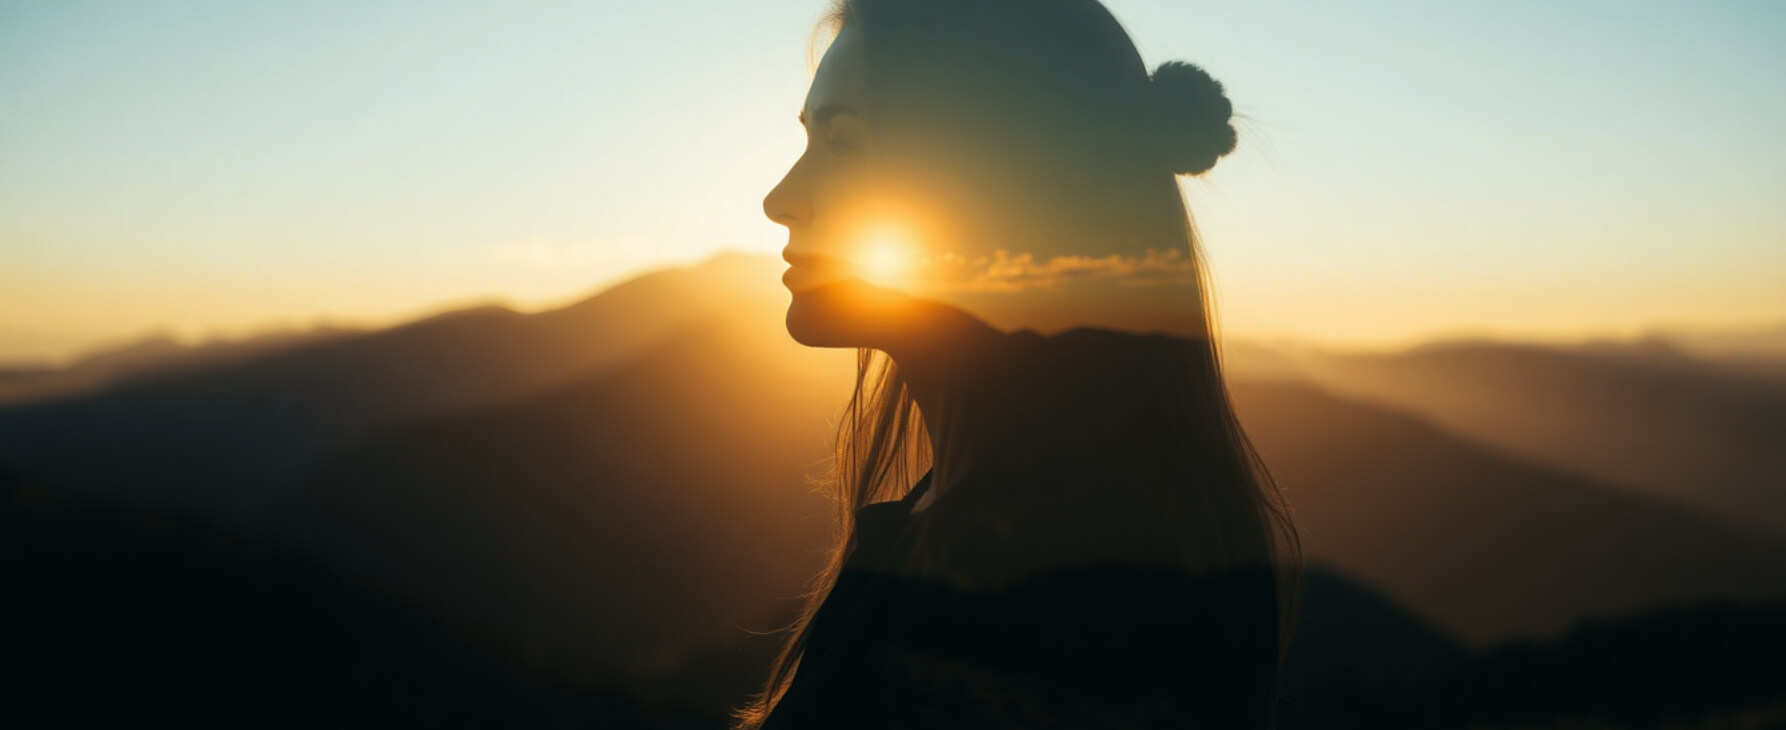
Golden hour is perfect for creative techniques:
✨ Want to explore artistic edits? Here’s a creative how-to:
Create Artistic Double Exposure Photos »
Golden hour is more than just a technical window—it's a creative playground. With the right timing, composition, and intention, you can use golden hour to elevate even the simplest moments into emotionally rich photographs.
Use this guide as your toolkit—but let your heart and vision guide the lens. Because in the end, it’s not just about how the light falls, but what story it helps you tell.
Stay up to date with the newest tips, gear reviews, and step-by-step guides to elevate your photography journey from home and beyond.