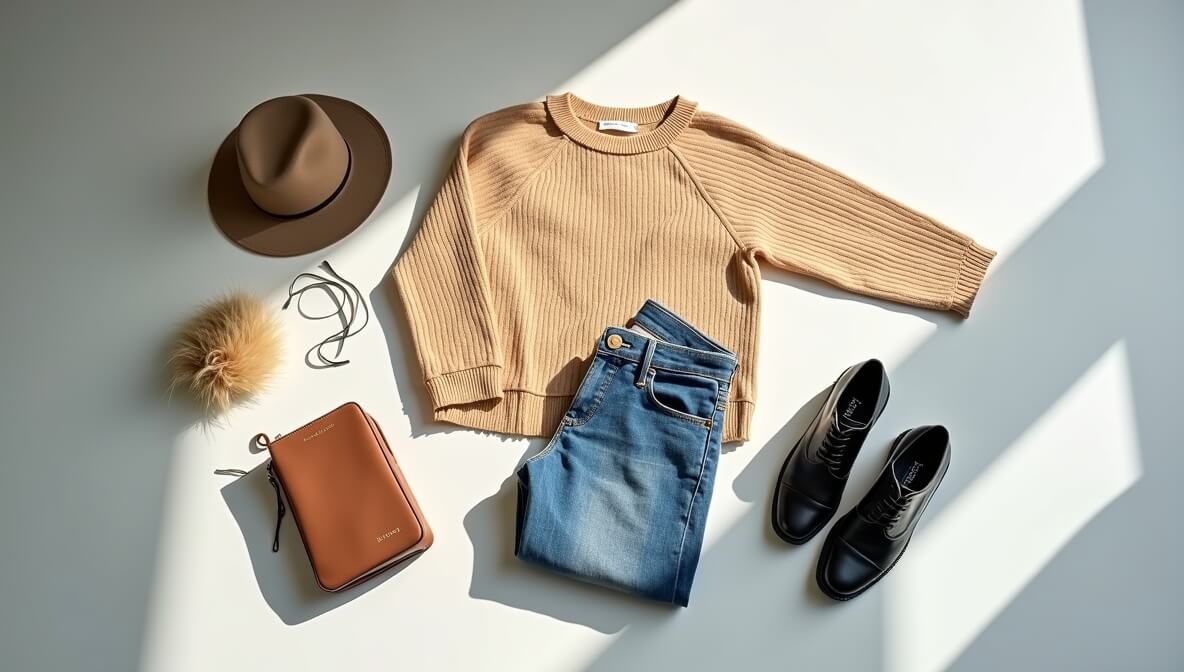
Flat lay photography has become one of the most popular trends in fashion, e-commerce, and content creation. Whether you’re showcasing a clothing brand, putting together an outfit for social media, or creating a lookbook for your fashion blog, the lighting plays a critical role in making your flat lay images stand out.
In this guide, we'll go over the best lighting techniques for flat lay clothing photography and help you understand how to use different light sources to create stunning, professional-looking images. Let’s dive into the world of lighting for flat lays!
1. Natural Light: The Go-To Option for Flat Lay Photography
For many photographers, natural light is the preferred choice for flat lay photography because of its soft, flattering qualities. When done right, it can create an airy and clean aesthetic that’s perfect for showcasing clothing.
Why Natural Light Works:
- It creates soft shadows, which helps to highlight the texture and details of the clothing without harsh contrasts.
- Natural light is free, and it’s easy to find in most indoor spaces near windows.
Tips for Using Natural Light:
- Position Your Flat Lay Near a Window: The best natural light comes from indirect sunlight, so avoid placing your flat lay directly in the path of direct sunlight. Set up your shot next to a window where the light can diffuse through sheer curtains, creating a soft glow over your clothing.
- Shoot During the Golden Hour: The golden hour, just after sunrise or before sunset, provides soft and warm natural light, perfect for highlighting the textures and colors of fabrics.
- Use Reflectors: If the light coming from your window is too harsh on one side of your flat lay, use a reflector to bounce light back onto the shadowed areas. A simple white foam board or even a mirror can serve as an effective reflector.
If you’re building your own photography business, understanding how to leverage natural light in different conditions is essential. For more tips on scaling your photography business, check out How to Scale a Photography Business and Go Full-Time.
2. Artificial Lighting: When You Need Control and Consistency
While natural light is fantastic, it's not always available when you need it, especially if you’re shooting late at night or in a location without sufficient light. Artificial lighting gives you full control over your shot, ensuring consistent results no matter the time of day.
Types of Artificial Lighting:
- Softbox Lights: Softbox lights create soft, diffused light, mimicking the effects of natural light. These are perfect for fashion photography, as they soften harsh shadows and create even illumination.
- Ring Lights: Ring lights provide direct, even lighting, minimizing shadows and creating a clean, polished look. They’re ideal for close-up flat lay shots where details need to be clear.
- LED Panels: LED panels are versatile and adjustable. They come in a variety of sizes and can be easily moved to achieve the desired light angle. LED panels are a popular choice for consistent and adjustable light setups.
Tips for Using Artificial Lighting:
- Use Diffusers: If your artificial light is too harsh, use a diffuser to soften it. You can purchase professional diffusers or even use household items like white bedsheets or shower curtains to achieve the same effect.
- Position Your Lights Strategically: Place your softbox light or ring light above the flat lay, angled at 45 degrees. This creates a flattering, diffused light that highlights your clothing's details. If you're using an LED panel, experiment with different angles to see what works best for the textures and fabric you're photographing.
- Control Light Intensity: If your light is too bright, use dimmers or move the light source further from the subject. If it's too soft, try getting closer to the subject or using a smaller diffuser.
For photographers working with artificial lighting, learning how to use it effectively is a key skill in creating professional results. If you’re looking for advanced tips on networking and growing your photography business, take a look at Networking Tips for Photographers.
3. Backlighting: Create a Stunning Glow Around Your Clothing
Backlighting is a technique where the light source is positioned behind your flat lay, creating a glow effect around the edges of the clothing. This lighting technique is especially effective when shooting translucent fabrics or layering different items.
Why Backlighting Works:
- It highlights the edges and texture of fabrics, creating a beautiful, glowing outline around the clothing.
- Backlighting can add drama and interest to your flat lay compositions, giving them a more artistic and high-end look.
Tips for Backlighting:
- Use a Strong Light Source: Backlighting works best when you have a strong, directional light source. If you’re using natural light, position your flat lay near a window, with the light coming from behind the clothing. If you're using artificial lights, set up a light source behind the flat lay and adjust the intensity to achieve the desired glow.
- Use a Reflector in Front: Since the light source is coming from behind, the front of your clothing might appear shadowed. To balance the exposure, use a reflector in front to bounce light back onto the fabric.
4. Overhead Lighting: Top-Down Lighting for Flat Lay Composition
Overhead lighting is another popular option for flat lay photography. This is the light that falls directly onto the clothing from above, illuminating the fabric and textures in a very clean and crisp way.
Why Overhead Lighting Works:
- It ensures even, direct lighting over your entire composition, which is essential when shooting multiple pieces of clothing or accessories.
- Overhead lighting helps maintain clarity in the details of the fabric and makes colors pop, which is especially useful for e-commerce or online stores.
Tips for Using Overhead Lighting:
- Keep the Light Source Above: Whether you're using a softbox or an LED panel, place the light directly above your flat lay, pointing straight down. This helps create even lighting that doesn’t create any harsh shadows on the items.
- Avoid Overexposing: If your overhead light is too strong, it could wash out the details of your clothing. Use a diffuser or adjust the intensity of the light to avoid overexposure.
5. Experiment with Mixed Lighting
Sometimes, the best way to achieve a stunning flat lay is to mix different light sources. Combining natural light with artificial lighting allows you to balance the soft, diffused effects of natural light with the controlled intensity of artificial lights.
Tips for Mixed Lighting:
- Use Natural Light as Fill Light: If you’re using artificial lighting for your main light source, use natural light as a fill light. Position your flat lay near a window where the light can bounce in, adding a soft fill to your shot.
- Balance Color Temperature: When using both natural and artificial lights, make sure the color temperature is consistent. If your natural light has a warm tone, try to use warm LED lights to match the aesthetic.
Conclusion
Lighting is one of the most important aspects of flat lay clothing photography, and choosing the right lighting technique can significantly elevate your images. Whether you prefer the soft, natural glow of daylight or the controlled precision of artificial lighting, there’s a setup that works for every scenario. Don’t forget to experiment with different lighting techniques, and take the time to fine-tune your setup to create the best possible images.
With the right lighting, your flat lay shots can showcase your clothing in a way that’s both professional and visually appealing.