
June 05, 2025
Starting a photo studio can feel like a daunting task. However, creating a functional and efficient studio doesn’t require a huge budget or elaborate equipment. Whether you're working from home or setting up in a professional space, a basic photo studio setup can help you create high-quality images without breaking the bank.
This guide will walk you through:
When building your first photo studio, the goal is to balance functionality and affordability. Here’s the gear you’ll need:
1. Camera & Lens : The camera is obviously the heart of your studio. But, it doesn't have to be the most expensive model. While you can shoot with any DSLR or mirrorless camera, you’ll want to pick one that offers manual control of settings like ISO, shutter speed, and aperture.
For lens options, a 50mm f/1.8 lens is a great all-around lens for portrait, product, and close-up photography.
2. Tripod : A sturdy tripod is essential to keep your camera steady and reduce motion blur, especially when using slower shutter speeds. Look for one that’s lightweight but stable.
3. Backdrop System : A backdrop is crucial for creating a clean, professional look in your photos. You can go with a simple white or gray backdrop for versatile shots, or opt for a colored backdrop if you’re doing product photography or portraits.
4. Lighting Equipment : Lighting is a fundamental part of any photo studio setup. Here are a few essential items:
5. Reflectors & Diffusers : To manipulate and shape the light, you’ll need reflectors and diffusers:
Now that you’ve got your gear, let’s think about studio layout. The way you arrange your space affects how efficiently you can work and the quality of your photos. Here’s a simple breakdown:
1. Choose Your Space Wisely : Whether you’re setting up in a spare room at home or renting a commercial space, the goal is to keep your area free of distractions and clutter. A small room (about 10x10 feet) is usually enough for most shoots.
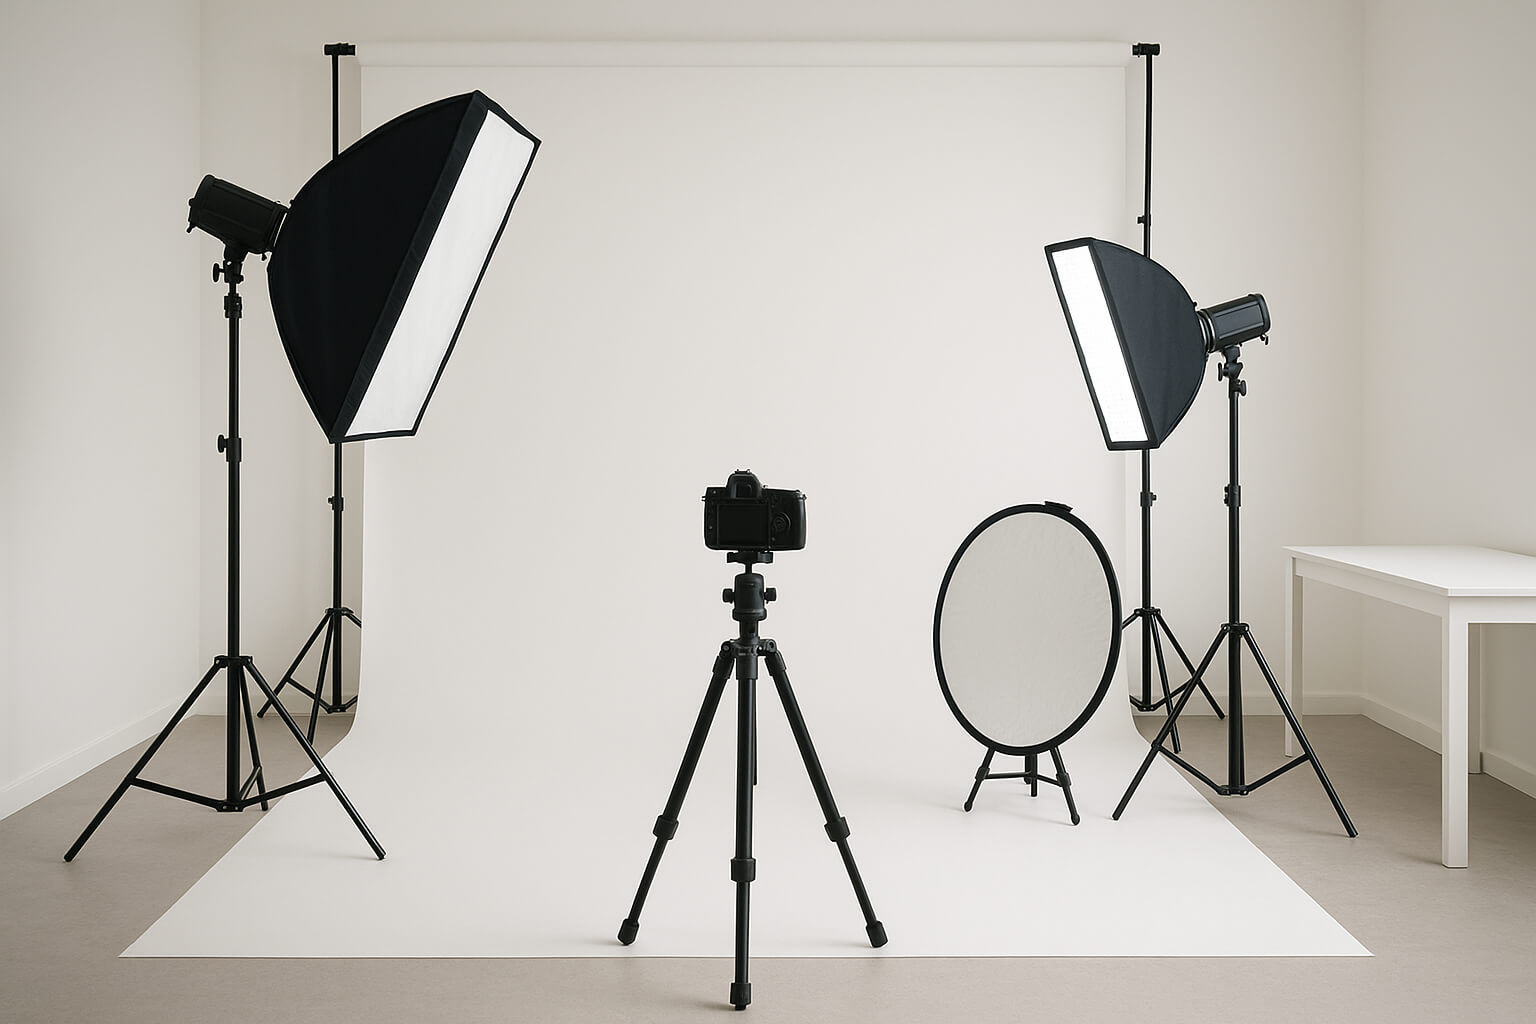
2. Lighting Placement : When you’re setting up your lighting, the goal is to create soft, even lighting with minimal shadows. Here’s how:
3. Room Setup and Backdrop
4. Camera Setup : Place your tripod at eye level with your subject. The camera should be positioned directly in front of the subject to avoid distortion.
Lighting is the most critical component of any photo studio. Here are a few tips to get the best lighting results:
1. Use Soft, Diffused Lighting : Softboxes or umbrella lights are perfect for creating soft, flattering light for portraits. Hard lighting can create unflattering shadows, so always aim to diffuse light.
2. Light the Background : Lighting the backdrop separately from your subject can make a huge difference in your photos. A separate background light ensures that the backdrop stays evenly lit, making it easier to achieve a clean background effect.
3. Experiment with Light Angles : You can create dramatic effects by changing the angle of the light. For example, placing a light above or behind the subject (a hair light or rim light) helps create separation from the background and adds depth to the photo.
4. Reflect and Fill : Use a reflector to bounce light back into the shadows or adjust the intensity of your lighting using a dimmer. This ensures your subject is well-lit from all angles.
Once your basic photo studio is up and running, consider these upgrades to take your setup to the next level:
If you plan on monetizing your photo studio, here are a few tips:
Once you’ve built your photo studio, protect your images and intellectual property by watermarking and registering your photos for copyright. As your business grows, don’t forget to scale your efforts with more advanced equipment and marketing tactics.
Starting a basic photo studio setup doesn’t have to be expensive or overwhelming. With the right equipment, lighting, and space setup, you’ll be well on your way to producing stunning photos and growing your photography business. Keep learning, experimenting, and scaling your setup as you refine your craft.
Stay up to date with the newest tips, gear reviews, and step-by-step guides to elevate your photography journey from home and beyond.